How to Install Hardwood Floors | Comprehensive Guide
Learning how to install hardwood floors is an essential skill for anyone looking to upgrade their home with a timeless and elegant flooring option. Hardwood floors not only add value to your property but also provide durability and warmth to any space. This comprehensive guide walks you through every step, from preparation to finishing touches, ensuring professional results even for DIY enthusiasts.
Contents
- 1 Preparing Your Room for Hardwood Flooring
- 2 Choosing the Right Hardwood Flooring
- 3 Tools and Materials Needed
- 4 Step-by-Step Hardwood Floor Installation
- 5 Finishing Touches
- 6 Common Installation Mistakes to Avoid
- 7 Enhancing Your Renovation with Hardwood Flooring
- 8 Eco-Friendly and Safety Considerations
- 9 Advanced Tips for a Professional Finish
- 10 FAQ
- 11 Conclusion
Preparing Your Room for Hardwood Flooring
Proper preparation is key when learning how to install hardwood floors. The success of your installation largely depends on creating a clean, level, and moisture-free environment.

Clear the Room and Remove Existing Flooring
Begin by removing furniture, rugs, and any existing flooring. Hardwood floors require a flat and unobstructed surface for proper installation. Removing old flooring and debris ensures a smooth working area, making the installation process easier and preventing future problems like uneven planks or squeaking.
Inspect and Prepare the Subfloor
The subfloor must be dry, level, and structurally sound. Check for moisture levels, and repair any uneven areas with a leveling compound. Proper subfloor preparation prevents warping, gaps, and instability, ensuring your hardwood floors remain durable and attractive for years.
Choosing the Right Hardwood Flooring
Selecting the appropriate materials is crucial when learning how to install hardwood floors. Factors such as wood type, plank size, and finish affect both aesthetics and durability.
Select Wood Type and Finish
Hardwood floors come in a variety of species, including oak, maple, and hickory, each offering unique color, grain, and hardness characteristics. Consider the room’s traffic and usage when choosing the finish to ensure longevity and resistance to scratches.
Choose Plank Size and Layout
Hardwood planks come in various widths and lengths. Wider planks create a more open look, while narrower planks provide a classic style. Planning your layout ahead of time helps prevent awkward cuts and ensures a visually appealing arrangement.
Tools and Materials Needed
Having the proper tools is essential for successfully learning how to install hardwood floors. The right equipment makes the installation faster, safer, and more precise.
Essential Tools
You will need a tape measure, saw, flooring nailer, mallet, spacers, and a pry bar. These tools allow you to cut, secure, and align planks accurately. Proper use of tools ensures a smooth installation process and reduces mistakes.
Additional Materials
Include underlayment for moisture protection, nails or staples for securing planks, and wood filler for finishing gaps. Using high-quality materials improves the durability and appearance of your hardwood floors.
Step-by-Step Hardwood Floor Installation
Following a clear sequence is crucial when installing hardwood floors. Each step ensures planks are securely fitted and aligned.
Layout Planning
Start by measuring the room and planning the layout to avoid narrow cuts along walls. Stagger seams for a natural look and better structural stability. Layout planning also minimizes waste and ensures smooth installation.
Installing the Planks
Install hardwood planks using a nailer or staple method, beginning from the longest wall. Leave proper expansion gaps along walls to accommodate natural wood movement. Precision during installation prevents gaps, buckling, or uneven surfaces.
Sanding and Finishing (If Needed)
Some hardwood floors require sanding and finishing after installation. This step smooths the surface and protects the wood. Use high-quality stains and sealants to achieve a polished, professional finish.
Finishing Touches
After installing hardwood floors, finishing steps ensure durability, aesthetics, and long-term performance.

Installing Baseboards and Trim
Cover expansion gaps and edges with baseboards, quarter rounds, or moldings. This not only enhances the look but also protects edges from damage.
Cleaning and Maintenance
After installation, clean the floor with a soft broom or vacuum and apply appropriate wood cleaners. Proper maintenance prevents scratches, dulling, and water damage, ensuring your hardwood floors remain beautiful over time.
Common Installation Mistakes to Avoid
Avoiding common errors is essential when learning how to install hardwood floors to ensure professional-quality results.
Ignoring Moisture Levels
Wood expands and contracts with moisture. Failing to check subfloor moisture or install a moisture barrier can result in warping or buckling. Always test the subfloor and use appropriate underlayment.
Misaligning Planks
Improper alignment or uneven spacing can lead to gaps and a poor appearance. Take time to measure accurately and use spacers to maintain consistent expansion gaps.
Enhancing Your Renovation with Hardwood Flooring
Hardwood floors are ideal for complementing home renovation projects, adding both beauty and value.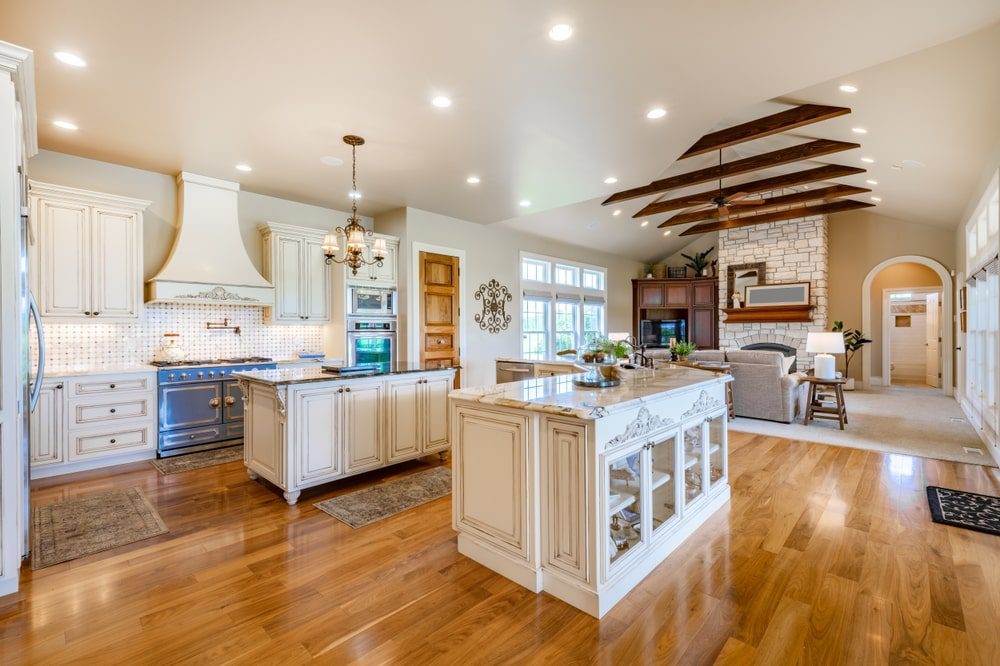
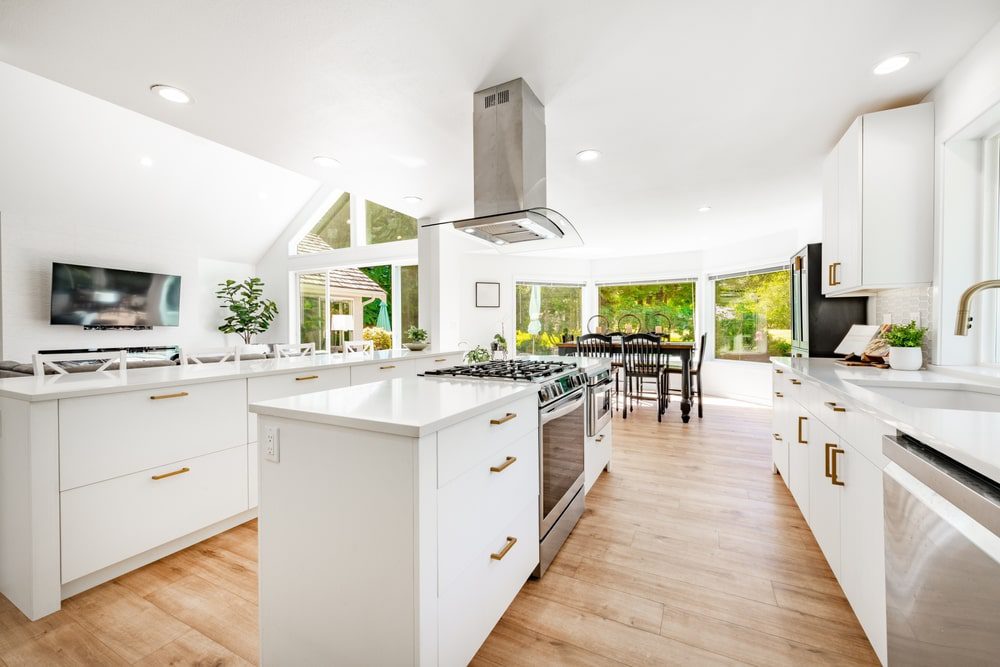
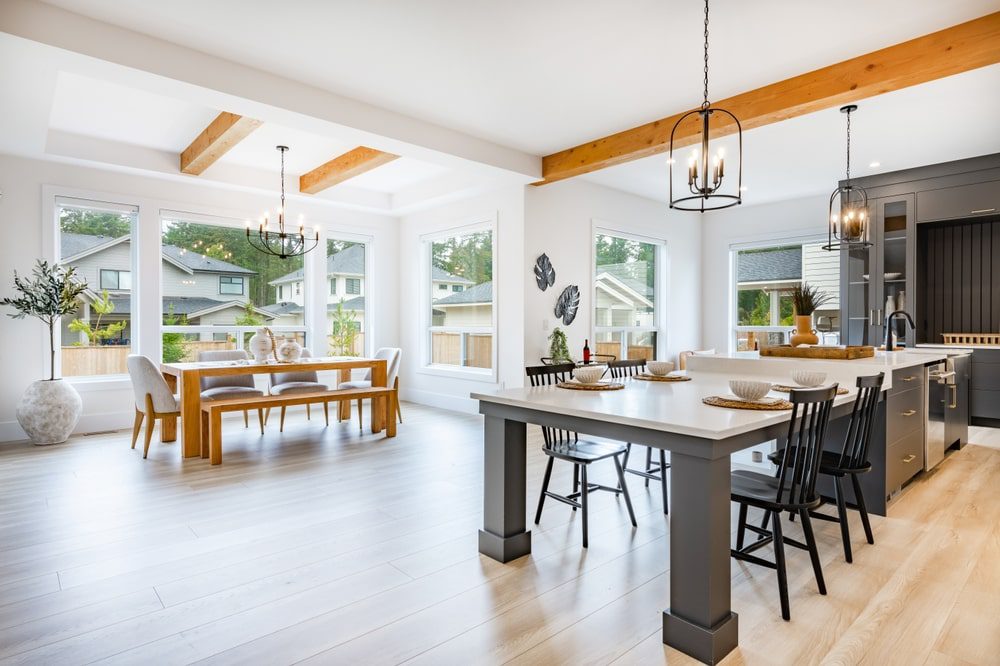
Pairing with Kitchen Remodels
Hardwood floors provide warmth and durability, enhancing kitchen aesthetics. Coordinating with your [kitchen remodeling service] ensures a seamless design and long-lasting installation.
Coordinating with Sink Installation
In kitchens and bathrooms, proper placement around sinks is critical to prevent water damage. Consider professional guidance during [sink installation] for precise cuts and a clean finish.
Eco-Friendly and Safety Considerations
Sustainability and safety are important when installing hardwood floors.
Choose Sustainable Hardwood
Opt for FSC-certified or reclaimed wood to minimize environmental impact. Sustainable choices ensure your project aligns with eco-friendly practices.
Safety Precautions
Wear gloves, eye protection, and ensure proper ventilation when cutting planks. Safe handling practices prevent injury and create a smoother installation process.
Advanced Tips for a Professional Finish
These advanced tips help achieve flawless results when installing hardwood floors.
Acclimate Wood Before Installation
Allow planks to acclimate in the room for 48–72 hours. This prevents expansion or contraction issues after installation.
Use a Flooring Nailer for Efficiency
A flooring nailer secures planks quickly and consistently, providing a professional finish and reducing installation time.