How to Install Vinyl Tile Flooring in Bathrooms
Learning how to install vinyl tile flooring in a bathroom is one of the most satisfying DIY upgrades you can tackle. Vinyl tile is water-resistant, budget-friendly, and available in styles that mimic stone or ceramic without the cold feel or tricky setting materials. With the right prep, layout, and sealing details, you’ll create a durable, moisture-ready surface that looks professionally installed.
Contents
- 1 Planning & Measuring for a Clean Finish
- 2 Tools, Materials & Site Protection
- 3 Subfloor Readiness: Flat, Dry & Sound
- 4 Underlayment & Transitions
- 5 Layout: Reference Lines & Dry-Fit
- 6 Cutting Tiles Accurately
- 7 Adhesive Options & Set Times
- 8 Setting the Field Tiles
- 9 Around the Toilet, Vanity & Tub
- 10 Seams, Rolling & Final Sealing
- 11 FAQs
- 12 Conclusion
Planning & Measuring for a Clean Finish
The first step in how to install vinyl tile flooring is planning—smart measurements and a realistic scope prevent surprises once the tiles start going down.
Determine Coverage & Waste
Measure room length × width, subtract obstructions, and add 10–15% for cuts and pattern matching. Consider traffic, light direction, and how the pattern will read from the doorway so your layout looks intentional.
Choose the Right Tile Type
Bathroom installs typically use peel-and-stick vinyl tile, click-lock rigid tiles, or glue-down LVT squares. Each affects how to install vinyl tile flooring: peel-and-stick is fastest, glue-down offers maximum bond in wet rooms, and click-lock provides a floating option with built-in underlayment.
Tools, Materials & Site Protection
Gathering the right tools ahead of time streamlines how to install vinyl tile flooring and keeps your bathroom tidy during the process.
Core Tools & Supplies
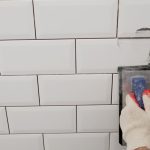
You’ll need a utility knife with fresh blades, straightedge, speed square, tape measure, chalk/laser line, 100-lb floor roller (or J-roller for small spaces), notched trowel (for glue-down), vinyl tile adhesive (if needed), patch/leveler, underlayment (if required), spacers, and silicone sealant.
Protect Fixtures & Adjacent Surfaces
Cover the tub, vanity, and doorway threshold with rosin paper and tape. Protection is a small but essential part of how to install vinyl tile flooring in a tight bath where a dropped knife can nick porcelain or trim.
Subfloor Readiness: Flat, Dry & Sound
A stable substrate is the backbone of how to install vinyl tile flooring. Vinyl telegraphs imperfections, so prep matters.

Check Flatness & Moisture
Sweep thoroughly, then run a straightedge—variations greater than 1/8″ over 6′ need attention. For concrete, do a simple moisture test; for wood, ensure no soft spots or squeaks. Address issues now to avoid visible seams or premature failure.
Patch, Sand & Prime
Feather in patching compound over dips, sand high ridges, and vacuum again. Many adhesives call for a compatible primer—an overlooked but critical step in how to install vinyl tile flooring that boosts bond strength.
Underlayment & Transitions
Selecting underlayment and planning transitions early makes how to install vinyl tile flooring feel professional from edge to edge.
Underlayment Choices
Some vinyl tiles can go directly over smooth, clean subfloors; others require a vinyl-rated underlayment. A smooth underlayment prevents telegraphing and is especially helpful over patched plywood.
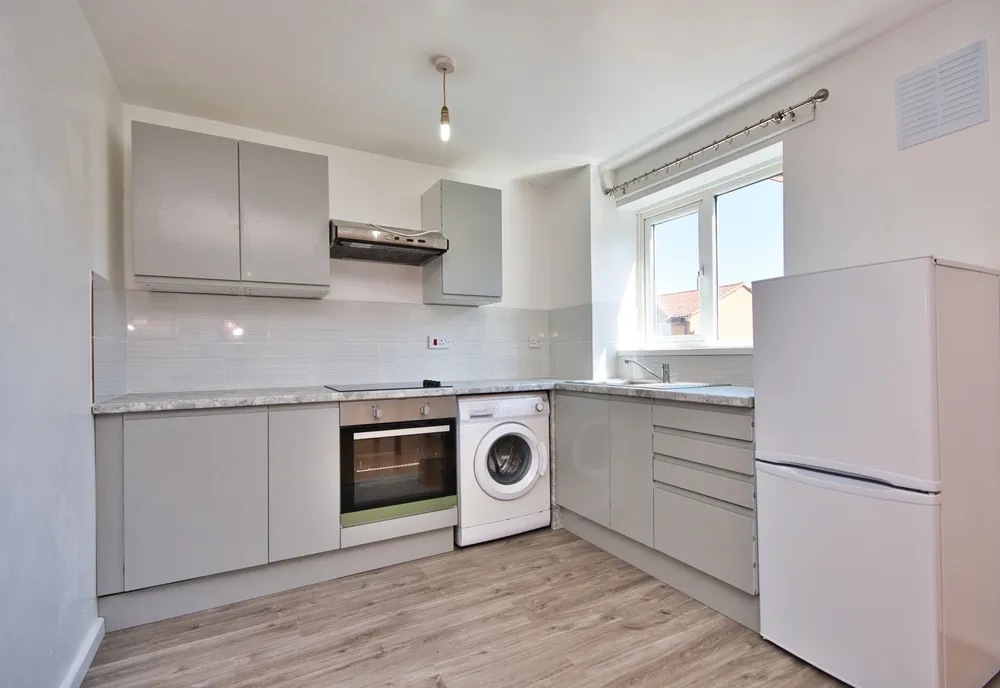
Thresholds & Height Planning
Measure the finished floor height at doorways. Choose reducers or T-moldings that meet adjacent flooring cleanly—this detail finishes how to install vinyl tile flooring with a seamless, safe transition.
Layout: Reference Lines & Dry-Fit
Crisp layout is the secret to a designer look when learning how to install vinyl tile flooring.
Find the Visual Center
Snap perpendicular chalk lines or use a laser to create a cross at the room’s visual center (often aligned to the doorway view, not the geometric center). Balance cut sizes at tub, vanity, and walls to avoid skinny slivers.
Dry-Lay Key Courses
Set a few rows without adhesive, including spacers for expansion (follow manufacturer guidance). Dry-fitting confirms pattern flow and joint alignment—the heart of how to install vinyl tile flooring that looks intentional.
Cutting Tiles Accurately
Clean, safe cuts are a big part of how to install vinyl tile flooring—vinyl cuts easily, but accuracy counts.
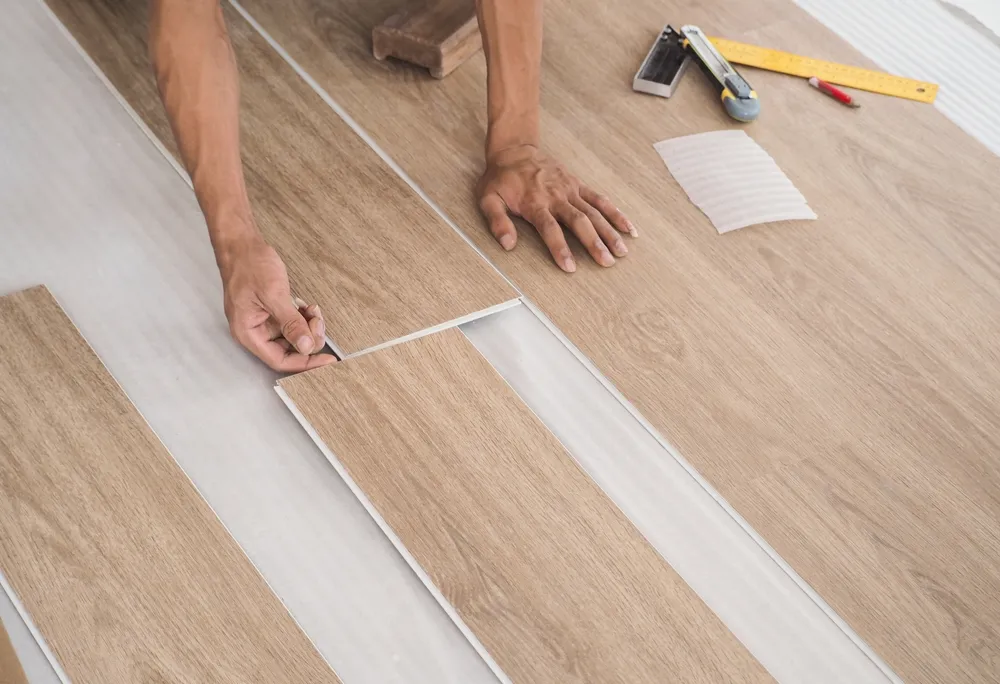
Score & Snap Technique
Use a straightedge and sharp blade to score the face, then snap. For notches around door jambs or vanity feet, score multiple shallow passes rather than one deep cut.
Holes, Curves & Odd Cuts
For toilet flanges and curved tub aprons, make a paper template first, then transfer to tile. A heat gun on low can help relax rigid vinyl for gentle curves—another pro tip in how to install vinyl tile flooring with fewer wasted pieces.
Adhesive Options & Set Times
Bonding method shapes the workflow of how to install vinyl tile flooring—follow the product’s data sheet closely.
Peel-and-Stick vs. Pressure-Sensitive vs. Full-Spread
Peel-and-stick relies on factory adhesive; pressure-sensitive adhesive flashes off until tacky; full-spread wet-set requires careful trowel size and open time. Matching adhesive to tile and subfloor is central to how to install vinyl tile flooring that stays put.
Rolling for Bond
After placement, roll every section with a 100-lb roller to activate the adhesive and prevent bubbles. Rolling is non-negotiable in how to install vinyl tile flooring—especially in humid bathrooms.
Setting the Field Tiles
Placing tiles methodically is where how to install vinyl tile flooring becomes a rhythm.
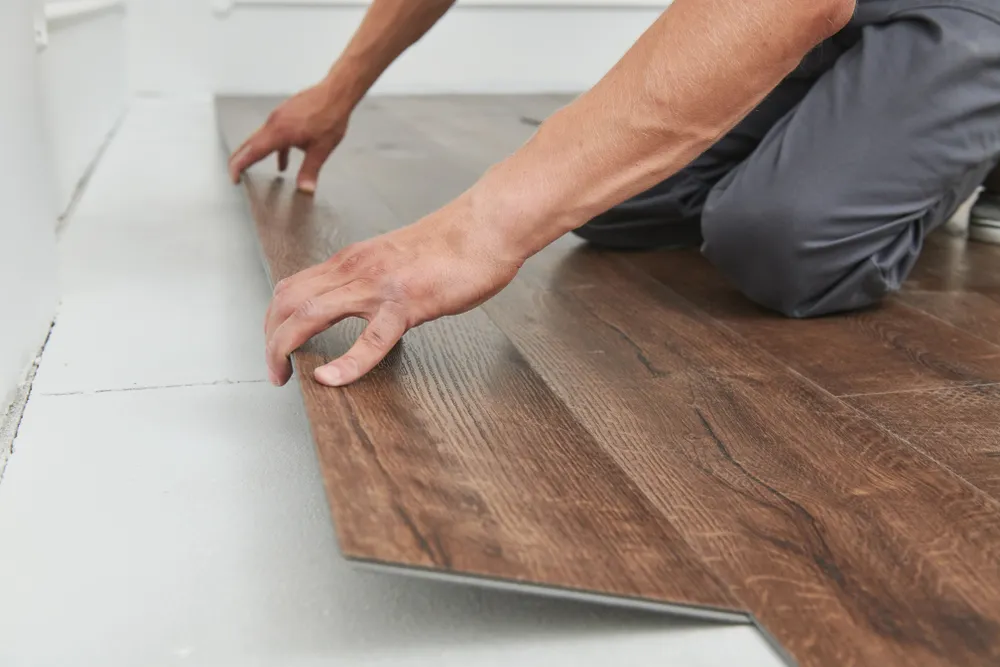
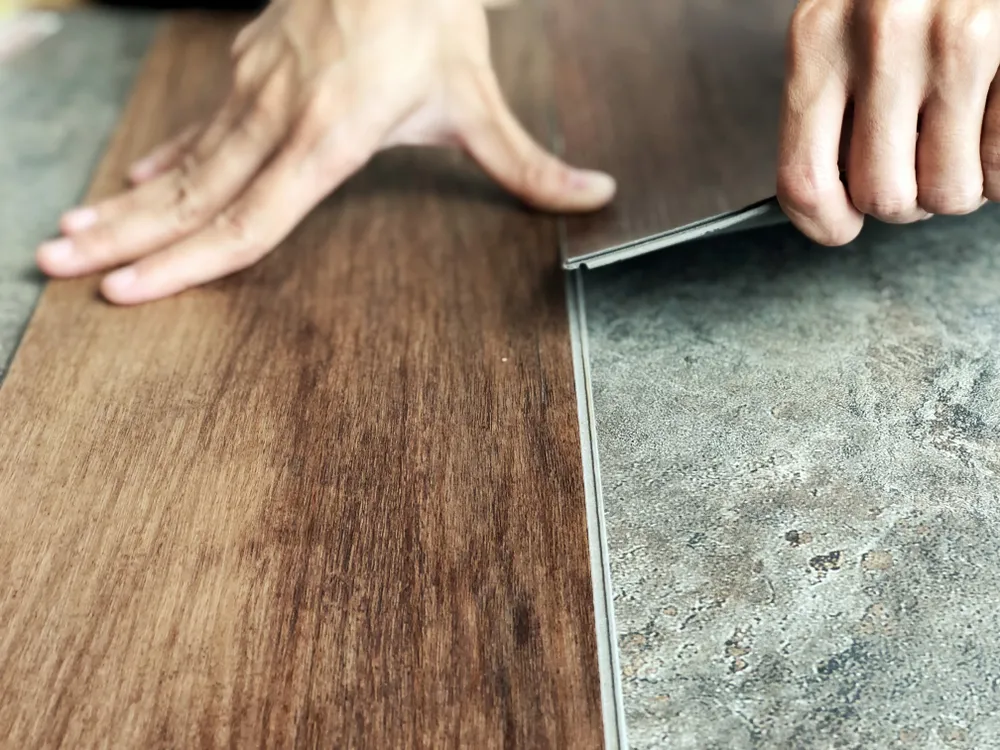
Work Off the Cross Lines
Start at your reference cross and work out in quadrants. Butt edges as specified (or use tiny alignment gaps per manufacturer), keeping joints tight and straight.
Monitor Alignment & Light
Step back occasionally and check how joints look under natural and artificial light. Keeping courses true now saves rework—an efficiency lesson in how to install vinyl tile flooring.
Around the Toilet, Vanity & Tub
Detail work around fixtures defines the quality of how to install vinyl tile flooring in bathrooms.
Toilet Flange & Wax Ring Tips
Turn off water, remove the toilet, and cover the flange temporarily. Cut tiles to within recommended clearance, then reinstall the toilet with the correct wax ring or spacer ring to match new height.
Tub & Shower Edges
Run tiles to the apron with a small movement gap. Later, fill this change-of-plane with color-matched silicone—not grout—to complete how to install vinyl tile flooring with flexible, water-tight edges.
Seams, Rolling & Final Sealing
Finishing steps lock in durability—the last mile of how to install vinyl tile flooring.
Double-Check Seams & Bubbles
Roll the floor again after 30–60 minutes and once more at the end. If a bubble appears, carefully lift and reset or use a seam roller for stubborn edges.
Perimeter Caulk & Moisture Defense
Use mildew-resistant silicone at tub, shower, and perimeter joints. Strategic caulk lines are an inexpensive insurance policy when mastering how to install vinyl tile flooring in wet rooms.
FAQs
UKB
Unique Kitchen & baths is a family-owned business that is committed to providing high-quality kitchen and bathroom remodeling, as well as flooring installations at affordable prices.