How to Repair a Toilet Fill Valve (2025 Step-by-Step Guide)
if your tank hisses, keeps refilling, or takes ages to top off, you’re probably deciding how to repair a toilet fill valve without replacing the whole toilet. This guide walks through quick diagnostics, easy adjustments, a clean replacement procedure, and prevention tips so the fix lasts.
Contents
How a Fill Valve Works (and Why It Fails)
A fill valve refills the tank after every flush and shuts the water off at a set level. When components wear or get misadjusted, the tank can run or “ghost” refill.
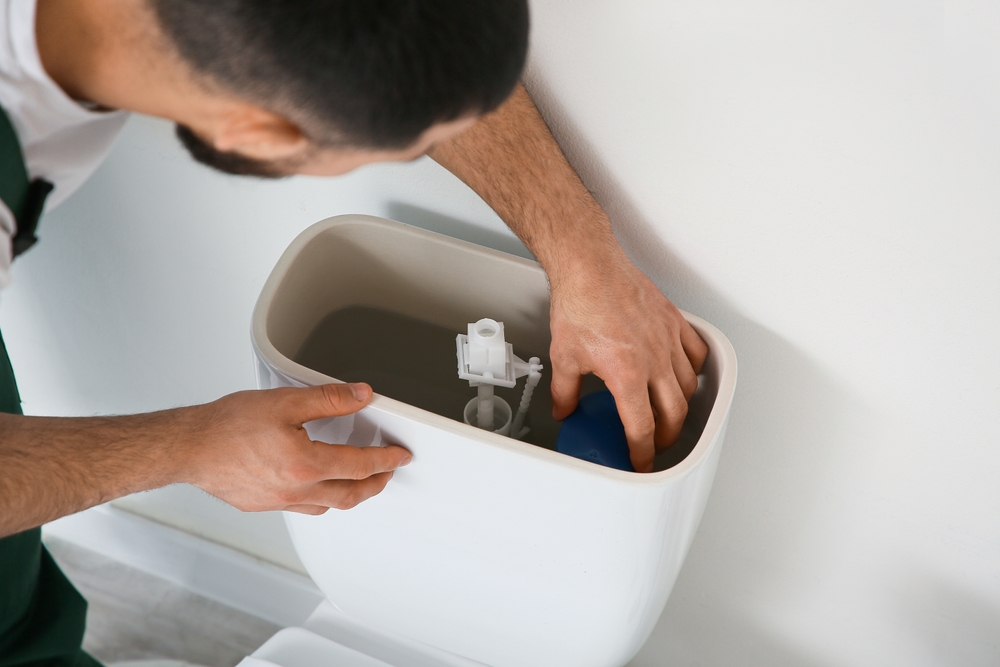
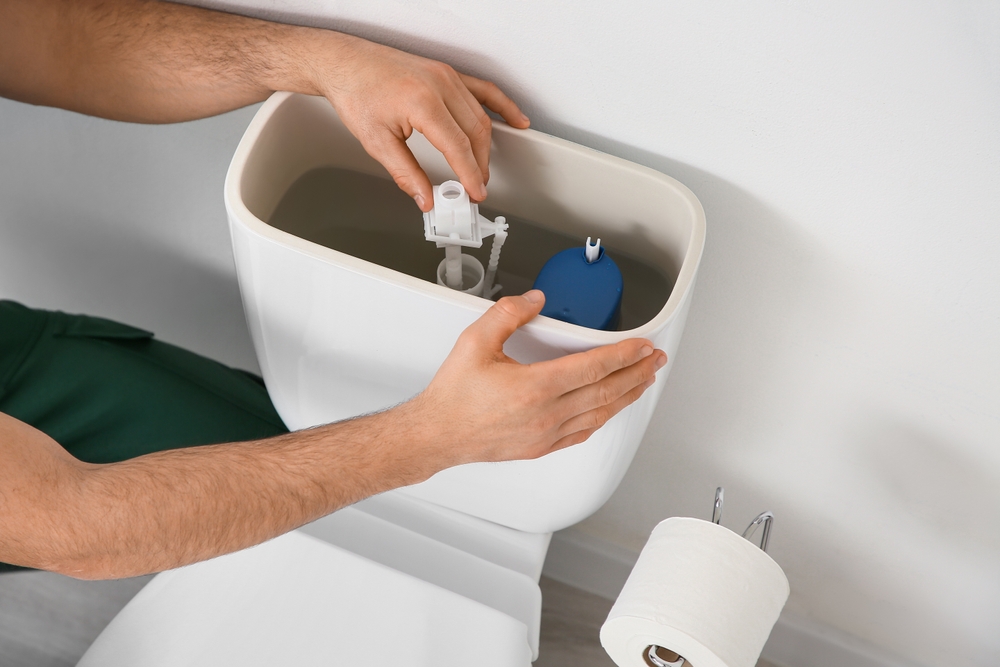
Core Components You’ll See in the Tank
Inside the tank, the valve connects to the supply, a float tracks the water level, and a small refill tube re-primes the bowl. If you’re learning how to repair a toilet fill valve for the first time, note that a quiet, crisp shutoff at the correct water line is the ideal end state.
Common Failure Modes
Mineral scale or grit inside the seal prevents full closure. A float set too high causes water to trickle into the overflow. A refill tube shoved down the overflow can siphon and keep the valve running—one of the most overlooked causes people run into while figuring out how to repair a toilet fill valve properly.
Tools & Parts You’ll Need
A few basic tools and an inexpensive universal kit are usually enough for a same-day fix.
Basic Tool Kit
Keep an adjustable wrench for the supply connection, flat/Phillips screwdrivers for caps and clamps, a towel and sponge for cleanup, and gloves with eye protection. A flashlight or small mirror helps you inspect behind the valve shank and locknut.
Replacement & Service Items
Most modern anti-siphon valves are universal and include a new refill tube and clip. If your braided supply line is old or kinked, replace it. Planning how to repair a toilet fill valve efficiently means having these parts ready so you can diagnose and complete the repair in one session.
Fast Diagnostics (5 Minutes Before You Buy Parts)
Simple checks isolate the culprit so you only replace what’s necessary.
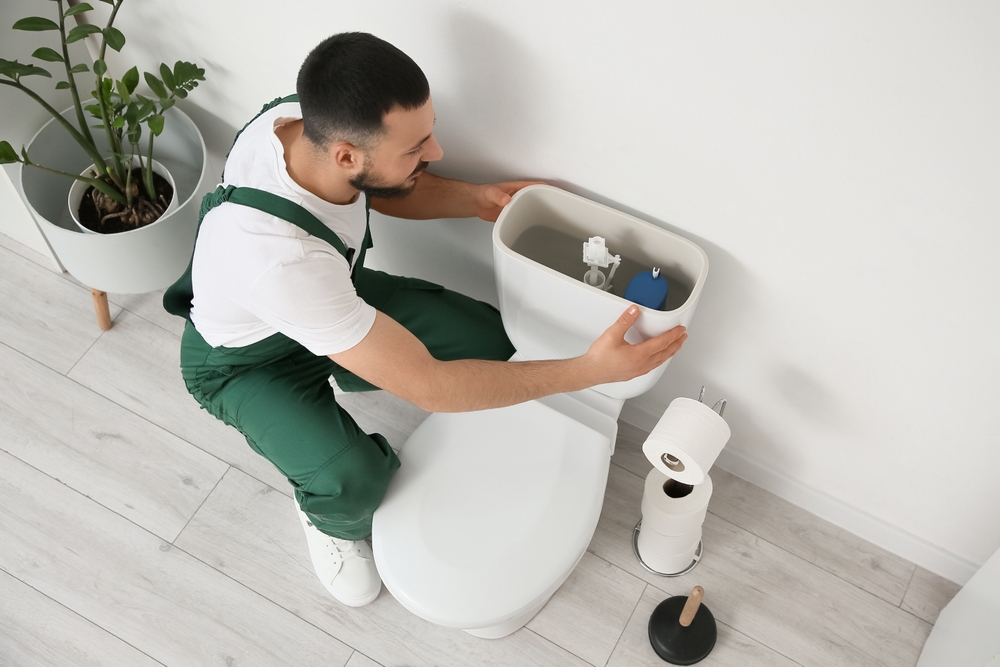
Check the Water Line and Overflow
After a refill, the water should rest just below the overflow rim. If ripples spill into the overflow, lower the float a bit and watch the trickle stop—often the quickest path to how to repair a toilet fill valve without parts.
Listen for Hiss, Pulse, or Intermittent Refills
A steady hiss hints at debris in the internal seal. Short, periodic refills can be a flapper leak; if a dye test shows no color entering the bowl, refocus on the fill mechanism and continue with how to repair a toilet fill valve steps.
Float Movement & Refill Tube Placement
Ensure the float doesn’t rub the tank or flush tower. Clip the refill tube so its tip sits above (not inside) the overflow; that small placement detail prevents siphoning and needless top-offs.
Adjustment First: Set the Float and Water Level
Try adjustments before replacing anything; many fixes take minutes.
Float Cup Systems
Most valves use a float cup with a height screw or pinch clip. Lower the float in small increments, flush, and let the tank refill. Stop when the water line sits about ½ inch below the overflow. People often learn how to repair a toilet fill valve successfully with this simple tweak alone.
Ball-and-Arm Systems
Gently bend the float arm down to reduce shutoff height. If the float is waterlogged or the arm is bent or corroded, replacement is usually quicker and more reliable than fiddling.
Full Replacement: Step-by-Step
When adjustments don’t hold, a clean swap to a modern anti-siphon valve solves the issue and improves reliability.
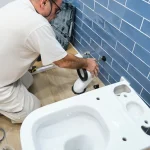
Shut Down and Drain
Close the stop valve, flush, hold the handle to empty the tank, and sponge out the remainder. Disconnect the supply line at the valve shank beneath the tank.
Remove the Old Valve
Loosen the locknut under the tank, lift the old assembly out, and wipe away grit so the new gasket seals perfectly. This preparation is a small but critical part of how to repair a toilet fill valve so it doesn’t weep later.
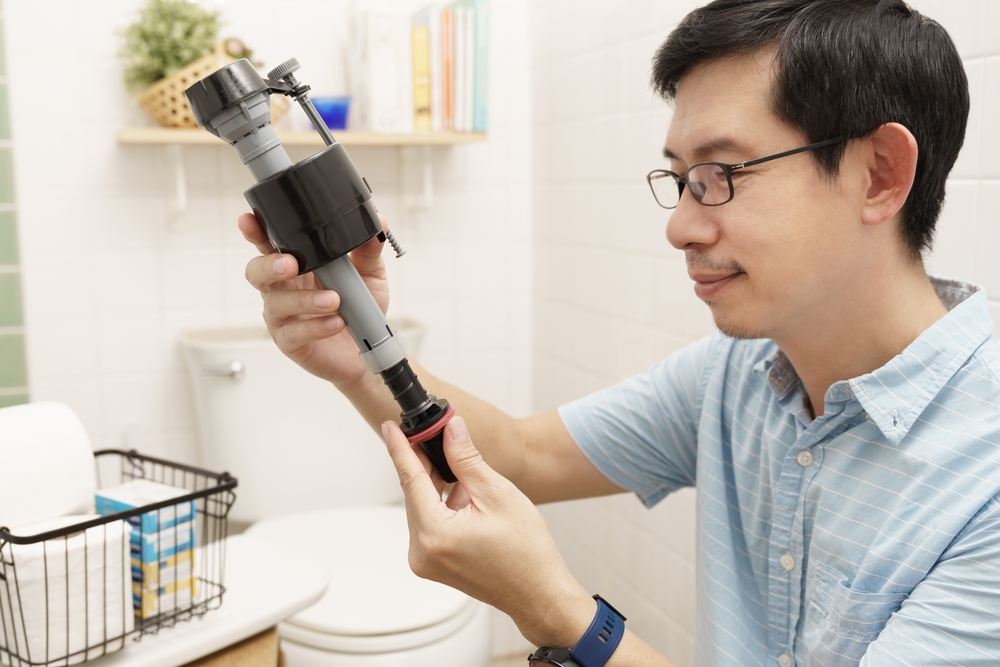
Install and Adjust the New Valve
Set the new valve height so the “CL/critical level” mark sits above the overflow rim. Seat the gasket, insert the valve, hand-tighten the locknut, and reconnect the supply. Clip the refill tube so its tip rests above the overflow rim. Open the stop valve and adjust the float so the water line lands just below the rim. Test several flushes; a silent, precise shutoff confirms you know how to repair a toilet fill valve correctly.
Prevent Leaks After the Repair
Attention to small details prevents callbacks and keeps the tank quiet.
Final Seal and Connection Checks
Snug the locknut—firm, not overtight. Inspect the supply connections for weeping and listen for two minutes after fill. True silence means you’re done.
Refill Tube and Anti-Siphon Protection
Keep the tube above the rim and never down inside the overflow. This preserves anti-siphon function and prevents the valve from cycling.
FAQs
UKB
Unique Kitchen & baths is a family-owned business that is committed to providing high-quality kitchen and bathroom remodeling, as well as flooring installations at affordable prices.