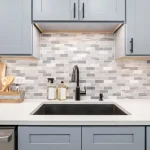
How to Replace a Kitchen Faucet With Two Handles: Complete Step-by-Step Guide
A leaking or outdated kitchen faucet is not just annoying. It can waste water, increase utility bills, and make your kitchen feel older than it really is. The good news is that learning how to replace a kitchen faucet with two handles is much easier than most people think.
From hands-on experience with kitchen repairs and faucet replacements, most issues come from skipping preparation or misunderstanding how two-handle faucets are mounted. With the right steps, tools, and patience, this is a project most homeowners can complete in under two hours.
This guide explains how to replace a kitchen faucet with two handles clearly and safely, even if you have little plumbing experience.
Contents
- 1 What Is How to Replace a Kitchen Faucet With Two Handles?
- 2 Why How to Replace a Kitchen Faucet With Two Handles Is Important
- 3 How to Replace a Kitchen Faucet With Two Handles (Step-by-Step Guide)
- 4 Common Mistakes to Avoid With How to Replace a Kitchen Faucet With Two Handles
- 5 Expert Tips for Success With How to Replace a Kitchen Faucet With Two Handles
- 6 FAQs About How to Replace a Kitchen Faucet With Two Handles
- 6.1 Can I replace a two-handle kitchen faucet myself?
- 6.2 How long does it take to replace a kitchen faucet with two handles?
- 6.3 Do I need special tools to replace a kitchen faucet?
- 6.4 Should I replace water supply lines when installing a new faucet?
- 6.5 Why is my new faucet leaking after installation?
- 7 Conclusion
What Is How to Replace a Kitchen Faucet With Two Handles?
How to replace a kitchen faucet with two handles refers to removing an existing faucet that has separate hot and cold handles and installing a new one in its place while ensuring proper water connections and leak-free operation.
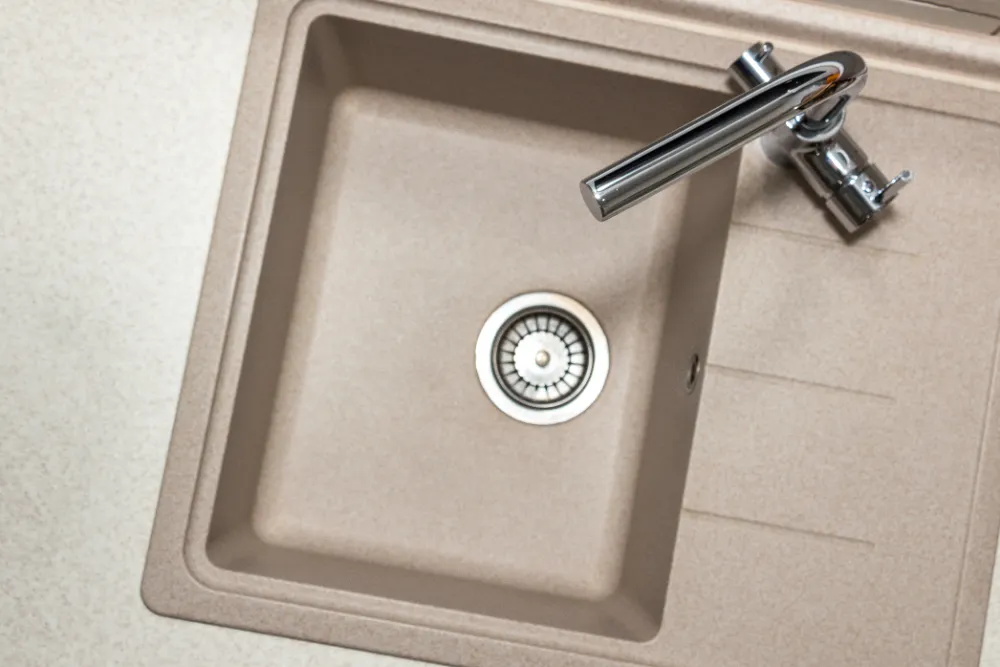
Two-handle faucets typically include:
- Separate hot and cold handles
- Multiple mounting holes in the sink or countertop
- Individual water supply connections
Replacing this type of faucet requires careful alignment and correct tightening to prevent leaks and handle misalignment.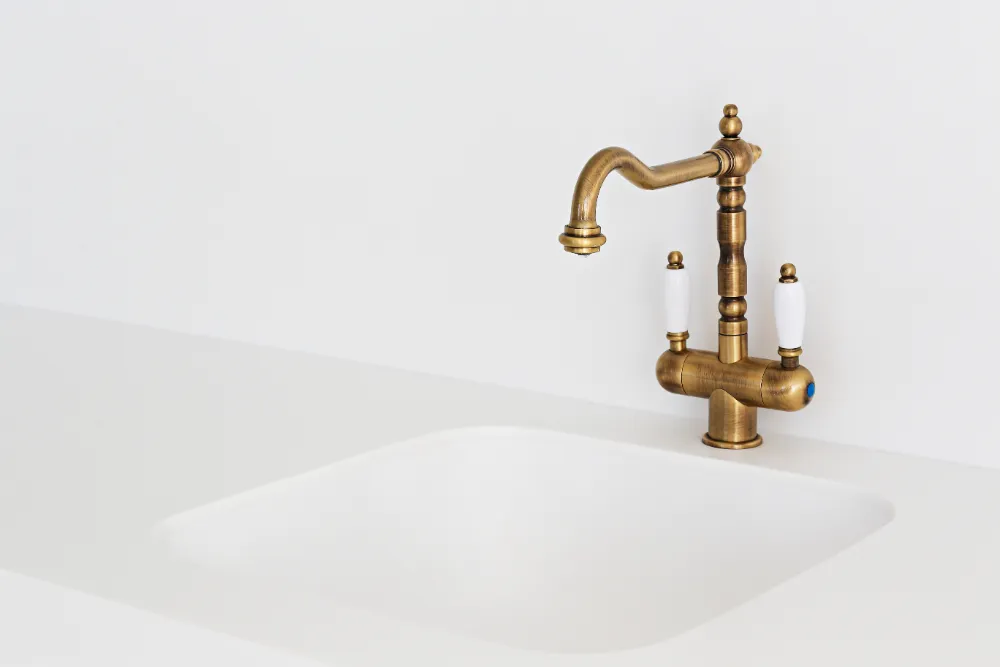
Why How to Replace a Kitchen Faucet With Two Handles Is Important
Understanding how to replace a kitchen faucet with two handles correctly helps prevent common plumbing problems.
Here is why it matters:
- Prevents leaks: Improper installation causes dripping and water damage
- Protects plumbing: Correct connections reduce pipe strain
- Improves functionality: Smooth handle operation and balanced water flow
- Saves money: Avoids unnecessary plumber costs
According to plumbing safety and installation guidelines, improper faucet installation is a common cause of under-sink leaks.
From real-world experience, most faucet issues happen within the first week after installation due to loose fittings or misaligned handles.
How to Replace a Kitchen Faucet With Two Handles (Step-by-Step Guide)
Follow these steps carefully to ensure a smooth replacement.
Step 1: Turn Off the Water Supply
- Locate the hot and cold shutoff valves under the sink
- Turn both valves clockwise until fully closed
- Turn on the faucet to release remaining water
Never skip this step when learning how to replace a kitchen faucet with two handles.
Step 2: Disconnect the Water Supply Lines
- Place a towel or bucket under the connections
- Use an adjustable wrench to loosen supply lines
- Allow any remaining water to drain
Label hot and cold lines if needed to avoid confusion later.
Step 3: Remove the Old Faucet and Handles
- Loosen the mounting nuts under the sink
- Unscrew each handle mounting point
- Lift the faucet and handles from above the sink
Some older faucets may require penetrating oil if nuts are stuck.
Step 4: Clean the Sink Surface
- Remove old sealant or plumber’s putty
- Clean the mounting holes thoroughly
- Dry the surface completely
A clean surface ensures proper sealing and prevents leaks.
Step 5: Install the New Faucet and Handles
- Insert the faucet body into the center hole
- Install the hot and cold handles into their respective holes
- Secure mounting hardware from below
Make sure everything is aligned before tightening.
Step 6: Connect the Water Supply Lines
- Attach hot and cold supply lines to the correct valves
- Hand-tighten first, then gently tighten with a wrench
- Do not overtighten
Overtightening is a common mistake when replacing faucets.
Step 7: Test for Leaks and Proper Operation
- Slowly turn the water supply back on
- Check all connections for leaks
- Turn handles on and off to test flow
If leaks appear, tighten slightly and test again.
Common Mistakes to Avoid With How to Replace a Kitchen Faucet With Two Handles
Avoid these frequent mistakes:
- Forgetting to turn off the water supply
- Mixing up hot and cold connections
- Overtightening fittings
- Skipping sink surface cleaning
- Not checking for leaks immediately
These mistakes cause most post-installation problems.
Expert Tips for Success With How to Replace a Kitchen Faucet With Two Handles
Professional installers recommend the following:
- Take photos before removing the old faucet
- Use plumber’s putty or gasket as specified by the manufacturer
- Replace old supply lines if they show wear
- Tighten fittings gradually and evenly
- Recheck for leaks after 24 hours
Experienced plumbers agree that patience during installation leads to longer-lasting results.
FAQs About How to Replace a Kitchen Faucet With Two Handles
UKB
Unique Kitchen & baths is a family-owned business that is committed to providing high-quality kitchen and bathroom remodeling, as well as flooring installations at affordable prices.