How to Install a Toilet: A Complete Step-by-Step Homeowner’s Guide
Learning how to install a toilet is one of the most practical DIY plumbing projects homeowners can tackle. Whether you’re replacing an old, inefficient toilet or upgrading your bathroom as part of a remodel, understanding the process ensures a watertight, functional installation that lasts for years.
This guide from Unique Kitchen and Baths walks you through each stage — from preparation and removal of your old toilet to proper alignment, sealing, and final checks — all while offering professional insights to help you avoid leaks or costly mistakes.
Contents
- 1 Understanding the Basics Before Installing a Toilet
- 2 Step 1: Remove the Old Toilet
- 3 Step 2: Inspect and Prepare the Flange
- 4 Step 3: Install the Wax Ring or Rubber Seal
- 5 Step 4: Set the Toilet in Place
- 6 Step 5: Attach the Toilet Tank
- 7 Step 6: Final Adjustments and Testing
- 8 Common Mistakes to Avoid During Toilet Installation
- 9 FAQs
- 10 Conclusion
Understanding the Basics Before Installing a Toilet
Before beginning the installation, it’s important to understand how a toilet functions and what components are involved. A toilet connects directly to your home’s waste line through a flange on the floor, creating a sealed system that prevents odors and leaks.
Knowing how to install a toilet properly means ensuring the plumbing connections, flange, and wax seal are perfectly aligned for reliable performance.
Components You’ll Work With
When installing a toilet, you’ll handle three main parts:
- Toilet bowl: The base that connects to the floor flange.
- Toilet tank: Holds water for flushing and mounts to the bowl.
- Wax ring or rubber seal: Creates a watertight connection between the toilet and flange.
Tools You’ll Need
Before getting started, gather your tools:
- Adjustable wrench
- Putty knife
- Screwdriver
- Wax ring or seal
- Level
- Closet bolts and washers
- Plumber’s tape
- Bucket and sponge
Once you have these ready, you’re set to begin your how to install a toilet project confidently.
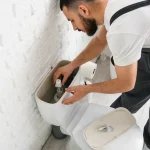
Step 1: Remove the Old Toilet
The first step in how to install a toilet is removing the existing one safely. Start by turning off the water supply valve, usually located behind or beside the toilet. Flush the toilet to drain as much water as possible from the tank and bowl. Use a sponge or towel to soak up any remaining water.
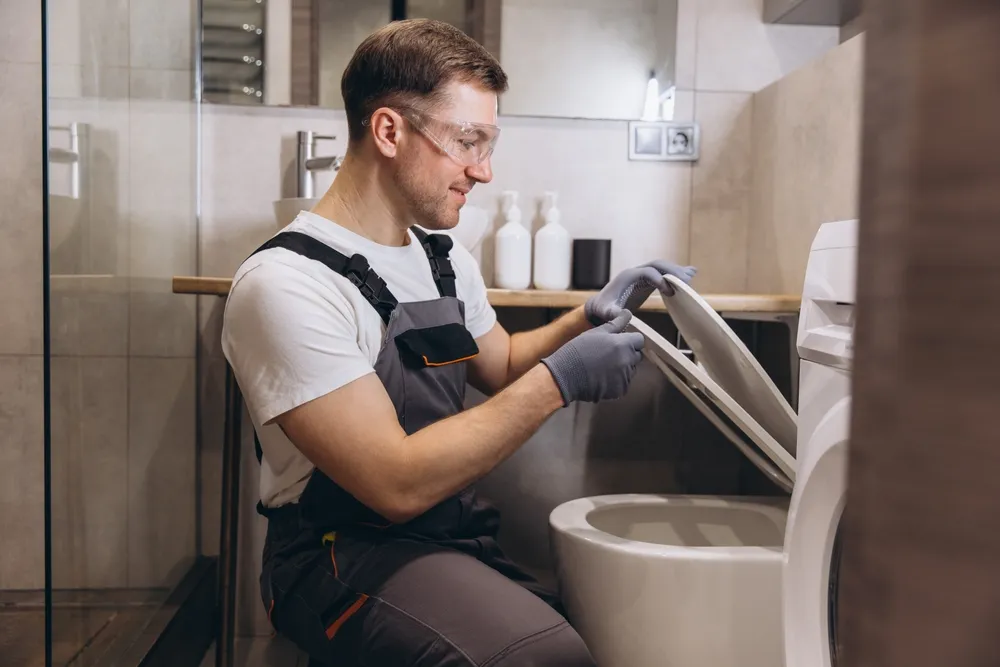
Disconnect the water supply line from the bottom of the tank, then remove the nuts securing the toilet to the floor bolts. Rock the toilet gently to break the old wax seal, then lift it off and place it on an old towel or cardboard to prevent mess. Scrape off any remaining wax with a putty knife and inspect the flange for cracks or damage.
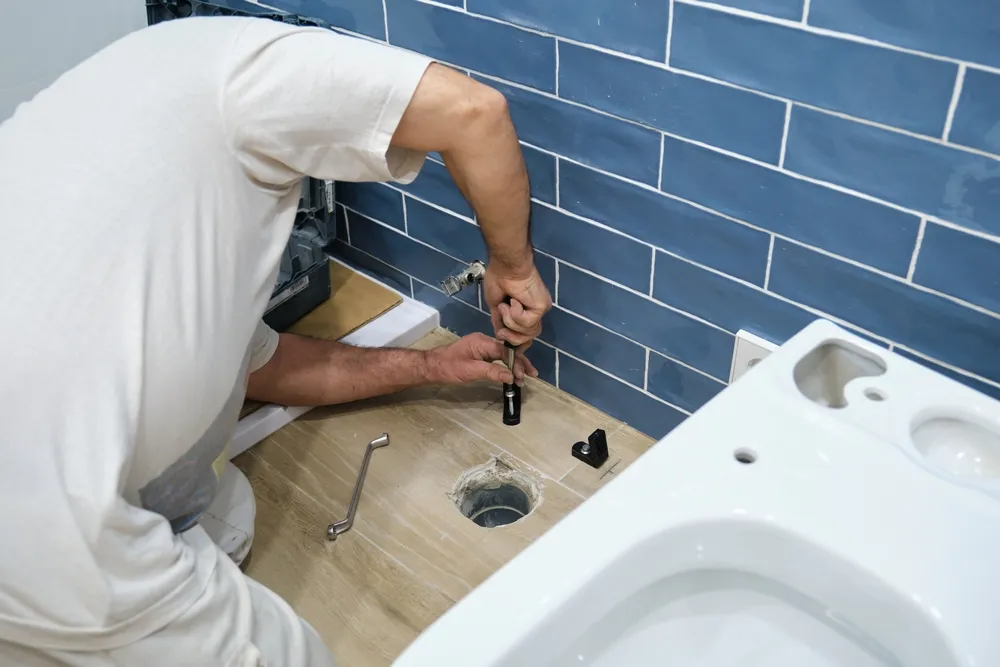
Step 2: Inspect and Prepare the Flange
The flange is the key connection point between your toilet and the sewer line. When learning how to install a toilet, checking the flange’s condition is crucial for preventing future leaks.
Inspecting the Flange
Look for cracks or corrosion around the flange. If damaged, replace it using a flange repair kit available at most hardware stores. A solid flange ensures a secure and level base for your new toilet.
Positioning the Bolts
Insert new closet bolts into the flange slots, making sure they are evenly spaced and aligned parallel to the wall. These bolts will later secure the toilet base in place.
Step 3: Install the Wax Ring or Rubber Seal
At this stage of how to install a toilet, you’ll create a watertight connection between the toilet and the floor.
Choosing the Right Seal
You can use a traditional wax ring or a modern rubber seal. Wax rings offer a long-standing, reliable seal, but rubber rings are cleaner and easier for beginners to handle.
Positioning the Seal
Place the wax or rubber ring onto the flange, centered around the drain hole. Some homeowners prefer attaching the wax ring to the toilet outlet instead — either method works as long as alignment is accurate.
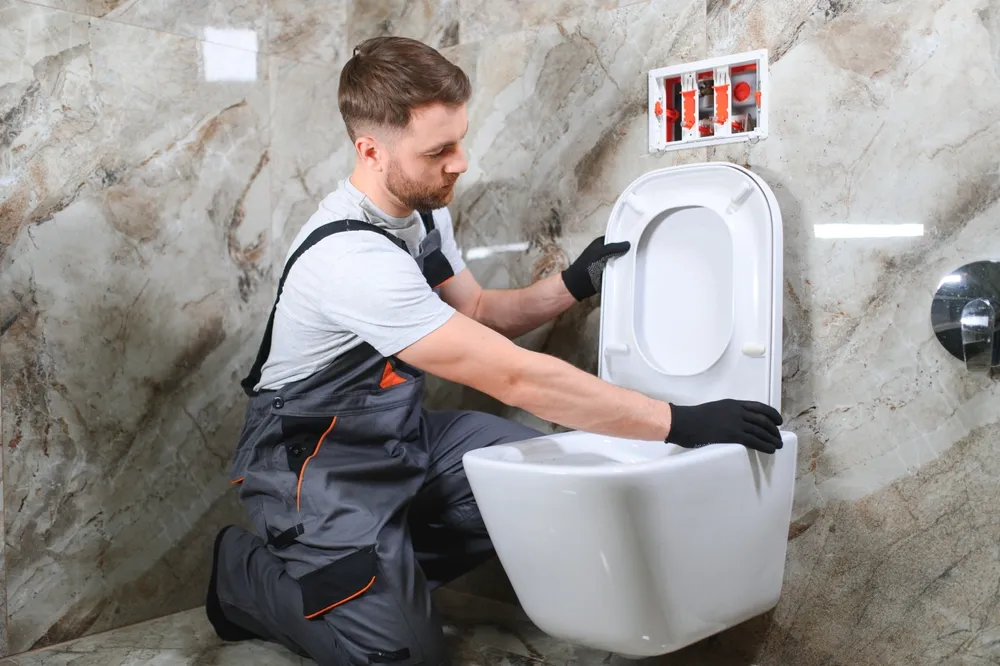
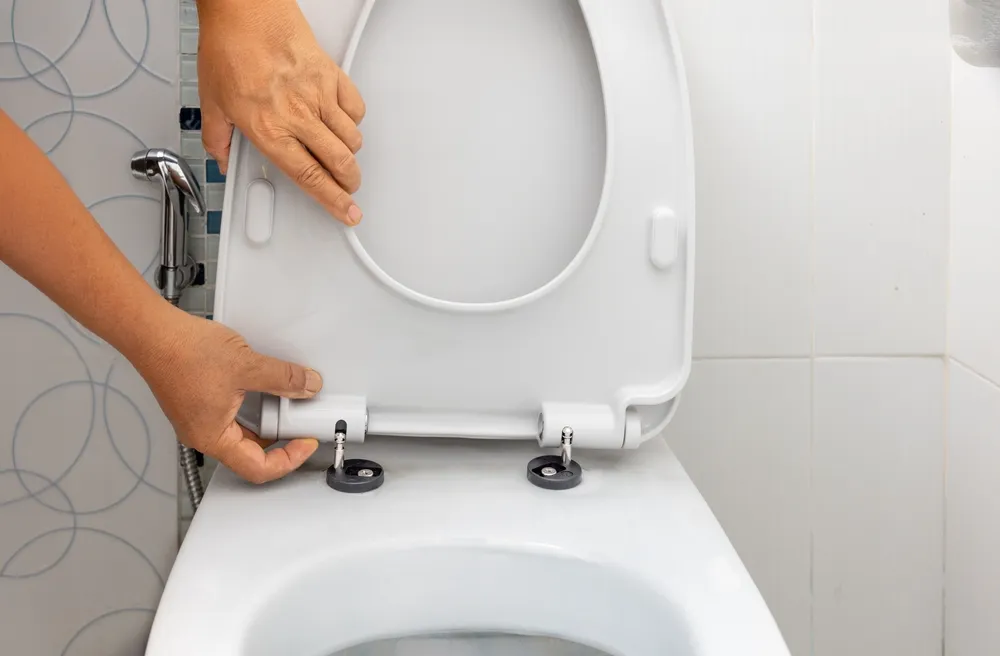
Step 4: Set the Toilet in Place
This step requires care and precision. Gently lower the toilet bowl over the flange, aligning the holes at the base with the closet bolts. Rock it slightly back and forth to compress the wax seal and create a firm connection.
Press down evenly but firmly to seat the toilet fully. Avoid excessive rocking, as this can damage the wax ring and cause leaks.
Once the bowl is seated, add washers and nuts to the closet bolts and tighten them carefully — alternating sides to maintain balance. Over-tightening can crack the porcelain, so proceed slowly.
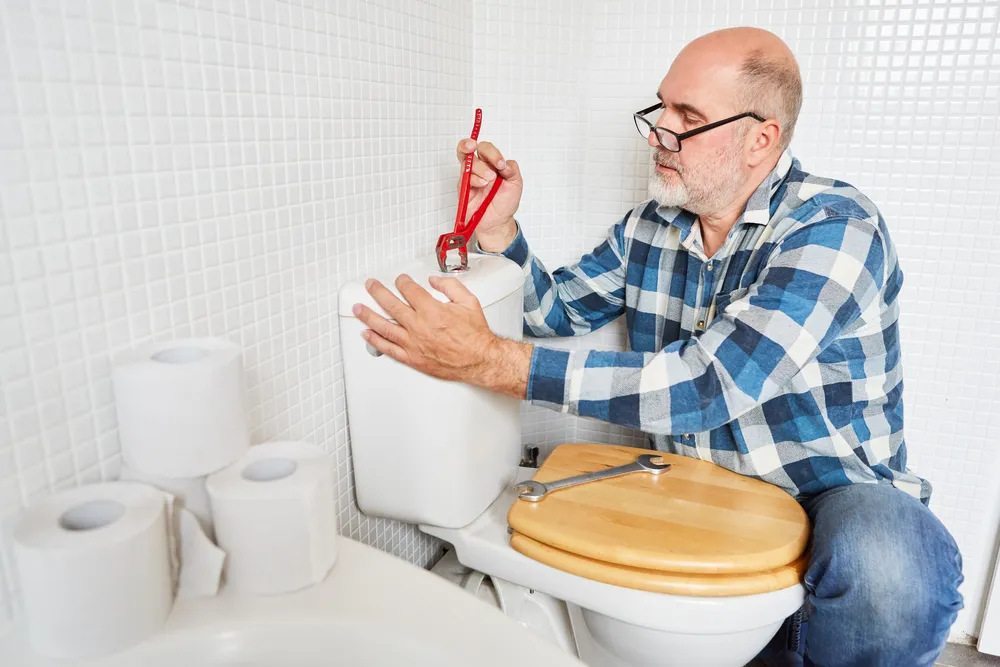
Step 5: Attach the Toilet Tank
Now it’s time to secure the tank to the bowl, an essential step in how to install a toilet properly.
Installing the Tank Bolts
Set the rubber gasket between the tank and bowl. Insert the tank bolts through the holes, then place the tank onto the bowl, aligning the bolts with the openings.
Tighten the nuts gradually in a crisscross pattern until the tank is snug and level. Don’t overtighten, as this may crack the porcelain.
Connecting the Water Supply
Reattach the water supply line to the bottom of the tank. Use plumber’s tape on the threads for extra security. Turn on the water and allow the tank to fill, checking for leaks at the base and hose connection.
Step 6: Final Adjustments and Testing
After completing the physical installation, the last stage of how to install a toilet involves verifying stability and performance.
Flush the toilet several times to check for leaks around the base and water line. Make sure the toilet doesn’t rock — if it does, insert toilet shims under the base for balance.
Once everything feels secure, trim the closet bolts, snap on the decorative caps, and seal the toilet base with a bead of silicone caulk for a clean finish.
Common Mistakes to Avoid During Toilet Installation
Even experienced DIYers make errors when learning how to install a toilet. Avoid these common mistakes for a smoother process.
Skipping the Flange Inspection
Installing a toilet over a damaged flange can lead to leaks and instability. Always check it before placing the new toilet.
Overtightening Bolts
Porcelain cracks easily under too much pressure. Tighten bolts evenly and only until snug.
Incorrect Wax Ring Placement
If the wax ring isn’t centered, it can create gaps that cause leaks. Take your time to ensure it’s aligned perfectly.