How to Repair a Cracked Bathtub: A Complete Step-by-Step Guide
A cracked bathtub doesn’t always mean it’s time for a full replacement. Whether it’s a small surface fracture or a deeper structural split, you can restore your tub’s strength and finish with the right materials and technique. Understanding how to repair a cracked bathtub can save you hundreds of dollars in replacement costs and prevent long-term water damage beneath your bathroom floors.
This comprehensive guide from Unique Kitchen and Baths walks you through every stage—from assessing the type of crack to refinishing the repaired area for a seamless, watertight look.
Contents
Understanding the Type of Crack Before Repair
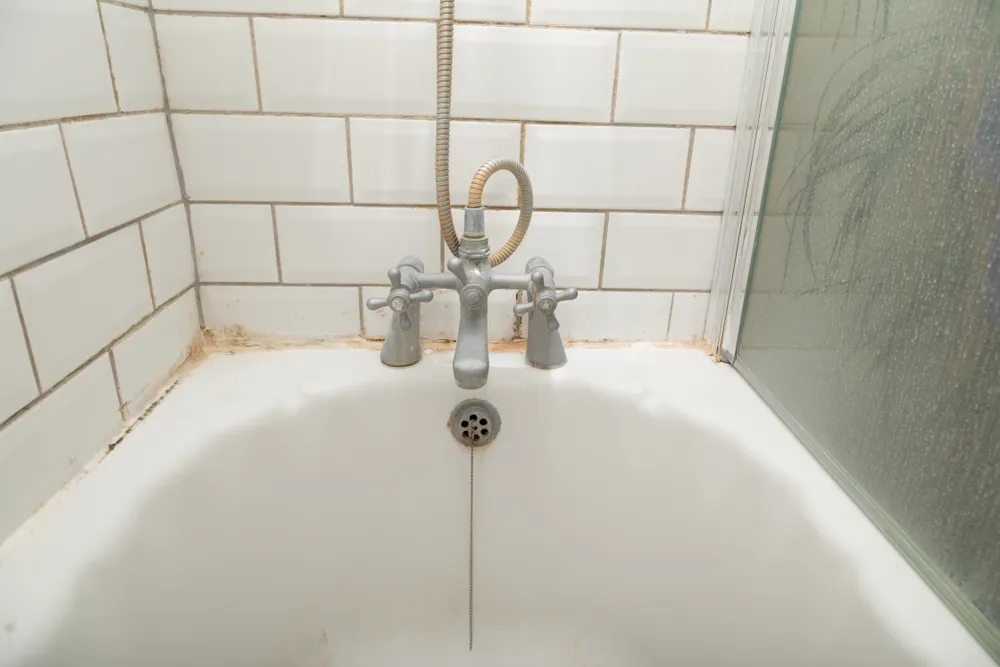
Before jumping into repairs, it’s essential to identify what kind of damage you’re dealing with. Not all cracks are created equal, and knowing what caused them ensures the right repair method.
Hairline Cracks
Hairline cracks are often surface-level damage caused by wear, stress, or temperature changes. They don’t usually affect the structure of the tub, making them relatively easy to fix using an epoxy or filler compound.
Structural Cracks
If your bathtub flexes when you step in, the crack likely penetrates deeper into the fiberglass or acrylic. Structural cracks usually appear larger and may leak water beneath the surface. These require reinforcement with fiberglass mesh and multi-layer epoxy.
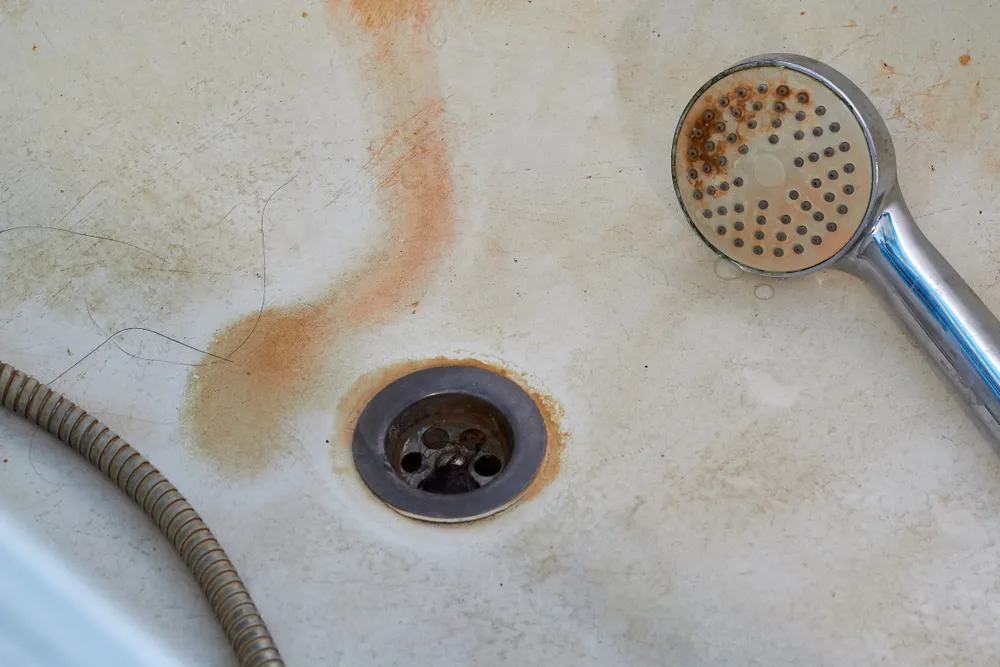
Causes of Cracks
Common causes include uneven floor support, impact damage from dropped objects, chemical erosion, and long-term thermal expansion. Before starting your how to repair a cracked bathtub project, ensure the underlying cause is addressed to avoid future damage.
Tools and Materials You’ll Need for the Repair
A professional-quality result depends on having the right tools and materials on hand before you start.
- Fiberglass or acrylic repair kit (depending on tub material)
- Two-part epoxy resin
- Fiberglass mesh or mat (for structural cracks)
- Sandpaper (80, 120, and 400 grit)
- Utility knife or Dremel
- Paintbrush or plastic spreader
- Protective gloves and goggles
- Color-matched touch-up paint or gel coat
Once you gather these materials, clean and dry your tub thoroughly before applying any compounds—moisture will weaken the bond.
Step-by-Step: How to Repair a Cracked Bathtub
Fixing a bathtub crack involves cleaning, reinforcing, filling, sanding, and refinishing. Follow each stage carefully for a smooth, long-lasting result.
Step 1: Clean and Prepare the Area
Start by cleaning the damaged section with a non-abrasive cleaner and warm water to remove soap scum, oils, and dirt. Use rubbing alcohol to eliminate any residue. Then, lightly sand the area around the crack to roughen the surface and help the epoxy adhere better.
Step 2: Widen the Crack Slightly (If Needed)
Use a utility knife or Dremel tool to slightly widen deep cracks—no more than 1/8 inch. This helps the repair material penetrate and bond more effectively.
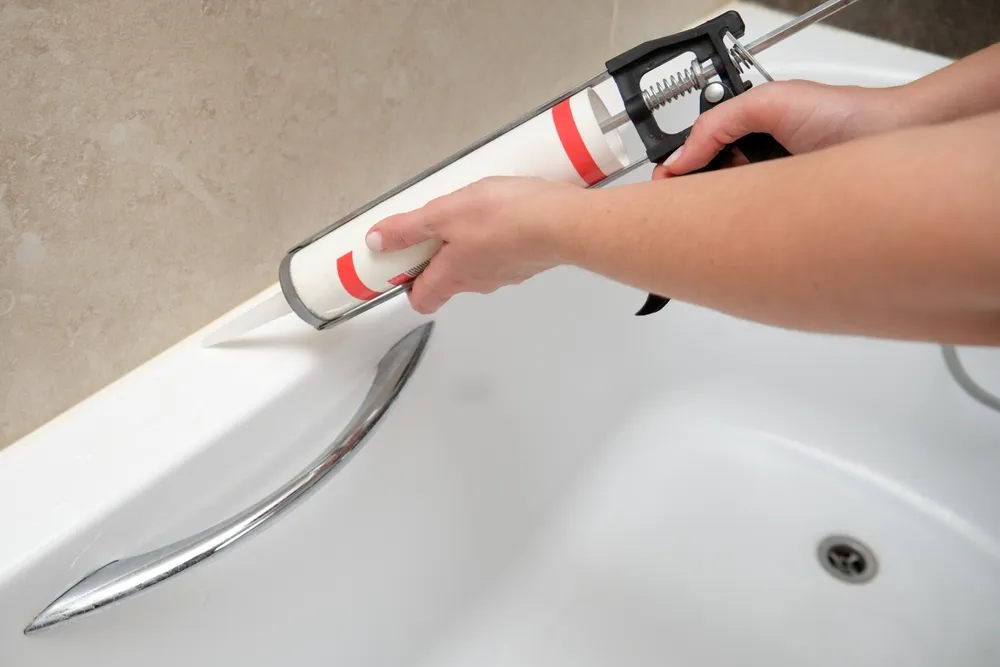
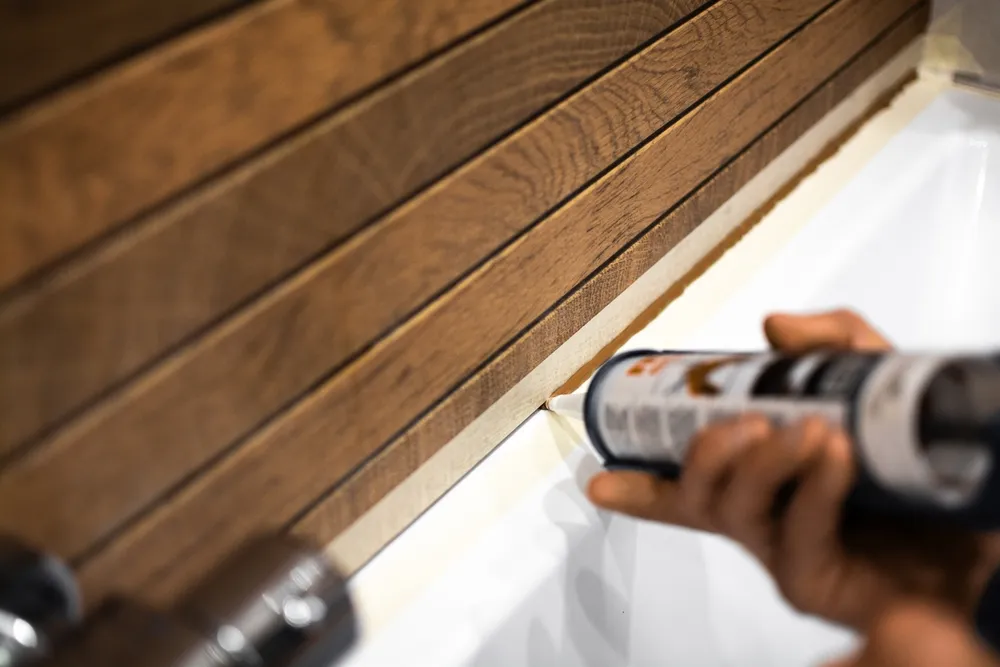
Step 3: Mix and Apply the Epoxy
Follow your repair kit’s instructions to mix the two-part epoxy. For surface cracks, apply it directly into the gap using a brush or spatula. For deeper structural cracks, lay fiberglass mesh over the crack and apply multiple thin layers of epoxy over it.
Step 4: Let the Epoxy Cure
Allow the epoxy to fully cure—typically 12 to 24 hours depending on temperature and humidity. Avoid using the bathtub during this period to prevent disrupting the repair.
Step 5: Sand and Smooth the Surface
Once cured, sand the area progressively with 120-grit, then 400-grit sandpaper until smooth. Wipe the surface clean with a damp cloth.
Step 6: Apply the Finish Coat
For a polished look, apply a color-matched gel coat or touch-up paint to blend the repaired area with the rest of your tub. Let it dry completely before filling the tub with water.
Reinforcing the Bathtub Base for Long-Term Durability
Learning how to repair a cracked bathtub isn’t just about fixing what’s visible—it’s about preventing future damage. If your tub flexes under weight, the subfloor or support base needs reinforcement.
Strengthening the Support
Apply expanding foam or a mortar base under the tub to eliminate movement. This stabilizes the floor beneath the tub, preventing future cracks caused by stress or flexing.
Adding Fiberglass Reinforcement
If cracks reappear after several weeks, consider applying a fiberglass cloth reinforcement layer beneath the tub surface. This additional barrier provides extra rigidity and prolongs the tub’s lifespan.
Common Mistakes to Avoid During Bathtub Repair
Even small missteps can lead to poor adhesion or leaks. Avoid these common pitfalls when performing how to repair a cracked bathtub on your own.
Using the Wrong Repair Kit
Fiberglass, acrylic, and enamel bathtubs require different materials. Always verify your tub’s material type before purchasing a repair kit.
Rushing the Curing Process
Epoxy needs time to set and harden properly. Using the tub too soon can weaken the bond and cause the crack to reopen.
Ignoring Structural Damage
If you notice large cracks or leaks under the tub, it’s best to consult a professional—especially if the damage extends to plumbing or the subfloor.