How to Repair a Toilet That Keeps Running
If you’ve been searching how to repair a toilet that keeps running, this guide explains how the tank works, the tools and parts you may need, quick diagnostics, and proven fixes for flappers, fill valves, and refill tubes. You’ll also find advice for dual-flush and canister systems, when to stop troubleshooting and replace components, essential safety notes, a concise FAQ, and a professional, brand-tailored conclusion.
Contents
- 1 How the Tank Works (Why It Keeps Running)
- 2 Tools & Parts You May Need
- 3 Fast Diagnostics
- 4 Fix 1 — Replace or Adjust the Flapper/Seal
- 5 Fix 2 — Adjust or Replace the Fill Valve
- 6 Fix 3 — Reposition the Refill Tube & Check the Overflow
- 7 Special Cases: Dual-Flush & Brand-Specific Canisters
- 8 Water-Waste & Cost Impacts (When to Stop Troubleshooting and Replace)
- 9 Safety & Compliance Notes
- 10 FAQs
- 11 Conclusion
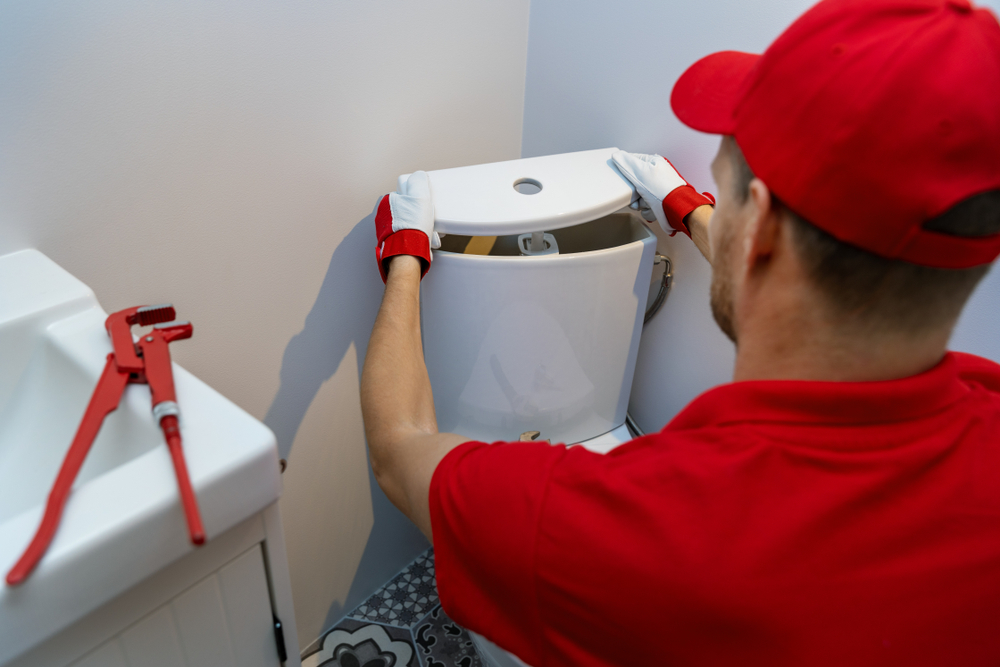
How the Tank Works (Why It Keeps Running)
A clear understanding of how to repair a toilet that keeps running starts with the parts inside the tank: the flush valve and flapper (or canister seal) keep water in the tank until you flush, the fill valve and float refill to a set level, and the overflow tube prevents overfilling.
When any of these fall out of adjustment—or a seal wears out—water escapes, the valve refills, and the cycle repeats.
Flapper & Flush Valve Basics
The flapper or canister seal closes over the flush valve seat to hold water in the tank. Wear, mineral buildup, or misalignment allows a slow seep into the bowl, so the tank refills over and over. Cleaning the valve seat and replacing a worn flapper or seal restores the watertight barrier and breaks the cycle.
Fill Valve & Float
The fill valve opens after a flush and stops when the float reaches the target level. If the float is set too high, the waterline creeps into the overflow tube; if the valve sticks or hisses, it may never fully shut. Adjustments or a simple replacement usually resolves the issue.
Tools & Parts You May Need
Planning how to repair a toilet that keeps running is easier when your gear is ready. A few basic tools and widely available parts cover most fixes without special skills.
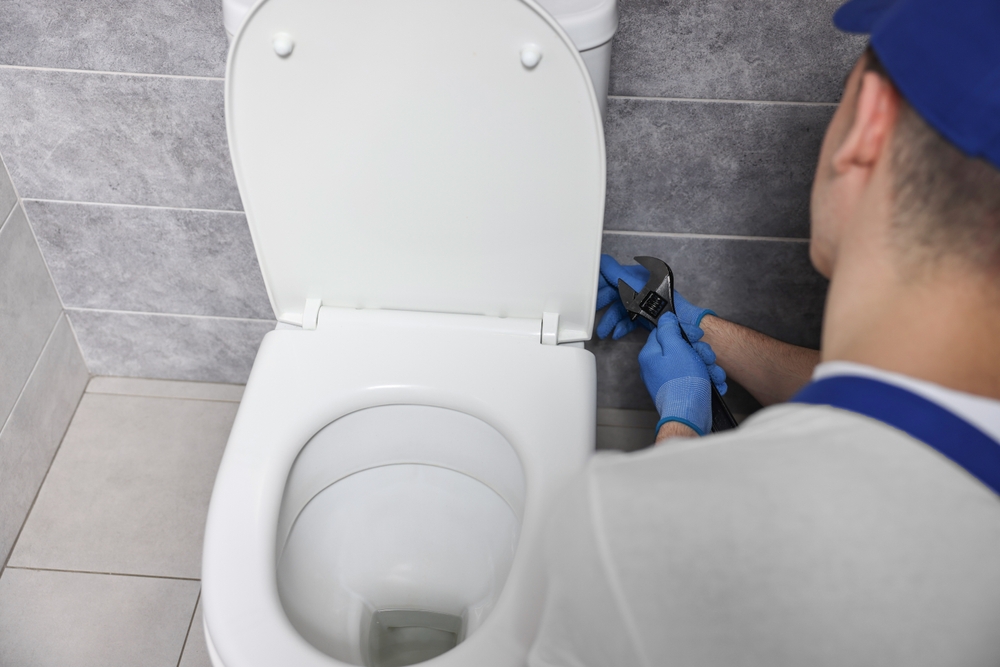
Essential Tools
Keep an adjustable wrench for supply connections, a screwdriver for lid screws or handle trim, and a small pair of pliers for stubborn clips. Food coloring or dye tablets help confirm flapper leaks, and a towel plus gloves keep the workspace clean. A small bucket or cup lets you bail water before part swaps.
Common Replacement Parts
A universal flapper fits many standard toilets; canister/tower seals serve specific designs; and a universal fill valve handles most refills. Pick up a new refill tube and clip, a stainless chain with an easy-adjust clip, and—if your handle sticks—a replacement handle kit. These low-cost parts solve most run-on problems.
Fast Diagnostics
Before diving deep into how to repair a toilet that keeps running, rule out the simple culprits with a few quick tests that separate flapper leaks from overfill or handle issues.
Dye Test for Flapper Leaks
Add a few drops of food coloring to the tank (don’t flush). If color appears in the bowl within 5–10 minutes, water is slipping past the flapper or canister seal. Cleaning the seat and replacing the seal typically fixes the problem.
Water Level & Overflow Tube
Look for a faint trickle into the overflow. If the tank’s waterline is at or above the tube’s top edge, lower the float until the waterline sits just below it. A silent, steady rise back to the tube suggests a sticking or failing fill valve.
Chain & Handle Issues
If the chain is too tight, the flapper can’t fully close; if it’s too slack, it can tangle and leak intermittently. Aim for about a half-inch of slack with the flapper seated. Make sure the handle moves freely and returns to neutral after a flush.
Fix 1 — Replace or Adjust the Flapper/Seal
The most direct step in how to repair a toilet that keeps running is restoring the seal. A worn flapper or canister gasket is the top cause of constant refilling.
Identify Your Style (Flapper, Canister, Dual-Flush)
Lift the lid and note the mechanism. Classic setups use a rubber flapper hinged on side ears or attached to posts. Some brands use a center canister that lifts straight up. Dual-flush models have separate buttons and a tower with adjustable settings—match parts to your design.
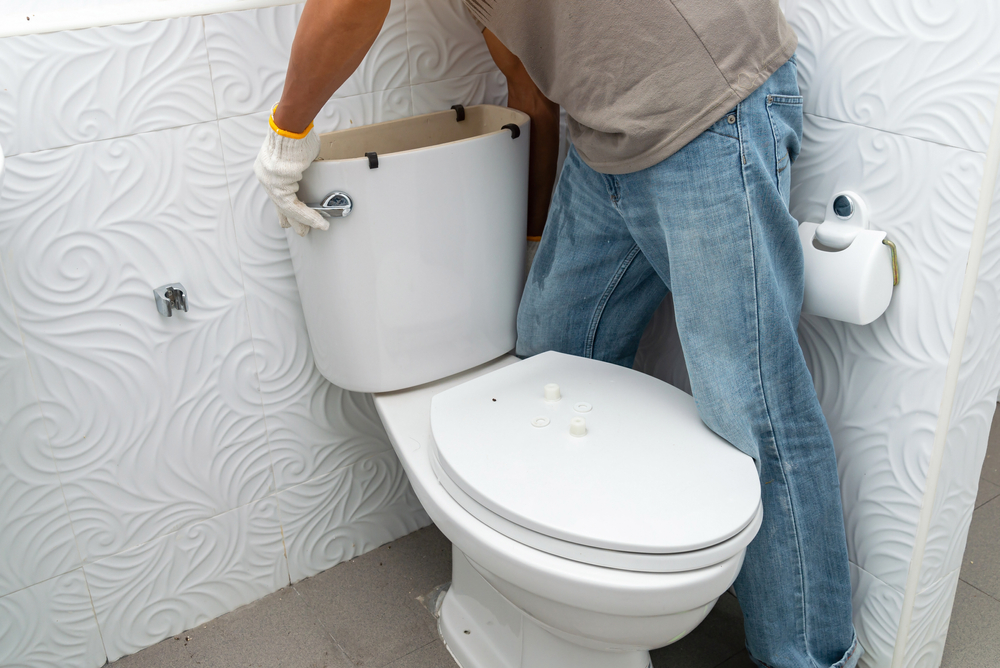
Swap the Seal
Turn off the water at the shutoff valve and hold the handle down to drain the tank. Remove the old flapper or canister gasket and clean the valve seat with a non-abrasive pad. Install the new part per the instructions—most flappers clip onto pegs or slide over posts; canister gaskets stretch over a groove.
Final Adjustments
Adjust the chain to remove excess slack without pre-lifting the flapper. Cycle the flush a few times, watching for a centered, bubble-free seal and a full close. Re-run the dye test if needed.
Fix 2 — Adjust or Replace the Fill Valve
Another common route for how to repair a toilet that keeps running is dialing in the refill system. If water climbs into the overflow or hissing never stops, look here.
Set the Water Line
Float-cup valves typically adjust by turning a screw on the arm or sliding a clip; ball-float styles bend or adjust a rod. Lower the target so the final waterline sits below the top of the overflow tube. A quiet stop after filling means you’re in the clear.
When to Replace
Persistent hiss, sediment-clogged innards, or a valve that won’t shut off calls for a swap. Close the shutoff, disconnect the supply line, remove the old valve’s locknut, and drop in the new one. Set the height so the cap sits above the overflow tube per instructions, reconnect, and retest.
Fix 3 — Reposition the Refill Tube & Check the Overflow
Fine-tuning how to repair a toilet that keeps running includes preventing siphoning and runaway refills caused by a misrouted tube or mismatched heights.
Correct Refill Tube Placement
The small refill tube should clip to the top of the overflow and point down—never be pushed deep into the tube, or it can siphon water and trigger refills. A simple clip keeps it where it belongs.
Overflow Height & Odd Installations
If someone replaced parts with mismatched sizes, the overflow can end up too low or too high relative to the valve. Re-set the fill-valve height and ensure the overflow stands where the manufacturer intends—this maintains proper backflow protection and reliable shutoff.
Special Cases: Dual-Flush & Brand-Specific Canisters
Some designs add nuance to how to repair a toilet that keeps running, especially dual-flush towers and brand-specific canister systems with custom seals.
Dual-Flush Tower Seals
Dual-flush mechanisms use separate pathways for partial and full flushes. A worn tower seal or misaligned actuator can cause intermittent leaks or weak shutoff. Replace the tower gasket, verify the actuator rods/buttons aren’t preloading the valve, and re-set the partial/full volumes per the manufacturer’s marks.
Canister Systems
Canister-style flush valves rely on a wide gasket under a vertical cylinder. Mineral scale on the seat or a flattened gasket allows micro-leaks. Clean the seat gently, fit a fresh gasket, and ensure the canister lifts straight and seats smoothly.
Water-Waste & Cost Impacts (When to Stop Troubleshooting and Replace)
A smart approach to how to repair a toilet that keeps running includes knowing when an upgrade saves time and money in the long run.

Signs of Chronic Failure
If fresh seals don’t hold, the valve seat may be pitted or out of round, the tank interior heavily scaled, or the fill valve chronically sticky. Replacing the flush valve assembly or installing a matched kit for your toilet can restore factory performance.
Upgrade Path
Modern fill valves offer quieter operation and easy height adjustments; matched flush kits improve sealing surfaces and refill calibration. If the bowl is older and inefficient, a complete replacement can trim water use, noise, and maintenance.
Safety & Compliance Notes
Even with straightforward how to repair a toilet that keeps running tasks, follow basic safety and compatibility guidelines to avoid surprises and callbacks.
Shutoff & Anti-Siphon
Confirm the shutoff closes fully before you begin and that the replacement fill valve sits high enough to maintain anti-siphon protection. Never force valves—if the stop is frozen, replace it before proceeding.
Compatibility & Warranties
Match materials (e.g., plastic vs. brass shanks) to your supply line and avoid mixing parts that weren’t designed to work together. Keep receipts and instructions in case a future warranty claim requires proof of proper installation.