
How to Replace a Bathroom Sink Faucet
If you’re researching how to replace a bathroom sink faucet, you’re likely looking for a manageable DIY project that refreshes your bathroom without requiring extensive plumbing experience.
Replacing a faucet can dramatically improve the appearance and function of your sink area, and with proper preparation, it’s a task most homeowners can accomplish confidently.
This guide breaks down each part of the process, helping you understand what to expect, how to avoid mistakes, and when to call a professional if things get complicated.
Contents
- 0.1 Understanding the Basics Before You Start
- 0.2 Gathering Tools and Materials
- 0.3 Shutting Off Water and Preparing the Workspace
- 0.4 Removing the Old Bathroom Sink Faucet
- 0.5 Installing the New Faucet and Drain Assembly
- 0.6 Reconnecting Water Lines and Testing for Leaks
- 0.7 Common Mistakes to Avoid When Replacing a Bathroom Faucet
- 0.8 When to Call a Professional Instead of DIY
- 0.9 FAQs About How to Replace a Bathroom Sink Faucet
- 1 Conclusion
Understanding the Basics Before You Start
Before you begin learning how to replace a bathroom sink faucet, it’s important to familiarize yourself with what you’ll be working with.
A faucet installation usually involves three main components: the faucet body on top of the sink, the supply lines underneath, and the drain assembly that directs wastewater away.
Knowing where each part is located and how it functions gives you the confidence to begin the project without hesitation.
Identifying Your Faucet Type
One of the first steps in how to replace a bathroom sink faucet is determining what type of faucet you currently have.
Common styles include centerset faucets (3-hole configuration with handles connected), single-handle faucets (usually 1 hole), and widespread faucets (three separate pieces).
Matching your new faucet to your existing configuration makes installation easier and prevents you from having to modify your sink or countertop.
Checking Shut-Off Valves and Existing Plumbing
Another important step in how to replace a bathroom sink faucet is ensuring your shut-off valves are functioning.
You’ll need to turn them off completely — if they don’t stop the flow of water, you may need to shut off water to the entire home or replace the valves.
Taking time to test the valves now saves you from messy leaks or mid-project problems later on.
Gathering Tools and Materials
A smooth experience with how to replace a bathroom sink faucet starts with having the right tools ready.
Once you shut off water, you don’t want to stop midway to search for a missing wrench or sealant.
Basic Tools for a Faucet Replacement
Essential resources for how to replace a bathroom sink faucet include an adjustable wrench, a basin wrench (to reach awkward spaces), plumber’s putty or silicone sealant, towels, a bucket, and Teflon tape.
A flashlight or headlamp can also help illuminate the tight, cramped area beneath the sink.
Choosing the Right Replacement Faucet
When learning how to replace a bathroom sink faucet, selecting the right replacement matters.
Check how many holes your sink uses and choose a faucet that matches.
Consider finishes such as chrome, brushed nickel, matte black, or gold — your faucet can set the tone for the entire bathroom aesthetic.
Shutting Off Water and Preparing the Workspace
A key part of how to replace a bathroom sink faucet is preparing a safe, clean workspace before any hardware gets removed.

Turning Off the Water Supply
Turn off the hot and cold shut-off valves under your sink by rotating them clockwise.
Open the faucet afterward to ensure the water is completely off.
If water continues to flow, you may need to shut off the main water supply.
Clearing and Protecting the Area
Another crucial step in how to replace a bathroom sink faucet is organizing your workspace.
Remove everything from under the sink to make room for tools and movement.
Place towels or a mat inside the cabinet to protect it from drips. Set a bucket underneath to catch residual water from disconnected lines.
Removing the Old Bathroom Sink Faucet
Once your workspace is ready, you can move forward with the next stage of how to replace a bathroom sink faucet: removing the old faucet.
Disconnecting Supply Lines and Mounting Hardware
Start by disconnecting the supply lines using an adjustable wrench.
Then, use a basin wrench to loosen the mounting nuts holding the faucet in place. These nuts may be worn, rusty, or stiff, so work slowly to avoid damaging the sink or surrounding fixtures.
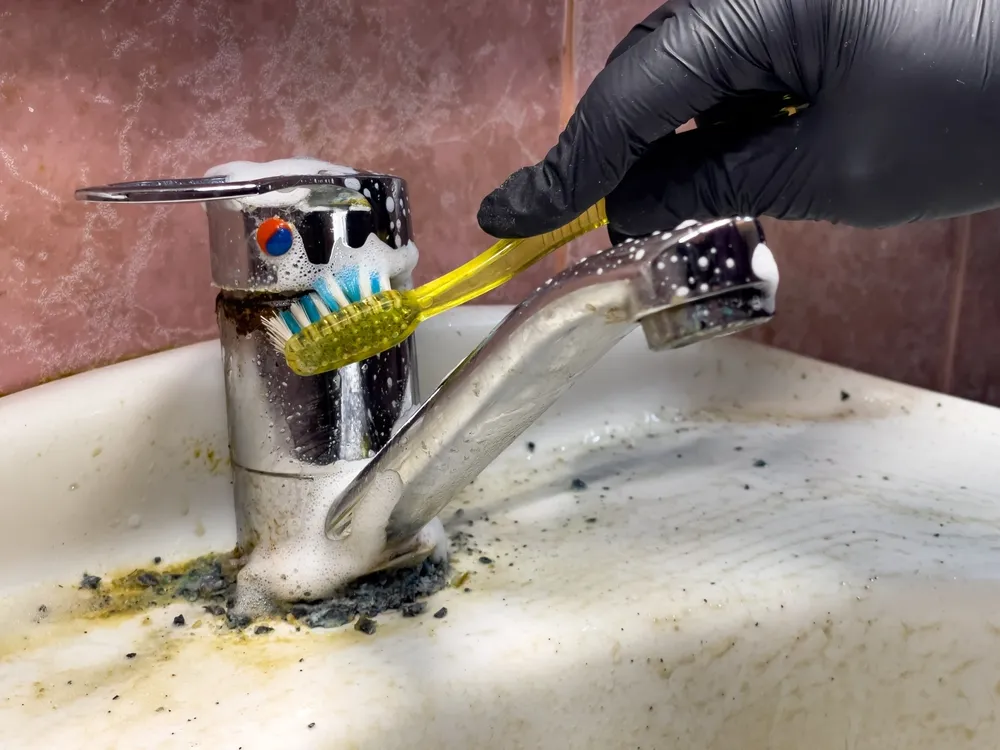
Removing the Drain Assembly and Cleaning the Surface
If your replacement faucet includes a matching drain, remove the old drain assembly.
Loosen the nut attaching the P-trap, detach the stopper mechanism, and lift out the drain from above.
Clean away old putty, mineral buildup, and debris from the sink surface. A clean base ensures your new faucet seals properly.
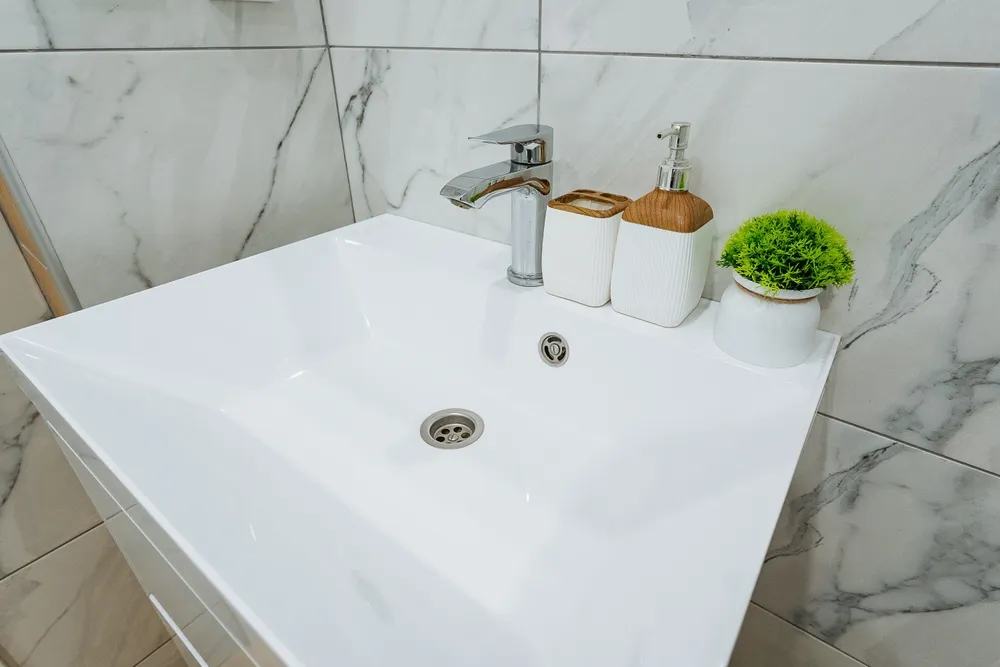
Installing the New Faucet and Drain Assembly
This is the most rewarding part of how to replace a bathroom sink faucet, where your new fixture finally takes shape.
Positioning and Securing the New Faucet
Place the gasket or sealant (as instructed by the manufacturer) on the bottom of the new faucet.
Insert the faucet into the sink holes, ensuring it sits straight and aligned.
Secure the mounting nuts underneath the sink, tightening them gradually so the faucet sits firmly without shifting.
Installing the New Drain and Pop-Up
Apply plumber’s putty or silicone beneath the drain flange, then insert the drain body from above.
From underneath, tighten the drain body and reconnect the P-trap.
Reinstall the pop-up mechanism so the stopper opens and closes smoothly.
Reconnecting Water Lines and Testing for Leaks
To complete the technical steps of how to replace a bathroom sink faucet, you’ll reconnect the water and test everything.

Attaching Supply Lines to the New Faucet
Reattach the supply lines from the shut-off valves to the faucet inlets.
Hand-tighten each connection before giving it a slight turn with a wrench — not too much, as overtightening can damage threads and seals.
Turning the Water Back On and Checking for Drips
Turn the shut-off valves back on slowly while watching each connection closely.
Run hot and cold water, observing the faucet base and drain assembly for signs of leaks.
If you see moisture, tighten connections slightly or reapply sealant where needed.
Common Mistakes to Avoid When Replacing a Bathroom Faucet
Even with clear instructions on how to replace a bathroom sink faucet, mistakes happen — but they can be avoided.
Rushing Through the Removal and Installation
Hurrying increases the risk of stripped threads, crooked alignment, or cracking delicate materials.
Take your time, especially when dealing with old, stubborn plumbing fixtures.
Ignoring Small Leaks or Loose Fittings
Even tiny drips can lead to long-term cabinet damage, mold growth, or sink staining.
Correct leaks immediately rather than hoping they’ll resolve on their own.
When to Call a Professional Instead of DIY
Not every homeowner is comfortable with plumbing — and some situations require expert attention.
Complex Plumbing or Old, Corroded Fixtures
If you encounter broken shut-off valves, unusual plumbing layouts, or rusted hardware, it may be safer to stop and call a professional.
Forcing old plumbing can lead to pipe breaks behind walls or under floors.
Broader Remodeling Plans and Design Changes
If your project extends beyond how to replace a bathroom sink faucet — such as changing the vanity, sink, tile, or layout — a licensed remodeling professional ensures everything works beautifully together and meets code.