How to Install Laminate Flooring
Learning how to install laminate flooring can transform your home with a beautiful, durable, and easy-to-maintain surface. Laminate flooring offers the appearance of wood or stone at an affordable price and can be installed in various rooms, including kitchens, bedrooms, and living areas. With proper planning and execution, you can achieve professional results even as a DIY project. This guide provides expert tips for every step of the process.
Contents
- 1 Preparing Your Room for Laminate Flooring
- 2 Selecting the Right Laminate Flooring
- 3 Tools and Materials Needed
- 4 Step-by-Step Laminate Flooring Installation
- 5 Finishing Touches
- 6 Maintenance and Longevity
- 7 Common Installation Mistakes
- 8 Enhancing Your Renovation with Laminate Flooring
- 9 Eco-Friendly and Safety Considerations
- 10 FAQ
- 11 Conclusion
Preparing Your Room for Laminate Flooring
Preparation is critical when learning how to install laminate flooring. A clean, level, and well-prepared room ensures your floor will be stable and long-lasting.
Clear the Space and Remove Old Flooring
Start by removing furniture, rugs, and any existing flooring that could interfere with installation. This step ensures a smooth surface and prevents bumps or unevenness once the laminate is laid. Properly preparing the room makes the process easier and avoids costly mistakes later.
Check the Subfloor for Levelness
Your subfloor must be flat, clean, and dry before installing laminate. Any high spots or dips can affect the alignment and locking mechanism of laminate planks. Using a leveling compound on uneven areas ensures a stable foundation for your flooring and reduces the risk of gaps or squeaks.
Selecting the Right Laminate Flooring
Choosing the right materials is key when learning how to install laminate flooring. Different thicknesses, wear layers, and styles affect both durability and aesthetics.
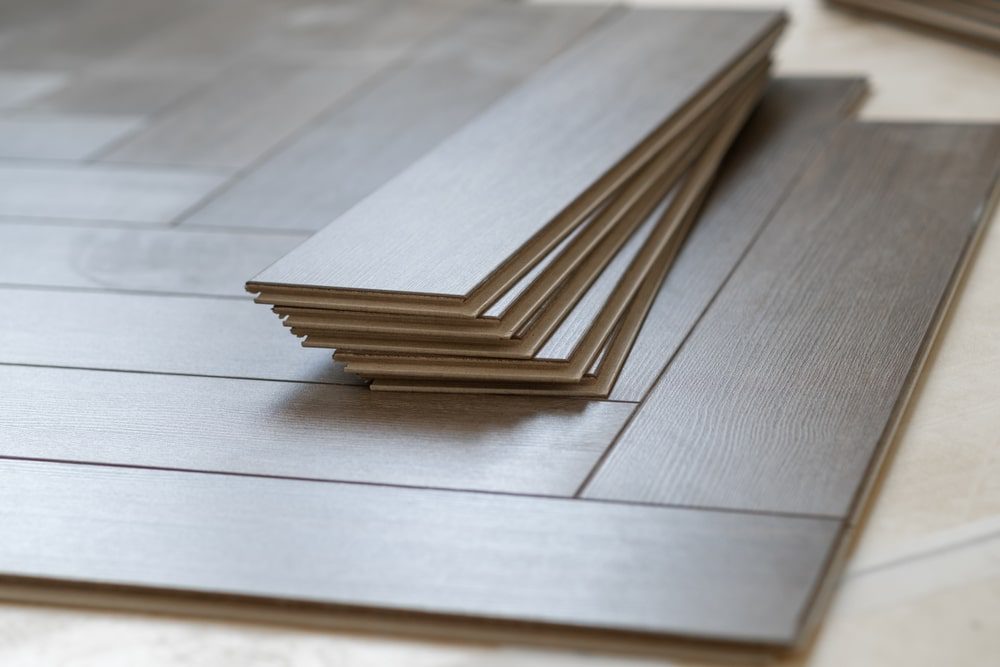
Consider Thickness and Durability
Laminate flooring comes in various thicknesses, typically ranging from 7mm to 12mm. Thicker planks are more durable, provide better sound insulation, and feel more like real wood. Selecting the appropriate wear layer ensures the flooring withstands daily traffic without scratches or damage.
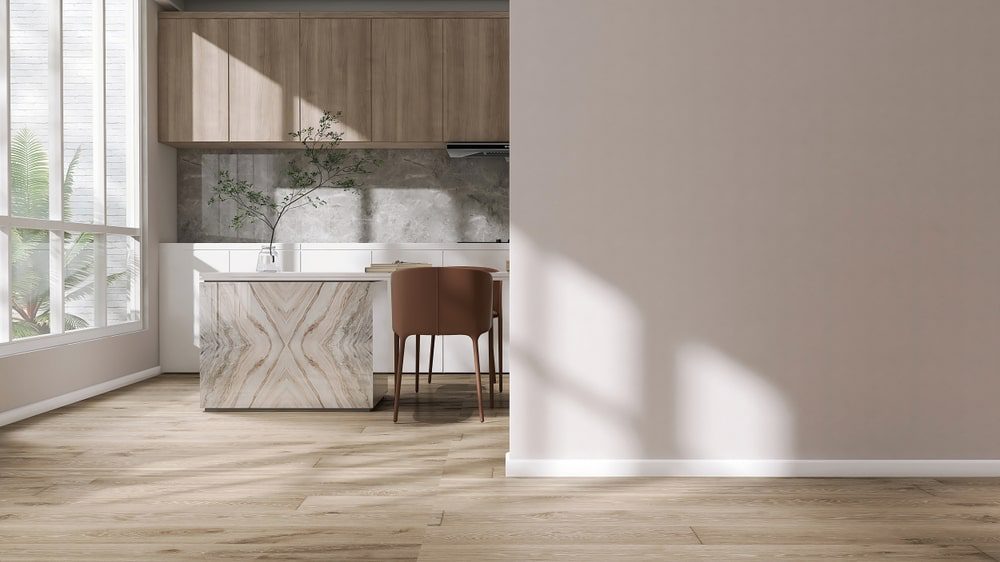
Choose a Style That Complements Your Home
Laminate planks are available in a wide range of finishes and textures, including wood grains and stone patterns. Choosing the right style enhances your home’s aesthetic while matching other elements of your interior design, such as cabinets, countertops, or other renovation features like your kitchen remodeling service.
Tools and Materials Needed
Having the correct tools and materials simplifies the process of how to install laminate flooring and ensures professional results.
Essential Tools for Installation
For successful laminate flooring installation, gather tools such as a tape measure, utility knife, tapping block, spacers, pull bar, and rubber mallet. These tools help secure the planks together and create a uniform layout throughout the room.
Additional Materials for a Polished Finish
Beyond tools, you may need underlayment, transition strips, and trim molding. Proper underlayment provides moisture protection, sound reduction, and adds stability. Transition strips are essential where laminate meets other flooring types to create a seamless and professional finish.
Step-by-Step Laminate Flooring Installation
Following the correct sequence is essential when learning how to install laminate flooring. This ensures planks fit tightly and remain stable over time.
Planning Your Layout
Before installation, plan your layout to avoid narrow planks along walls. Measure carefully and stagger seams to create a natural appearance. Planning also reduces waste and helps ensure the flooring aligns well with doors, walls, and other features.
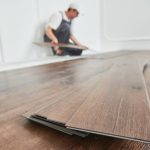
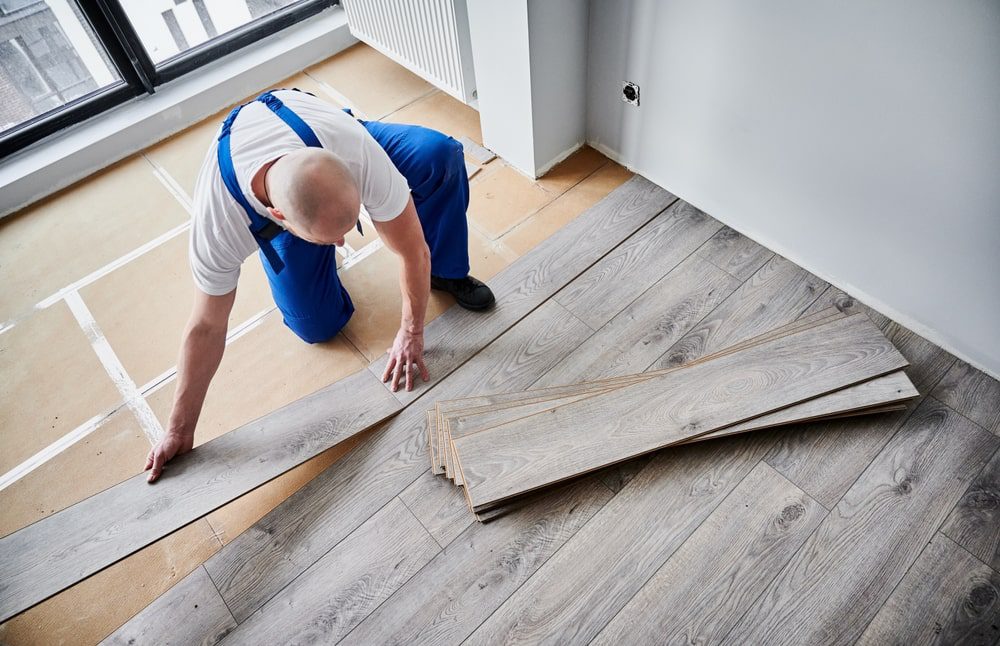
Installing the Planks
Begin along the longest wall, using spacers to maintain expansion gaps. Connect the planks using the click-lock system, ensuring a tight fit. Continue row by row, tapping gently with a rubber mallet and tapping block to secure each plank. Precision during installation is key to prevent gaps or uneven surfaces.
Finishing Touches
After installing laminate flooring, the finishing touches help enhance durability and aesthetics.

Installing Trim and Moldings
Apply baseboards, quarter rounds, or transition strips to cover expansion gaps and edges. This step not only improves appearance but also protects the edges of the laminate from damage. Proper finishing gives your room a clean, polished look.
Inspecting and Cleaning the Floor
Inspect the entire floor for gaps, misaligned planks, or damage. Clean the surface using a damp mop and mild cleaner to remove dust and debris. Regular maintenance extends the lifespan of your laminate flooring and keeps it looking new.
Maintenance and Longevity
Proper care after installing laminate flooring ensures your floors remain beautiful and durable for years.
Regular Cleaning
Vacuum or sweep frequently to remove dirt and grit that can scratch laminate. Use a damp mop with a laminate-safe cleaner to maintain shine and cleanliness. Avoid excessive water or harsh chemicals that may damage the surface.
Preventing Scratches and Damage
Use furniture pads under heavy items, avoid dragging furniture across the floor, and trim pet nails regularly. These simple precautions prevent scratches and dents, ensuring your laminate flooring looks pristine for longer.
Common Installation Mistakes
Avoiding mistakes is crucial when learning how to install laminate flooring to achieve professional results.

Ignoring Expansion Gaps
Laminate planks expand and contract with temperature changes. Failing to leave proper expansion gaps along walls or around obstacles can cause buckling. Always follow manufacturer recommendations to ensure room for natural movement.
Skipping Subfloor Preparation
Installing laminate over a dirty or uneven subfloor leads to uneven surfaces, gaps, or squeaks. Thoroughly prepare the subfloor with cleaning, leveling, and moisture checks to ensure a smooth and durable floor.
Enhancing Your Renovation with Laminate Flooring
Laminate flooring installation can complement broader home renovation projects, adding both style and value.
Pairing with Kitchen Remodels
Laminate flooring is water-resistant and easy to maintain, making it ideal for kitchen areas. When coordinated with your kitchen remodeling service, laminate flooring can enhance the overall aesthetic while providing long-term durability and easy cleaning.
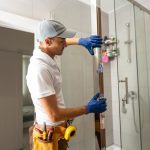
Coordinating with Sink Installation
In kitchens and bathrooms, coordinating flooring around sinks is critical. Proper measurements and placement prevent water damage and ensure a clean, professional look. Consider professional guidance during sink installation to achieve precise results.
Eco-Friendly and Safety Considerations
When installing laminate flooring, safety and environmental impact should be a priority.
Low-VOC Laminate Options
Choose low-VOC laminate flooring to improve indoor air quality and minimize exposure to harmful chemicals. Eco-friendly options are better for your family and the environment.
Safe Handling Practices
Wear gloves, use eye protection, and ensure proper ventilation when cutting planks. Proper handling minimizes injury and ensures a safer installation process.