How to Grout Tile Backsplash in Mission, CA
Nowadays, one of the newest trends is how to grout tile backsplash. Several tiles with tiny dimensions are executed between floor and wall cabinets. This type of minimal decoration, in addition to making the kitchen environment beautiful, makes cleaning the kitchen walls easier and any pollution disappears faster.
Applying grout to the backsplash between the kitchen cabinets is in the category of masonry works. Still, the good news is that it is relatively simple to implement, unlike other masonry specialties. If you are familiar with grout tile backsplash, you can even do it yourself.
In unique kitchens & baths, we’ve gathered a lot of construction experience, from comprehensive interior renovation to house remodeling and landscaping. We provide special offers, promotions, and financing available with Wells Fargo for our customers.
Contents
What are the advantages of grout tile backsplash in the Kitchen?
The walls of the Kitchen, especially the walls behind the sink and the ones behind the gas, are exposed to all kinds of pollution due to the many contacts with food. To protect these walls, you can use inter-cabinet tiles. These tiles are called backsplash. Backsplashes protect the wall from contamination and food splashing while cooking and create a more beautiful view in the Kitchen.
Another positive feature of these backsplashes is simple cleaning. If cleaning the surface of the plaster wall has been a concern for you, with the help of backsplash, you can clean the surface of any contamination in a few minutes.
how to apply the grout to backsplash
Keep reading the tutorial below on how to apply the grout to the backsplash:
<h3> 1. Clean the range
1. Clean the range
Remove any device that is in the place of grouting the tile between the cabinets. Clean the wall of any dirt. If necessary, sand or chip the residue to create a smooth surface.
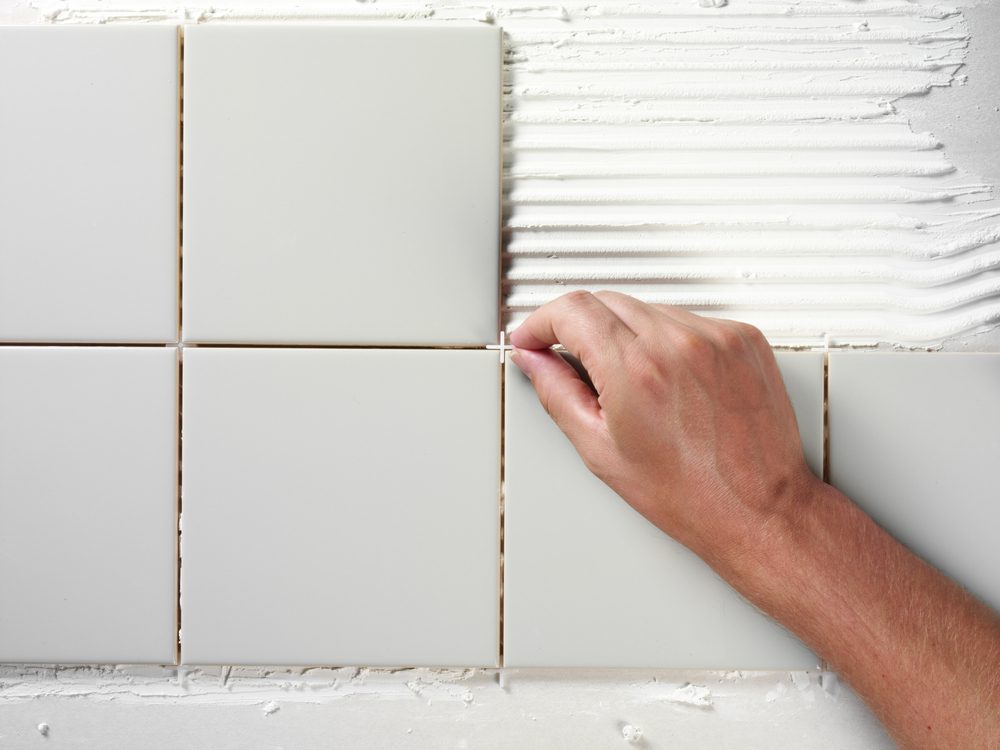
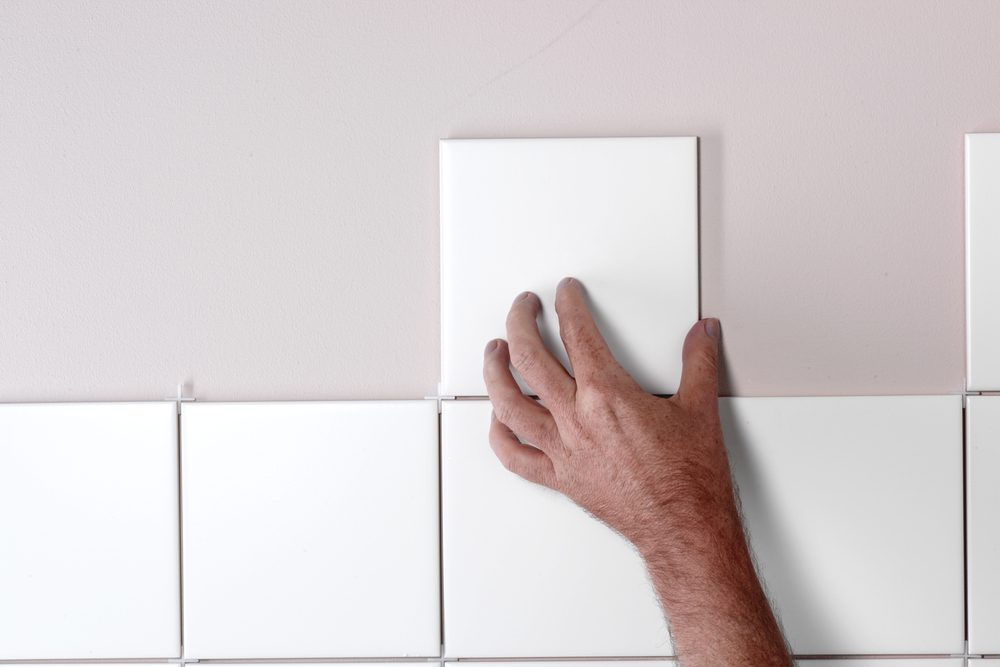
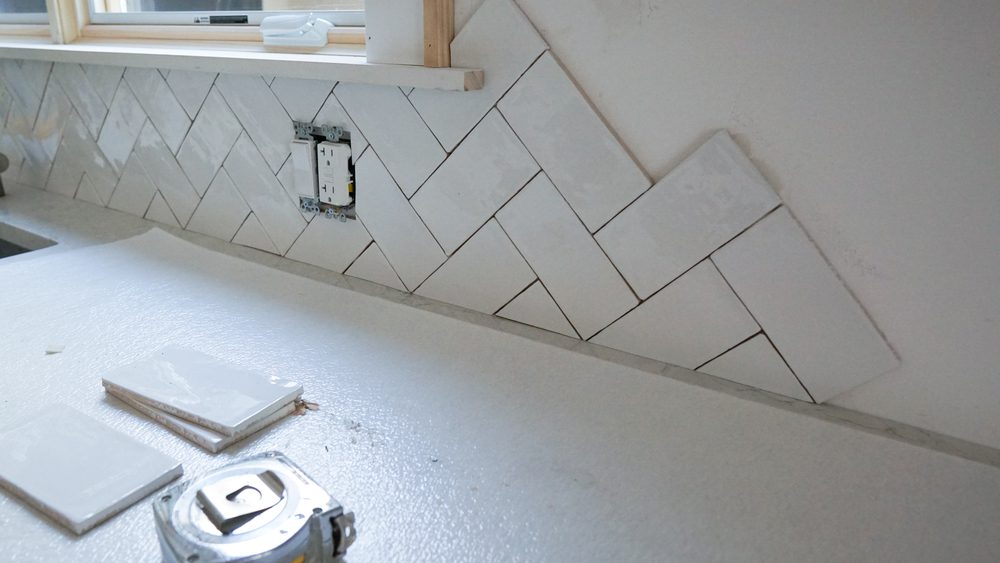
2. Align the tiles
Use a level to set the tiles and align them horizontally.
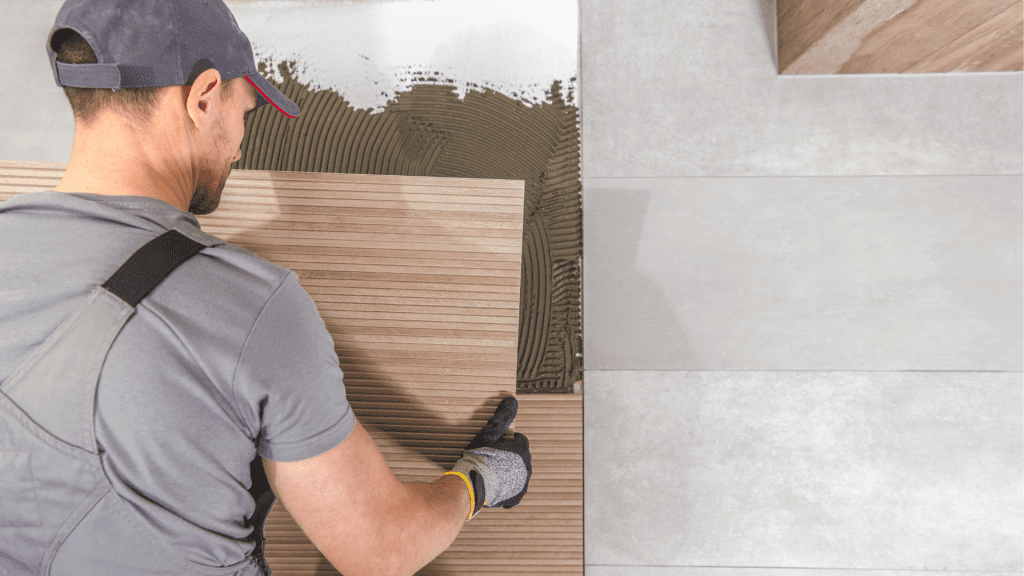
3. Use glue
Choose the type of adhesive that suits the type of tile you are using. Make sure you follow the instructions. For example, ceramics need a bituminous mortar, while stone tiles need a thin white mortar. Apply glue to the back of the tiles and place them on the wall, starting from the center outwards, ensuring the tiles are level. Use grout to create gaps between tiles.
4. Clean and dry
Wipe off all excess adhesive with a damp cloth. Depending on the temperature and humidity, the glue should dry within twelve hours to fourteen days with sufficient care.
How to grout the backsplash tiles between the cabinets
Most of the grouts are in powder form, but there is also a sample of its mixture. Depending on the type you choose, make sure you follow the instructions.
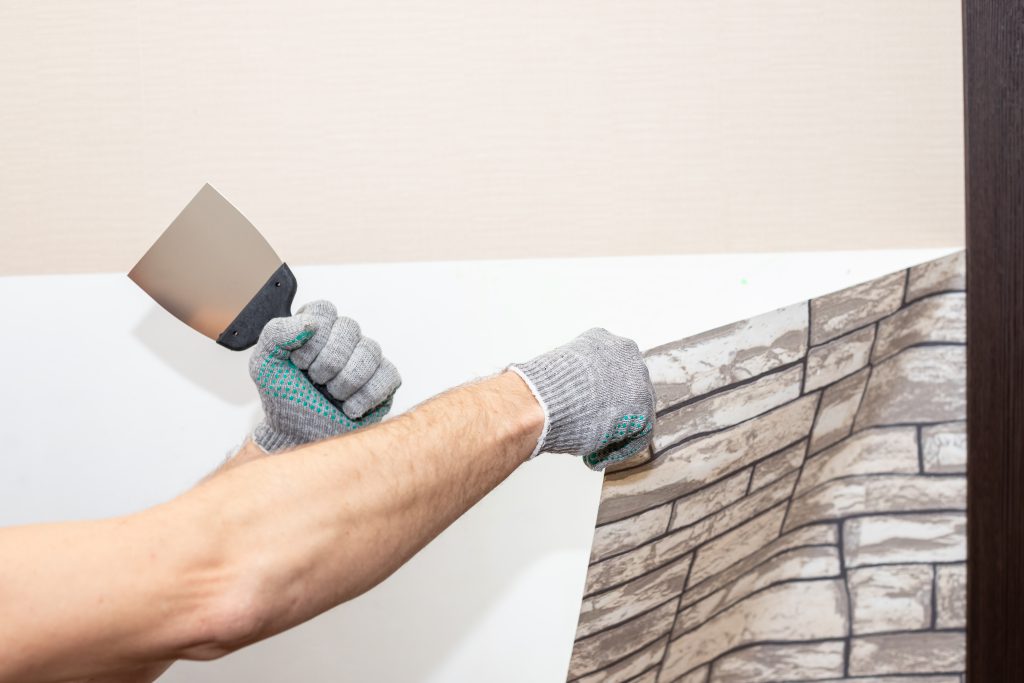
1. Preparation
Along with the grout mix, you will need a putty knife, a grout sealer, a grout float, a plastic sheet, painter’s tape, a sponge, and soft cloths with warm water.
2. Spread the grout
Using a grout float, spread the grout evenly into the spaces between the tiles. Let it sit for ten minutes, then remove the excess grout with a sponge and water. Remove the excess after a few hours.
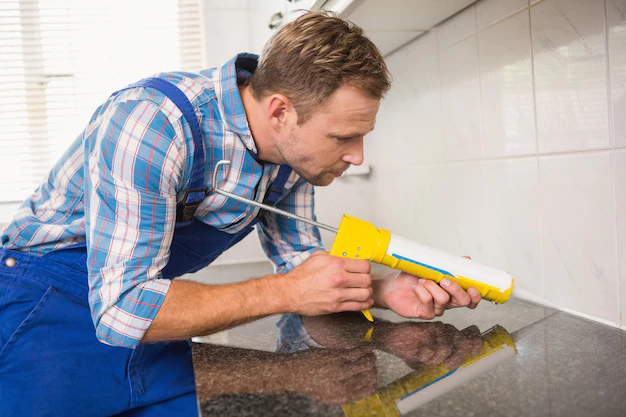
3. Seal
After about twenty-four hours, seal the grout and coat the outside edges, carefully creating neat lines where it meets the counter.
How to restore the backsplash tile?
Sometimes the backsplash is damaged or even detached from the wall. You can restore it with a few simple solutions.
1. Remove the damaged tile and its additions. You must make space for the new tile and glue it under it. Create a consistent surface and scrape off the residue so that the tile adheres well this time.
2. Using glue. Apply the adhesive to the the tile’s back and locate it on the wall.
3. Refill the gaps. After the glue dries, you can grout the gaps between the new and old tiles according to the recipe above. If the tile you are replacing is on the edge of your backsplash, be careful of the counter or kitchen furniture.
A few tips regarding how to how to grout tile backsplash
· The first step (and perhaps the most important step) in how to grout tile backsplash is to calculate the size of the tile and the space to be tiled
Therefore, do this step with utmost care.
– Before starting the tiling, cut off the electricity in the house and remove the switches and sockets.
· To prevent the cabinets, floor and other additional wall spaces from getting dirty and stained with mortar and glue, be sure to cover their surface
while doing the work.
· Make sure that the surface to be tiled is completely clean and free of grease or oil.
· At the end, be sure to do the strapping to make the work cleaner.
· Do not forget the drying process of ceramic tiles after finishing the work.
· Seal the gap between the tiles and the cabinets as the last step and after the tiles are dry.
In Conclusion
If you agree with us that redecorating your kitchen has a direct effect on your mood, make sure to include grouting tile backsplash in your plans. Especially now that you know how to grout tile backsplash, you can roll up your sleeves and make the appearance of the kitchen more beautiful and make cleaning it a simple and enjoyable task.
If you think that you cannot handle grouting tile backsplash by yourself, or if you want your kitchen tiling to be completed without the slightest defect, you can use Unique Kitchen and bath construction service. This article discussed how to grout tile backsplash in Mission Viejo, California. If you need any help, suggestions, or advice, don’t hesitate to contact us. Unique Kitchen and bath will endeavor to find a solution that works for you. Keep in touch with us by giving us a call or sending an email.

![5 Useful facts about tub to shower conversion ideas [2023]](https://uniquekitchenbaths.com/wp-content/uploads/2022/11/Shower-150x150.jpeg)