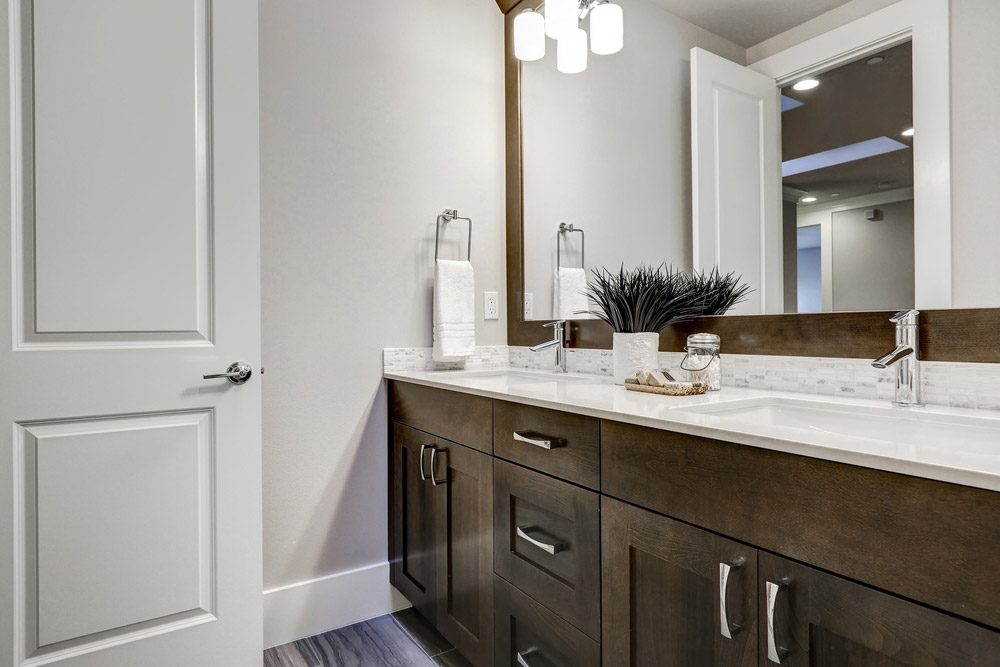
How to Paint a Bathroom Vanity in 2023
Painting a bathroom vanity is a great way to update your bathroom. It can be a simple DIY project that will take only one day to complete, or it can be more challenging depending on your vanity type
In this post, we’ll go over the many phases involved in painting a vanity and offer some advice on how to get ready for painting. We’ll also tell you what paint to use (we recommend latex!), how many coats are needed for optimal results, and why priming is important.
Contents
Benefits of painting your bathroom vanity
Painting your bathroom vanity can be an easy DIY project with many benefits. There are many reasons why it’s worth the time and effort, including:
- If you want a certain design or style for your bathroom, painting is the best option because you may use any color you like.
- A painted vanity will last longer than one stained or varnished.
- Painting may be cheaper than buying new cabinets because of how much cheaper paint is than other materials like wood or stone (especially marble).
Preparation
Before you can paint, you need to prepare the vanity. This includes cleaning it and removing any hardware or doors. Sanding and filling any holes or scratches is also important. Next, prime the vanity with a primer that matches your final paint color.
Once dried, apply two coats of paint in a high-quality latex (or acrylic) finish; this will be much easier than using oil-based paints that might not dry properly on a smooth surface like glass or plastic!
Finally, you’ll want to make sure all edges are sealed well so they don’t peel up over time–this could mean adding another layer around door frames if necessary; make sure not too much gets on other areas where it might show through later on down the line when we’re done here today!”
Removing Hardware and Doors
To remove the hardware and doors, you’ll need a screwdriver. For the cabinet doors, use a putty knife to remove the caulk around their edges. Then, use pliers to remove any hinges on your cabinets (if you have them).
Remove any other types of hardware attached to your vanity, including towel bars or soap dispensers, if they’re part of its structure.
Sanding and Filling
It’s important to sand and fill the vanity before painting it. Sanding will smooth out any rough spots on the surface, and filling will fill in any holes or dents that may have occurred during installation.
The first step is to sand off any excess wax or old paint from your vanity using a palm sander with fine-grit sandpaper attached.
You can use an electric hand sander or some elbow grease with a cloth and woodworking oil (like Watco) for small areas. Next, apply wood filler over any holes or dents using a putty knife or trowel–make sure they’re filled in completely!
Priming
Priming is important for a smooth finish. It gives your paint a better bond to the surface, allowing you to paint in fewer coats and helping you avoid brush marks. Primer is also great at hiding imperfections on your vanity’s surface and making it look cleaner overall.
Painting
Painting a bathroom vanity is a perfect project for beginners. You can learn how to paint and have something useful at the end!
For this project, we recommend using oil-based enamel paint for your first coat. The second coat should be latex or water-based acrylic (this will depend on the manufacturer). If your vanity has rounded corners or edges, use an angled brush instead of a regular one so that you don’t get drips and splatters on them while painting over them with another color later in this process.
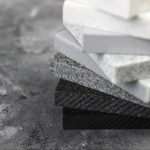
Choosing the Right Paint
You need to consider some aspects when selecting the proper paint. First, you want a product that is easy to work with and won’t cause too much trouble during application.
Second, you want something durable enough for daily use in a bathroom–the high moisture content of bathrooms can cause many paints to fade or chip over time.
Thirdly (and perhaps most importantly), your chosen paint must match the surface on which it will be applied so as not to detract from its appearance or cause damage later on when repairs need making!
Finally: remember aesthetics! The color scheme of your bathroom should match its function; try choosing colors that complement each other rather than clash outright because this will help bring harmony into any space, no matter how small or large.
Applying Paint to the Vanity
You will have to apply some paint to the vanity. You can achieve this in a number different ways:
- Use a roller for applying paint. Rollers are useful for large surfaces that need to be covered quickly, but brushes or sprayers are more precise when getting into corners and edges. This might be your best bet if your vanity is large enough and you want a quick application.
- Use brushes rather than rollers. The surface of your vanity should not have many nooks and crannies because brushes won’t be able to reach those regions very effectively. However, if there aren’t many curves or bumps in their shape, brushes can still cover the majority of the surface rather well.
Drying and Recoating
Once you’ve finished painting, let it dry for at least 24 hours. If you need to recoat, which is common with darker colors and high-gloss finishes, wait until the first coat has dried completely before applying another layer of paint.
You can paint over your vanity any time after that–there’s no need to wait weeks or months! Just take care not to get any water on top of your freshly painted surface; if there’s too much moisture in the air (due to humidity), this could cause peeling later on down the road.
Painting the Doors and Hardware
The next step is to paint the doors and hardware. If you’re using a brush or roller, it’s best to use a paintbrush. Make sure to apply two coats of paint so that there are no visible streaks in your finished piece.
When applying rollers, make sure they have the proper coverage on all surfaces before beginning your first pass over them with each color (you can always go back over them again if necessary).
When rolling on top of previously painted areas with different colors, be sure not to overlap too much, or else you might end up with an ugly mottled effect where some areas are darker than others–this will also cause problems later when trying not only match but also blend new colors properly!
Now wait at least 24 hours before touching anything with additional coats since these initial ones need time to dry completely (especially since we haven’t sealed them yet).
Cleaning Up the Bathroom Vanity
You can take off the painter’s tape after the paint has dry. If the edges of your vanity are still slightly sticky from the tape, use a soft cloth to rub them down and remove any excess paint.
If splatters or drips are on your bathroom vanity, clean them off using a damp cloth or paper towel dipped in mineral spirits.
Reinstalling the Hardware and Doors
- Reinstall the hardware and doors.
- Check the paint. You should be able to see it in all its glory! If not, give those edges a light sanding. They’ll look much better if they’re smooth rather than rough or jagged.
- Clean up any messes (like spilled paint) with warm water and soap–no need for harsh chemicals here!
- Touch up areas as necessary by using tinted wood filler on small scratches or dings; let dry before painting over them with a second coat of primer/paint combo when appropriate (check your instructions).
Touching upon Any Areas as Necessary
Touch up any areas as necessary. Use a small brush or roller if you have any areas that need touching up. Clean the brush or roller with a rag and water, then let it dry completely before moving on to the next step.
You will want to place a drop cloth under your vanity before starting this part of your project so that if any paint splatters onto the flooring below, it can be easily cleaned up later on!
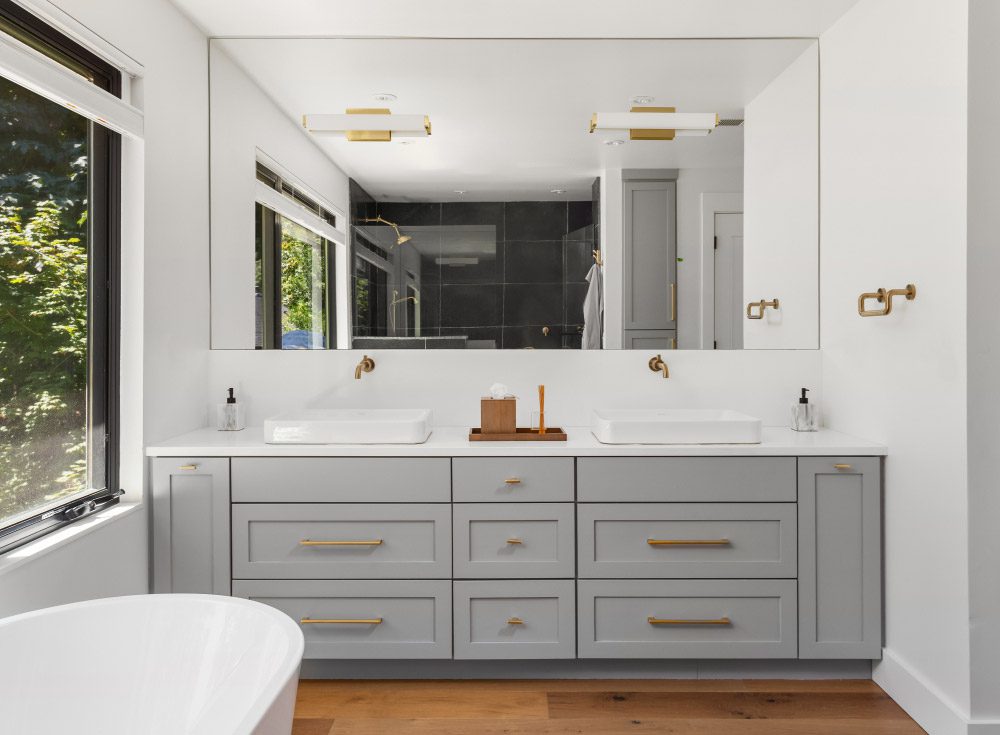
Care and Maintenance
You’ll want to maintain the perfect condition of your bespoke vanity for many years. Following are some pointers for doing that:
- Keep it clean. Wipe your vanity regularly with a damp cloth, or use an all-purpose cleaner if necessary. Never use harsh or abrasive cleaners on the surface of your custom vanity; these can cause damage over time, resulting in chipping or scratching of the paint job. If you find yourself needing to remove stains from wood surfaces, try using mineral spirits instead–this may be easier than trying something like bleach!
- Keep it dry! Your new bathroom vanity should never be exposed to water or humidity levels above 50% RH (it’ll be fine!). This means keeping any plumbing fixtures away from the walls where they could leak onto the surface of your new piece! Also important: don’t install anything underneath where moisture might collect (think sinks), because this could lead down into cracks which might allow mold growth later down the line…and no one wants THAT happening in their life right now either.”
Frequently Asked Questions