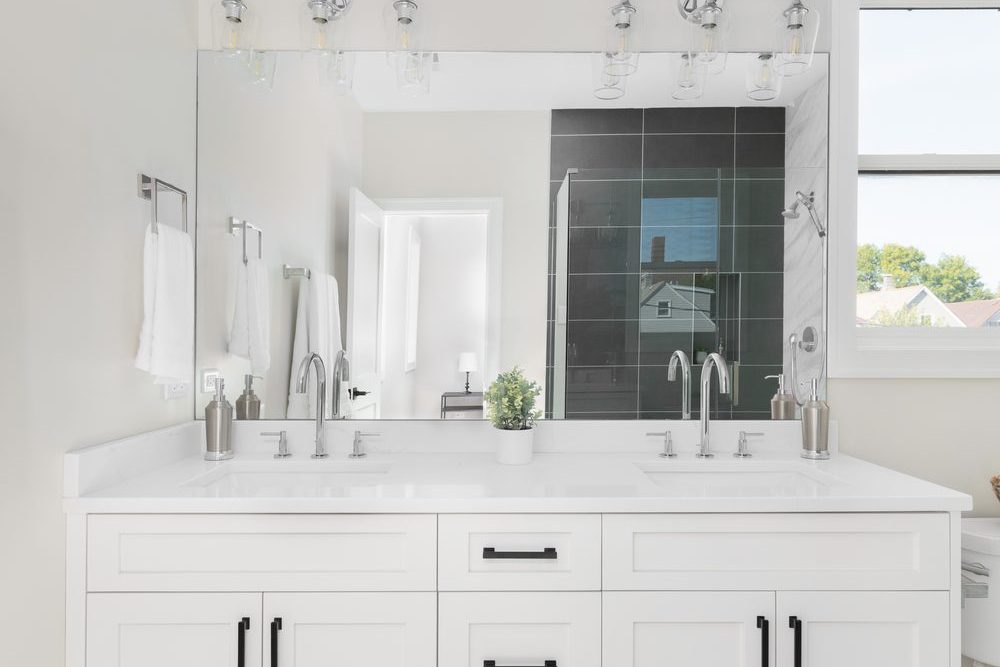
How to Remove a Bathroom Vanity in 2023
Although it is not difficult to remove a vanity, the process can be hazardous and unpleasant. Hire a professional who does if you need to learn more about plumbing or electrical wiring and need the appropriate instruments (such as a water shutdown tool).
Contents
Preparing for the Removal
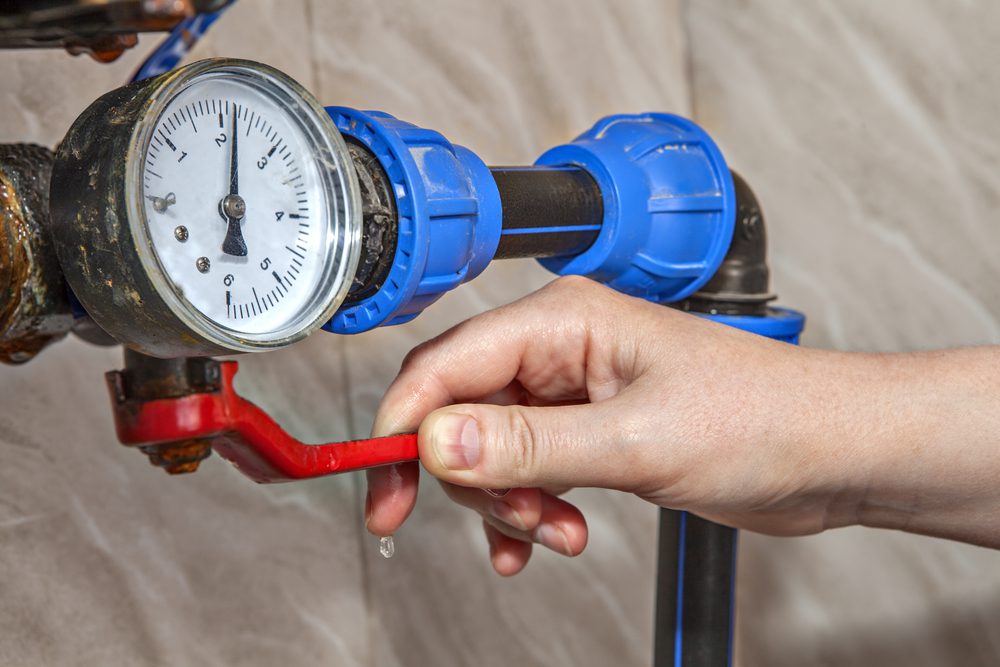
Your first action should be to stop the water supply. Please close the shutdown valve by turning it counterclockwise until it won’t open any more. If it isn’t already open, make sure it is so that no water may enter your house throughout this process.
Shut off all other faucets in your home, including toilets, showers, and sinks–it’s best not to take any risks! Afterward, disconnect any hoses connected to either side of your vanity: one will be connected directly underneath while another sits on top near where they join together at a joint called “T”s (or “tee”).
Shutting Off the Water Supply
Before removing the bathroom vanity, shutting off the water supply is important.
Turn off the main water valve first, and then check for leaks. Next, shut off all of your home’s hot and cold water taps. Leave one or two taps running so that you can test for any remaining drips before putting everything back together again later on.
Disconnecting Plumbing Connections
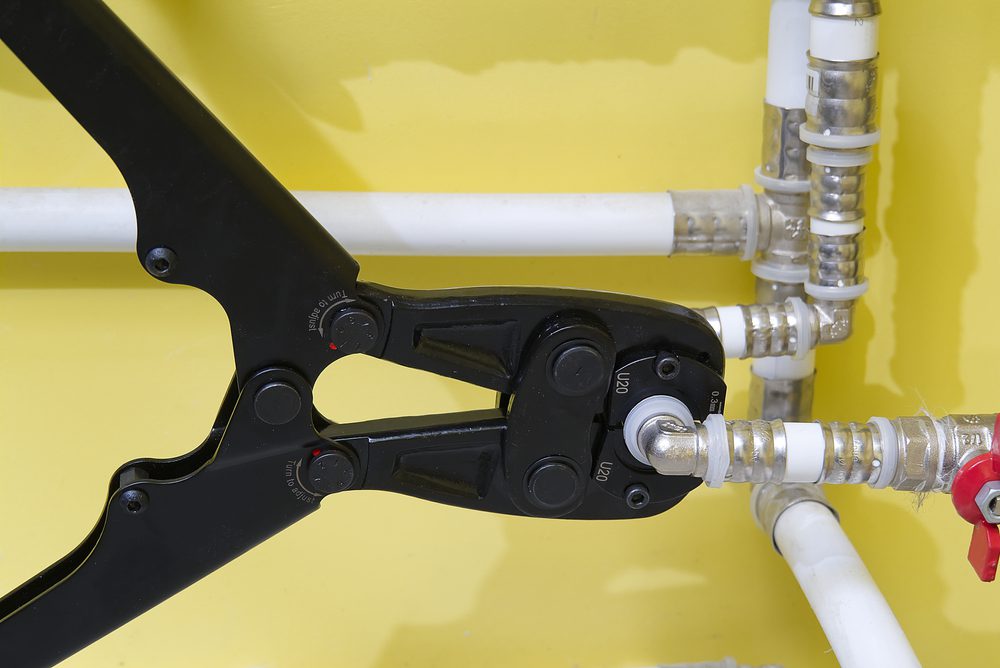
To disconnect the plumbing connections and each line, you must first cut off the water supply. First, turn off all faucets in your bathroom (including showers). Then, shut off the main valve that supplies water to your house. Suppose you have an older home with copper piping. In that case, this will require shutting off a series of valves at different locations throughout your home’s plumbing system–but if you have PVC or ABS plastic pipes (which are much more common today), there’ll probably only be one valve near where they connect into the walls or floorboards of your bathroom.
Next comes removing any hoses connected to sinks and toilets; first, close down any drains by placing stoppers over them so no debris gets flushed out when disconnecting them from their respective fixtures’ inlets. Then unscrew each hose clamp using pliers before pulling each line out through its corresponding hole on either side of its fixture’s baseplate.
Detaching the Countertop
Now it’s time to detach the countertop from the vanity. If your vanity has a faucet, remove it by turning off hot and cold water valves and unscrewing them from underneath with an adjustable wrench. Next, take out any screws that are holding in place any sinks or shelves within the cabinet. Finally, flip over your vanity top (if possible) so you can access its underside: there should be at least one screw securing each corner of this piece in place; remove them with an Allen wrench or Phillips head screwdriver.
Once all four sides have been loosened up, pull up gently on each corner until they come free from their moorings–but don’t lift too much! You’ll need to support yourself under there, too, so as not to break anything else while working on removing this section of the woodwork.
Removing the Sink and Faucet
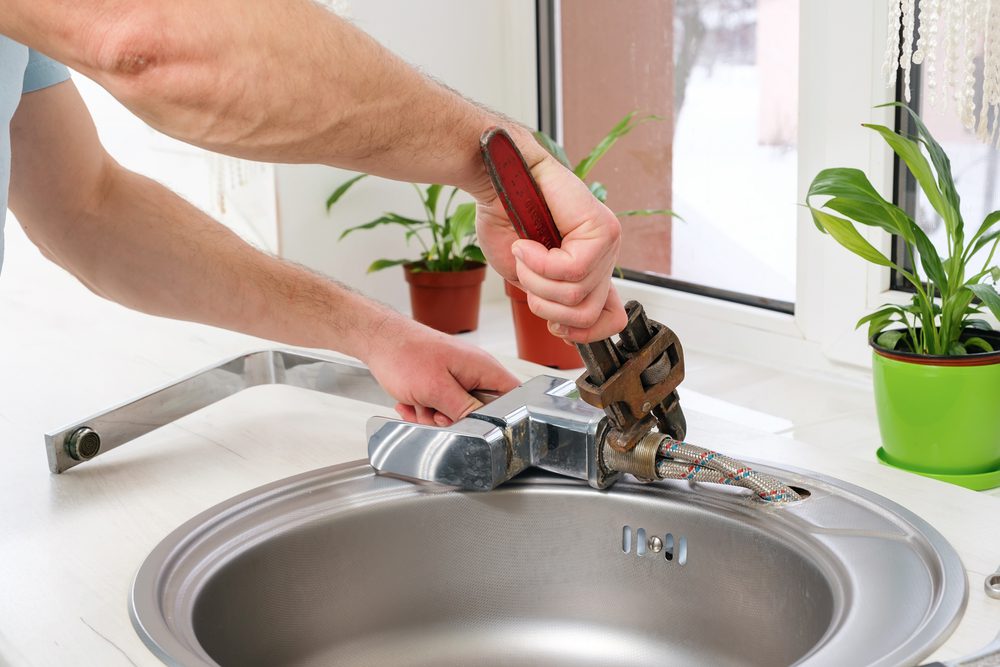
Next, remove the faucet from its mount on the sink. You’ll need a wrench or other tool to loosen and pull it off.
Next, disconnect any drain pipes connected to your vanity’s sink by removing their nuts or screws with an adjustable or socket wrench (you may need pliers if they’re rusty).
Last but not least, save both of your vanity’s parts in a safe place that is out of children’s and animals’ reach; you will return them soon enough!
Unfastening the Vanity from the Wall
Once you’ve removed the screws from your vanity, it’s time to detach it from the wall. You can do this with a screwdriver, crowbar and hammer, or drill; however, we recommend using an impact driver because it makes quick work of fasteners. If you still need one on hand and are willing to buy one just yet (or maybe ever), consider using another tool, like a reciprocating saw, instead of drilling holes into your drywall.
Once all of your hardware has been removed and the screw holes have been patched up (or left open), use your crowbar or hammer drill to pry off any remaining parts that might still be stuck in place after removing all screws underneath them.
Lifting and Removing the Vanity
Now that the vanity is free of attachments and clear of electrical outlets, you’re ready to lift it. Depending on how heavy your bathroom vanity is, there are a couple of different options:
- Use furniture moving straps to secure the cabinet so it doesn’t shift around while carrying it.
- If you don’t have straps handy or don’t want to buy them, you can use an extra pair of hands instead. Just make sure whoever helps out understands how much weight they’re lifting!
Repairing and Patching the Wall
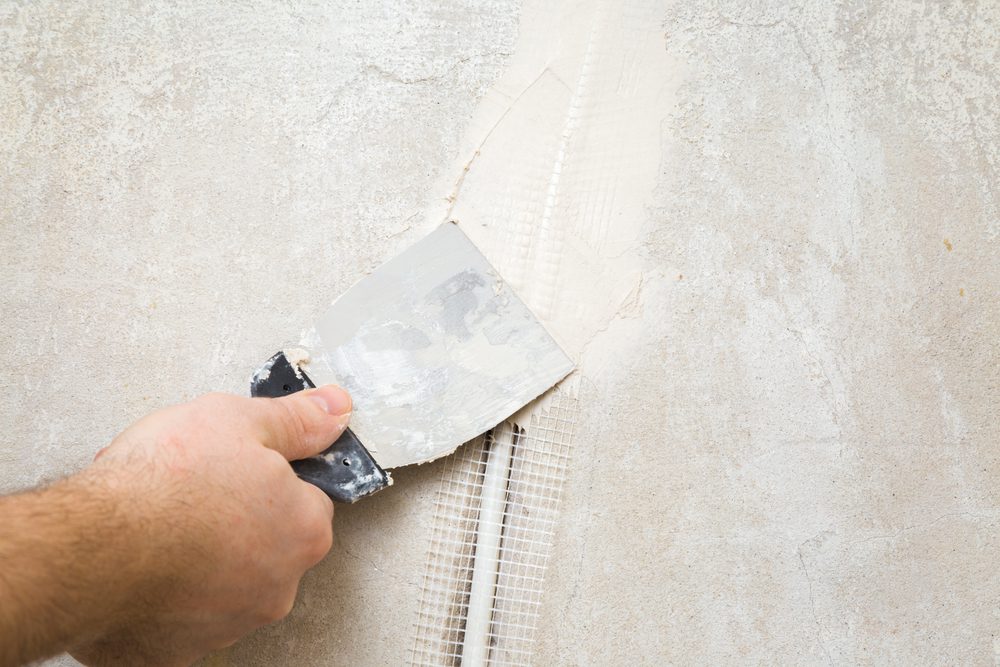
After you have removed the vanity, you will need to repair and patch the wall. First, use a drywall adhesive to patch any wall holes caused by mounting hardware or screws. Apply the adhesive in thin layers and let it dry before applying another layer. Before starting this process, make sure your work surface is clean and dry to ensure there are no dirt flecks between layers of glue that could later on, when you’re trying to finish up those finishing touches, cause cracking or peeling.
Apply pressure with a hand roller overtop each area where there was damage after everything has dried (approximately 24 hours), then take out everything like light switches, outlets, etc. This will ensure that everything remains in its right location and prevent future problems, such as mildew growth when water begins to accumulate behind these objects.
Cleaning and Organizing
When you’re done, clean up the area. Remove any leftover parts and tools so that your workspace looks neat again. Organize the leftovers so they are easy to find next time you need them.