How to Replace Cabinet Hinges: Step-by-Step Guide for a Smooth, Professional Finish
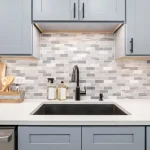
Cabinet doors that sag, squeak, or refuse to close properly are more than just annoying — they’re usually a sign that it’s time for an upgrade. The good news? Learning how to replace cabinet hinges is one of the simplest and most cost-effective ways to refresh your kitchen or bathroom without a full remodel.
Having worked on multiple cabinet upgrades and DIY renovation projects, one thing is clear: most hinge replacements fail not because the job is hard, but because people skip key steps or choose the wrong hinge type.
This guide will walk you through how to replace cabinet hinges correctly, even if you have little to no DIY experience. By the end, you’ll know exactly what to buy, what to avoid, and how to get professional-looking results.
Contents
- 1 What Is How to Replace Cabinet Hinges?
- 2 Why How to Replace Cabinet Hinges Is Important
- 3 How to Replace Cabinet Hinges (Step-by-Step Guide)
- 4 Common Mistakes to Avoid with How to Replace Cabinet Hinges
- 5 Expert Tips for Success with How to Replace Cabinet Hinges
- 6 FAQs About How to Replace Cabinet Hinges
- 7 Conclusion
What Is How to Replace Cabinet Hinges?
How to replace cabinet hinges refers to the process of removing existing cabinet door hinges and installing new ones to restore proper door alignment, improve function, or update the cabinet’s appearance.
This can involve:
- Replacing worn-out or broken hinges
- Switching to soft-close hinges
- Updating exposed hinges to concealed hinges
- Fixing alignment or sagging doors
Replacing hinges does not usually require replacing cabinets or doors, which makes it a popular home improvement task for homeowners looking for quick results with minimal cost.
Why How to Replace Cabinet Hinges Is Important
Understanding how to replace cabinet hinges properly matters more than most people realize.
Here’s why it’s important:
- Functionality: Worn hinges cause doors to sag or stick
- Longevity: New hinges reduce stress on cabinet frames
- Safety: Loose doors can fall or pinch fingers
- Appearance: Updated hinges instantly modernize cabinets
According to building maintenance guidelines, hardware failure is one of the most common causes of cabinet damage over time.

From firsthand experience, homeowners who replace hinges early prevent more costly cabinet door or frame repairs later. It’s a small fix with a big impact.
How to Replace Cabinet Hinges (Step-by-Step Guide)
Below is a clear, beginner-friendly process on how to replace cabinet hinges correctly.
Step 1: Identify Your Existing Hinges
Before removing anything, check:
- Are the hinges concealed or exposed?
- Are they inset, overlay, or partial overlay?
- Are they soft-close or standard?
Matching the hinge type prevents drilling unnecessary holes.
Step 2: Remove the Cabinet Door
- Support the door with one hand
- Unscrew hinges from the cabinet frame
- Place screws in a container to avoid losing them
Pro tip: Remove one door at a time to avoid mixing parts.
Step 3: Unscrew Old Hinges from the Door
- Lay the door flat on a soft surface
- Remove the hinges completely
- Inspect screw holes for damage
If holes are stripped, fill them with wood filler or wooden toothpicks and glue.
Step 4: Install the New Hinges on the Door
- Align the new hinge in the same position
- Secure screws snugly (not overtightened)
- Ensure hinges sit flush
This step is critical when learning how to replace cabinet hinges cleanly.
Step 5: Reattach the Door to the Cabinet
- Hold the door in position
- Secure hinges to the cabinet frame
- Close the door slowly to check alignment
Most modern hinges allow adjustment after installation.
Step 6: Adjust for Proper Alignment
Use the adjustment screws to:
- Level the door
- Adjust depth
- Correct spacing between doors
This final adjustment separates amateur work from professional results.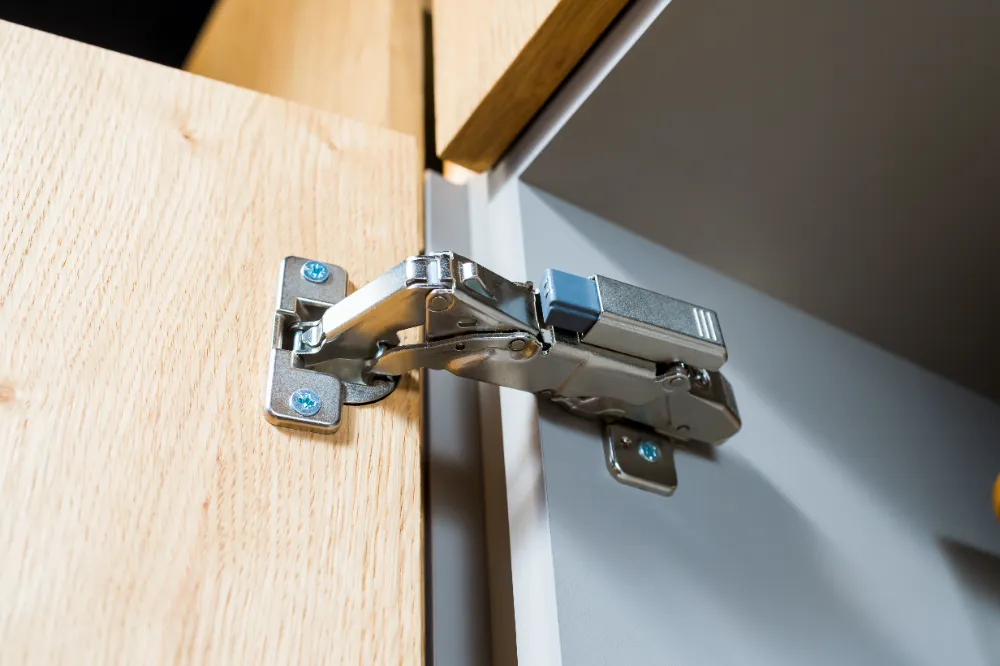
Common Mistakes to Avoid with How to Replace Cabinet Hinges
Many DIYers run into problems because of these common mistakes:
- Buying the wrong hinge type
- Overtightening screws, causing stripped holes
- Ignoring door alignment adjustments
- Drilling new holes unnecessarily
- Replacing all doors at once, causing confusion
Avoiding these mistakes ensures your cabinet doors function smoothly and last longer.
Expert Tips for Success with How to Replace Cabinet Hinges
Here are insider tips professionals follow when replacing hinges:
- Always bring an old hinge to the hardware store
- Choose soft-close hinges for kitchens and bathrooms
- Replace hinges in pairs, not individually
- Use a manual screwdriver for final tightening
- Test each door before moving to the next
Experienced installers agree that patience during alignment makes the biggest difference in results.
FAQs About How to Replace Cabinet Hinges
UKB
Unique Kitchen & baths is a family-owned business that is committed to providing high-quality kitchen and bathroom remodeling, as well as flooring installations at affordable prices.