Top Tips on Installing Vinyl Plank Flooring
Installing vinyl plank flooring is a popular choice for homeowners seeking a durable, attractive, and low-maintenance flooring solution. Whether you are upgrading your kitchen, living room, or bathroom, installing vinyl plank flooring provides a professional look without breaking the budget. With the right preparation, tools, and techniques, you can achieve a seamless and beautiful floor. This guide offers expert tips to help you get started and ensure long-lasting results.
Contents
- 1 Preparing Your Subfloor for Vinyl Plank Flooring
- 2 Choosing the Right Vinyl Planks
- 3 Tools and Materials Needed for Installation
- 4 Step-by-Step Installation Process
- 5 Maintenance Tips for Longevity
- 6 Common Installation Mistakes to Avoid
- 7 Enhancing Your Renovation with Vinyl Flooring
- 8 Environmental and Safety Considerations
- 9 FAQ
- 10 Conclusion
Preparing Your Subfloor for Vinyl Plank Flooring
Proper preparation is the foundation of successful installing vinyl plank flooring. A smooth and clean subfloor ensures your planks lay flat and remain stable over time.
Cleaning and Leveling the Subfloor
Before installing vinyl plank flooring, thoroughly clean the subfloor to remove dirt, dust, and debris. Any uneven areas can cause planks to warp or shift, so leveling compound may be necessary for concrete or wood floors. Ensuring a flat, smooth surface helps prevent gaps and uneven wear, extending the life of your flooring.
Moisture Barrier Installation
Moisture can damage vinyl flooring over time, so adding a moisture barrier is crucial when installing vinyl plank flooring in basements or areas with high humidity. Using a suitable underlayment or vapor barrier prevents moisture from seeping through and causing buckling or mold growth.
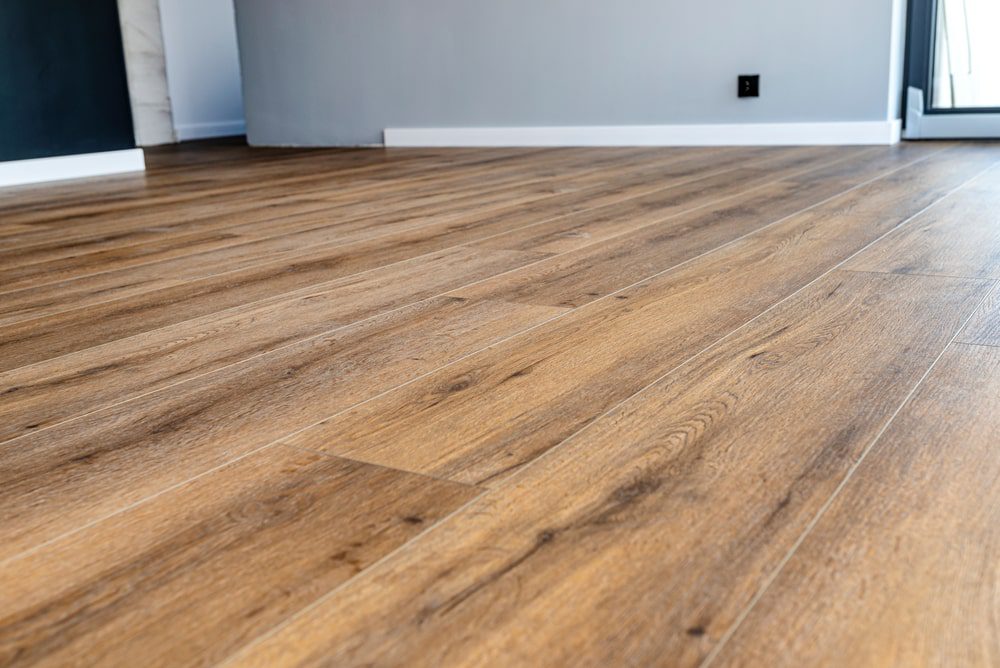
Choosing the Right Vinyl Planks
Selecting the right material is critical for a successful project. Not all vinyl planks are created equal, and the choice impacts durability, appearance, and ease of installation.
Thickness and Wear Layer Considerations
The thickness of your vinyl planks affects both comfort and durability. A thicker plank with a strong wear layer is more resistant to scratches and heavy foot traffic. When installing vinyl plank flooring, consider the environment—high-traffic areas require planks with reinforced wear layers for long-lasting performance.
Style and Finish Options
Vinyl planks come in a variety of styles, from realistic wood textures to modern stone finishes. Choosing the right design enhances the overall aesthetic of your home while maintaining the practical benefits of vinyl. Ensure that the planks complement your interior design and the rest of your renovation project, such as your kitchen remodel.
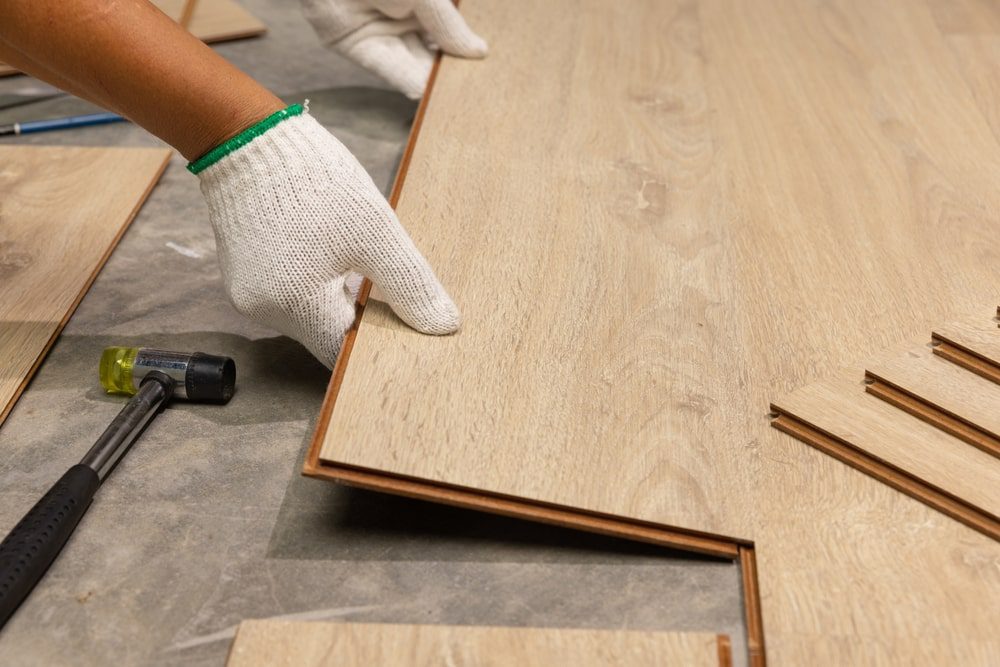
Tools and Materials Needed for Installation
Having the right tools and materials is essential when installing vinyl plank flooring. Proper preparation saves time and reduces the risk of mistakes.
Essential Tools for a Smooth Installation
Basic tools for installing vinyl plank flooring include a utility knife, tape measure, straight edge, rubber mallet, spacers, and a tapping block. These tools help ensure precise cuts, correct spacing, and tight seams between planks for a professional-looking result.
Additional Materials for a Durable Finish
Alongside tools, you may need underlayment, transition strips, adhesive (if required), and trim molding. These additional materials contribute to a clean, polished finish and help protect edges and corners from wear over time.
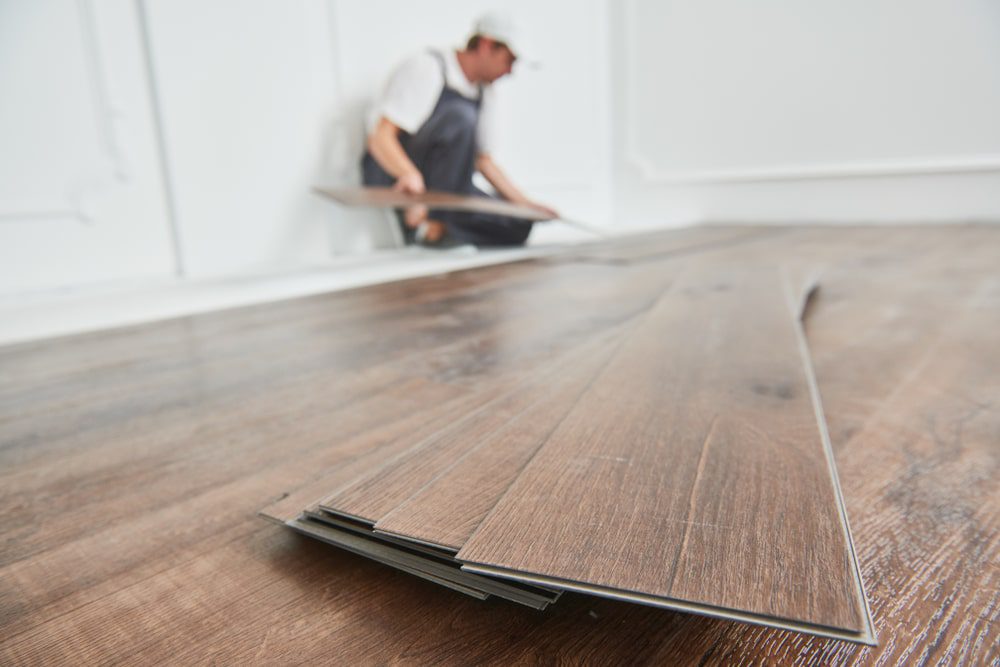
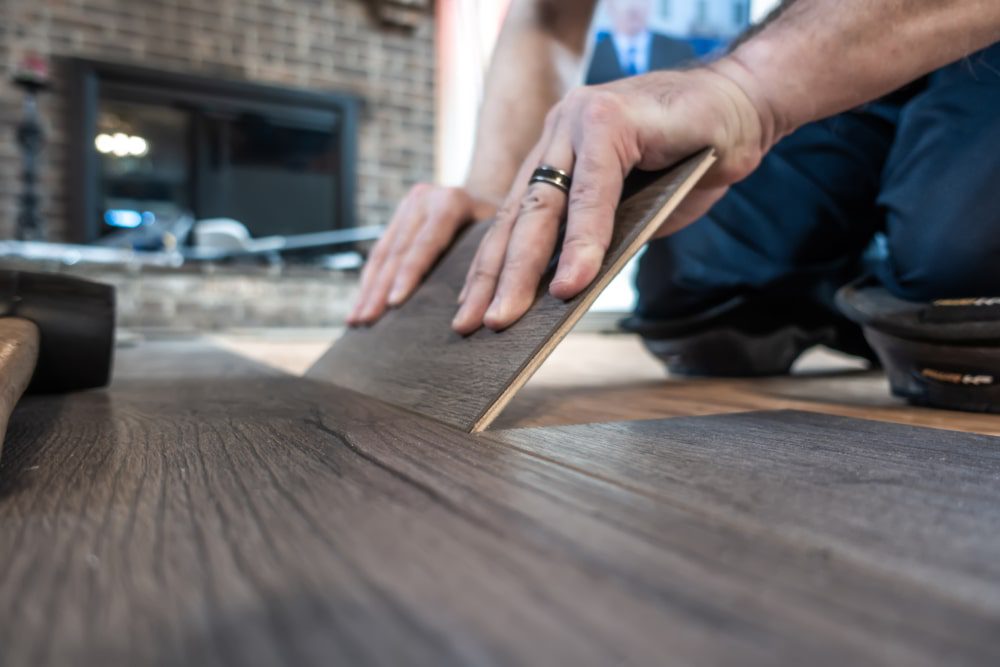
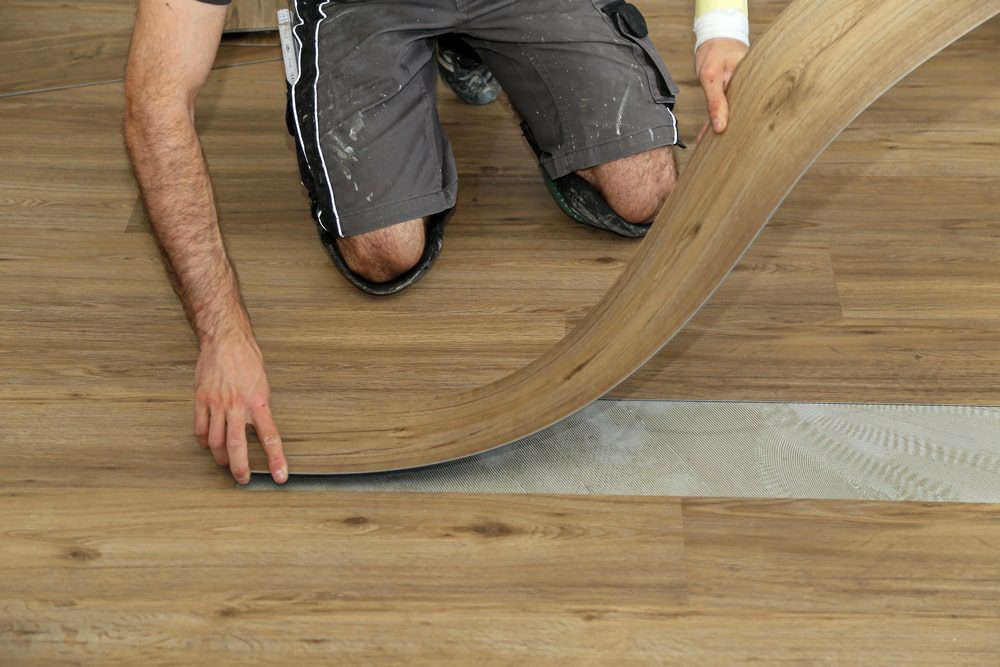
Step-by-Step Installation Process
Understanding the step-by-step process is key to successful installing vinyl plank flooring. Proper sequencing ensures a smooth, attractive finish.
Planning Your Layout
Start by planning your layout to avoid narrow strips along walls and maintain a balanced look. Measure your space carefully and stagger seams for a natural wood-like appearance. Planning also helps minimize waste and ensures your flooring aligns correctly with doors and other fixed structures.
Installing the Planks
Begin installation along the longest wall, using spacers to maintain expansion gaps. Lock the planks together using the click-and-lock system or adhesive as per manufacturer instructions. Continue row by row, checking alignment and fit. Proper installation techniques are critical to avoid buckling or gaps that compromise the flooring’s longevity.
Maintenance Tips for Longevity
Caring for your floor extends its life and preserves its appearance. Once installing vinyl plank flooring is complete, proper maintenance is essential.
Regular Cleaning and Care
Sweep or vacuum your vinyl planks regularly to remove dirt and grit. Use a damp mop with a mild cleaner to maintain shine and cleanliness. Avoid harsh chemicals or abrasive tools that may damage the wear layer or surface texture.
Preventing Scratches and Damage
Use protective pads under furniture, and avoid dragging heavy objects across the floor. These small steps help protect your vinyl planks from scratches and dents, maintaining their attractive appearance for years.
Common Installation Mistakes to Avoid
Avoiding mistakes ensures your installing vinyl plank flooring project is successful and long-lasting. Recognizing pitfalls before you start can save time, money, and frustration.
Ignoring Expansion Gaps
Vinyl planks expand and contract with temperature changes. Failing to leave adequate gaps around walls or furniture edges can lead to buckling. Always follow manufacturer guidelines to allow for natural movement.
Skipping Subfloor Preparation
A poorly prepared subfloor leads to uneven planks, gaps, and premature wear. Never skip cleaning, leveling, or moisture barrier installation, as these steps are essential for a successful project.
Enhancing Your Renovation with Vinyl Flooring
Installing vinyl plank flooring can complement broader home renovation projects, adding style and value.
Pairing with Kitchen Remodels
Vinyl plank flooring is ideal for kitchens due to its water resistance and easy cleaning. It pairs seamlessly with kitchen remodeling projects, providing a cohesive and modern look. For a complete upgrade, explore your options alongside your kitchen remodeling service to match cabinets, countertops, and flooring.
Coordinating with Sink Installation
In areas like kitchens and bathrooms, coordinating flooring with fixtures is essential. Ensure vinyl planks fit seamlessly around sinks and cabinets. Consider consulting professionals for precise measurements and installation guidance, especially if you are upgrading to a new in your home.
Environmental and Safety Considerations
When installing vinyl plank flooring, it’s important to consider the environmental and safety aspects for a healthier home.
Low-VOC and Eco-Friendly Options
Many vinyl plank flooring products now come with low-VOC options to reduce harmful chemical emissions. Choosing environmentally friendly planks promotes a safer indoor air quality for your family.
Safe Handling and Disposal
Wear gloves and use proper ventilation when cutting vinyl planks. Dispose of scraps responsibly or recycle if available. Following these safety guidelines ensures a secure and eco-conscious installation process.