How to Install Shower Door with Perfect Fit
Mastering how to install shower door panels—framed or frameless—comes down to meticulous measuring, plumb/level prep, and watertight finishing. Whether you’re upgrading a tired enclosure or finishing a new bath, this step-by-step guide walks you through planning, layout, drilling, mounting, sealing, and final adjustment so your door swings smooth, seals tight, and looks showroom-ready.
Contents
- 1 Planning & Measuring for a Precision Fit
- 2 Tools, Materials & Site Protection
- 3 Substrate & Opening Readiness
- 4 Layout, Marking & Safe Drilling
- 5 Mounting Wall Channels, Hinges & Header (if used)
- 6 Setting Fixed Glass Panels
- 7 Hanging the Door: Hinges, Alignment & Sweep
- 8 Sealing & Cure for a Watertight Finish
- 9 Fine Adjustments, Maintenance & Safety Checks
- 10 Common Mistakes & How to Avoid Them
- 11 FAQs
- 12 Conclusion
Planning & Measuring for a Precision Fit
The most important part of how to install shower door hardware starts before you ever open a tube of silicone: measure twice, dry-fit once, drill once.
Measure the Opening Like a Pro
Measure width at curb/top/midpoints and height at both sides. Note the smallest width—walls are rarely perfectly parallel, and your door must fit the tightest point. Check plumb on both jambs and level across the curb: a 1/8″ out-of-plumb wall can change hinge placement and sweep clearance. Record any slope to interior for drainage.
Choose the Right System
Frameless hinged doors showcase tile and stone, while semi-frameless or fully framed kits can mask slightly out-of-plumb walls. For tight baths, sliding bypass doors save space. Deciding how to install shower door hardware hinges on these choices: framed systems are more forgiving; frameless needs stricter substrate prep and exact drilling.
Tools, Materials & Site Protection
Starting how to install shower door work with the right kit saves time—and chips fewer tiles.
What You’ll Need
Tape measure, 4′ level or laser, square, painter’s tape, non-staining marker, masking paper, safety glasses, cut-resistant gloves, suction cups, #2 Phillips/hex drivers, torque-limited drill/driver, variable-speed drill, carbide or diamond bits for tile/stone, silicone (100% bath-grade), shims, plastic anchors, stainless screws, denatured alcohol, microfiber cloths, and clear setting blocks.
Protect the Space
Cover curb, tub edge, and floor with rosin paper. Tape tile faces where you’ll drill—this keeps bits from skating and prevents surface chipping. Safe how to install shower door practices also include turning off radiant heat in floors (if present) to avoid expanding sealant too quickly.
Substrate & Opening Readiness
Great-looking results come from plumb, level, and clean contact surfaces—crucial in how to install shower door work.
Check Plumb/Level & Correct
Walls out more than manufacturer tolerance (often ~1/4″ across full height) may need shimming behind wall channels or selecting a framed kit. Confirm curb slopes into the shower (≈1/8″–1/4″) so water doesn’t run out.
Clean, Dry, De-Greased
Wipe tile and metal contact zones with alcohol. Silicone bonds best to clean, dry surfaces; this small prep step dramatically improves the long-term success of how to install shower door seals.
Layout, Marking & Safe Drilling
Clean holes in tile are the make-or-break moment in how to install shower door installation.
Mark Once, Verify Twice
Dry-fit wall channels or hinge plates. Use a level to align, then mark holes through the predrilled hardware. Re-check your marks against the smallest measured width at the curb to keep reveals even.
Drill with Control
Use painter’s tape over the mark and a carbide or diamond bit. Start at a shallow angle to “bite,” then go perpendicular, low RPM, light pressure, and frequent water cooling. Avoid hammer mode. Insert plastic anchors flush—overdriving can crack tile and complicate how to install shower door mounting.
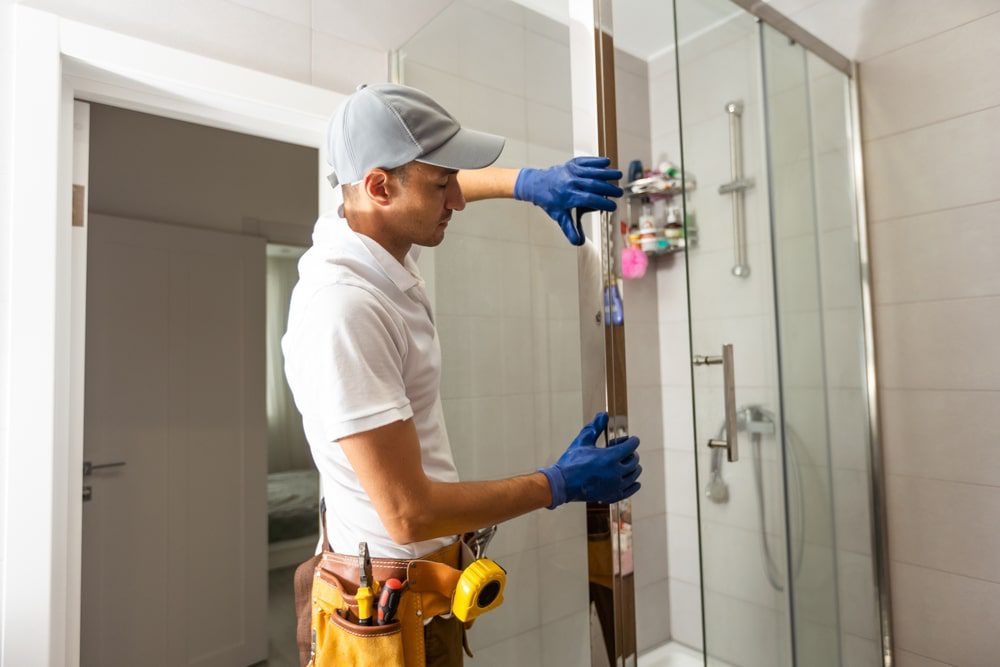
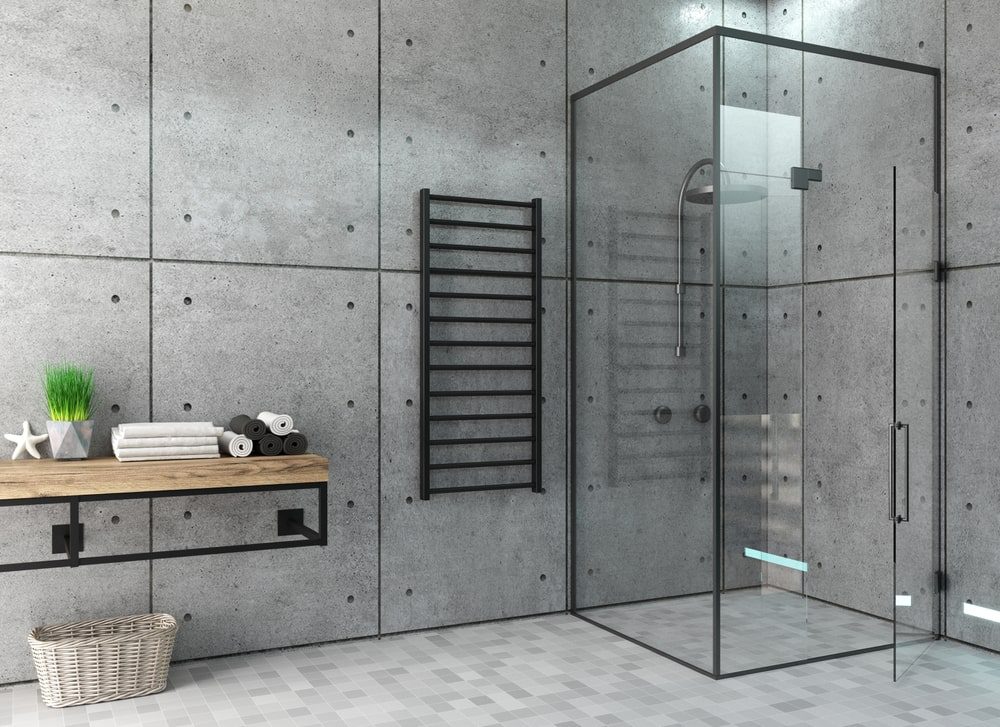
Mounting Wall Channels, Hinges & Header (if used)
This is the structural backbone of how to install shower door assemblies—get it square and true.
Secure the Verticals
Fasten wall channels/hinge plates with stainless screws. Check plumb constantly, using temporary shims as needed. Lightly silicone the back of channels unless the manufacturer specifies “dry-set” for future serviceability.
Install Header or Support Bar
For sliders or wide spans, a header or bar stabilizes panels. Trim to length per instructions, ensure level, and tighten set screws just enough to hold—final torque comes after glass is in. This sequence matters in how to install shower door work to maintain adjustability.
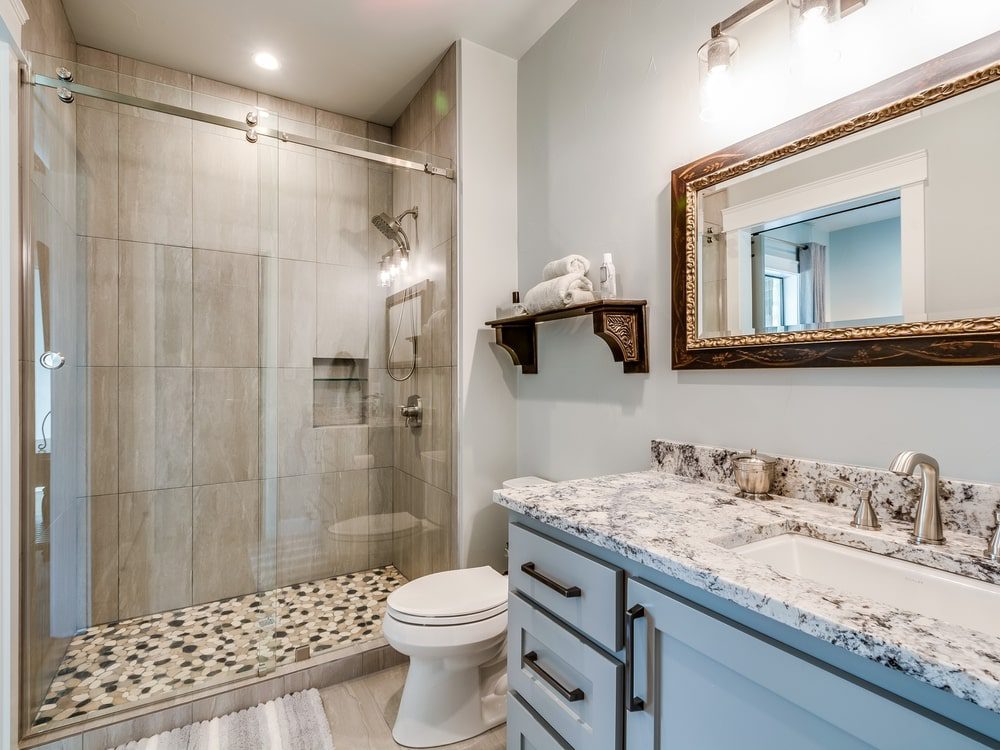
Setting Fixed Glass Panels
Clean handling keeps edges pristine; suction cups and setting blocks make how to install shower door glazing safe and precise.
Set on Blocks & Plumb
Place clear setting blocks along the curb/threshold, stand the fixed panel in channel or clips, and check plumb/level. Insert side seals or vinyl as directed. Do not overstuff gaskets—compressed vinyl can bow glass.
Fasten Clips/Channels
Tighten evenly, alternating screws to avoid pulling the panel out of plumb. Re-check reveals. This patient approach is the secret in how to install shower door assemblies that look factory-perfect.
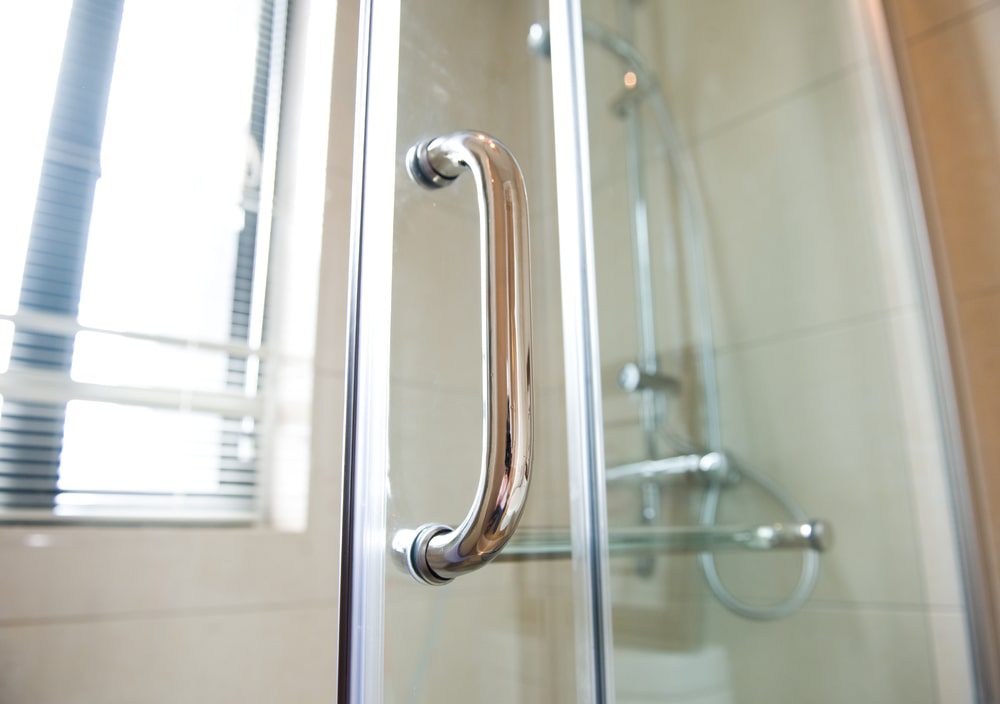
Hanging the Door: Hinges, Alignment & Sweep
Door alignment and gasket fit determine whether your enclosure drips or stays dry—key steps in how to install shower door success.
Mount the Door Leaf
With two people and suction cups, align the door in hinges. Tighten per torque spec. Check the gap at strike side (often 1/8″–3/16″) and at curb. Confirm that the door clears any slope yet still compresses the bottom sweep when closed.
Install Strike, Magnets & Bottom Sweep
Attach strike jamb or magnet, then cut and press on the bottom sweep. Door should latch softly with continuous contact. Fine-tune hinge tension so the door doesn’t drift open/closed—an overlooked detail in how to install shower door tuning.
Sealing & Cure for a Watertight Finish
A beautiful install isn’t complete until it’s sealed properly—the final mile of how to install shower door best practices.
Where to Silicone (and Not)
Silicone outside along channels and curb—never seal inside tracks where moisture needs to drain. Tool smooth with a dampened finger or finishing tool. Leave corners with tiny weep gaps as directed to prevent trapping water; this nuance separates pro-level how to install shower door work from messy caulk jobs.
Cure Times & First Use
Follow the sealant’s cure window (often 24 hours) before showering. Avoid steam during cure. A careful wait preserves clarity and adhesion, extending the life of your how to install shower door seal.
Fine Adjustments, Maintenance & Safety Checks
Small tweaks after a day of use lock in longevity—smart follow-up for how to install shower door projects.
Final Reveal & Latch Tune
If the door kisses the strike too hard, adjust strike depth or magnet alignment. Confirm equal reveals top/bottom and that the sweep skims the curb without dragging.
Maintenance Basics
Squeegee after showers, wipe hardware weekly, and re-seal silicone every few years as needed. These habits keep glass brilliant and hardware smooth—ongoing care that honors your how to install shower door investment.
Common Mistakes & How to Avoid Them
These pitfalls can compromise seals or crack tile—avoid them to keep how to install shower door installs trouble-free.
Over-Tightening & Unsupported Drilling
Cranking set screws or drilling without cooling can chip tile or stress glass. Let bits cool, use steady pressure, and tighten to spec—glass is strong but vulnerable at edges/holes.
Sealing the Wrong Places
Blocking drain paths in tracks or sealing inside corners where weep is needed traps moisture. Read the manufacturer’s diagram closely—accurate sealing is make-or-break in how to install shower door performance.