How to Repair Grout in Shower the Right Way
Learning how to repair grout in shower areas is one of the most impactful bathroom fixes you can make. Done right, it restores waterproofing, refreshes the look of tile, and prevents costly substrate damage. This step-by-step guide covers diagnosis, removal, cleaning, regrouting, caulking, curing, sealing, and long-term care—so your shower stays watertight and beautiful.
Contents
- 1 Diagnose Before You Demo
- 2 Tools, Materials, and Safety Setup
- 3 Remove the Damaged Grout Cleanly
- 4 Clean, Disinfect, and Dry the Joints
- 5 Choose the Right Grout and Mix Correctly
- 6 Pack, Tool, and Shape the Joints
- 7 Caulk the Corners and Perimeters
- 8 Curing, Sealing, and First Use
- 9 Color Matching and Blending Old with New
- 10 Mold, Moisture, and When to Call a Pro
- 11 FAQ
- 12 Conclusion
Diagnose Before You Demo
A precise diagnosis is the fastest path to success when deciding how to repair grout in shower spaces. Not all cracks or stains mean full regrout; sometimes targeted repairs or recaulking will do.
Map where grout is missing, powdery, or cracked, and note any soft or darkened spots that suggest moisture intrusion. Check changes of plane (wall-to-wall, wall-to-floor) where movement is normal—these should be caulked, not grouted. If tiles sound hollow or the substrate flexes, address setting or structural issues before any cosmetic fixes.
Different Problems, Different Fixes
Hairline cracks along a single joint often call for localized removal and regrout. Widespread powdering, efflorescence, or loose tiles point to deeper issues like water intrusion, poor coverage, or movement, and may require larger-area regrouting or even tile reset. Correctly scoping the issue is the foundation of how to repair grout in shower the right way.
Tools, Materials, and Safety Setup
Prepared, protected work areas make how to repair grout in shower projects cleaner and safer. Gather a carbide grout saw, oscillating multi-tool with grout blade, utility knife, margin trowel, mixing bucket, rubber grout float, grout sponge, microfiber cloths, shop vac, painter’s tape, and PPE (gloves, eye protection, respirator if cutting old grout). Choose the correct grout: sanded for wider joints (≥1/8″), unsanded for narrow joints, or epoxy for high-performance, stain-resistant results. Have 100% silicone for corners and perimeters, plus an appropriate grout sealer for after cure.
Protect the Space
Mask fixtures and glass, cover the drain, and tape along tile edges near delicate finishes. Good protection is an overlooked but critical step in how to repair grout in shower projects, preventing scratches and keeping debris out of the plumbing.
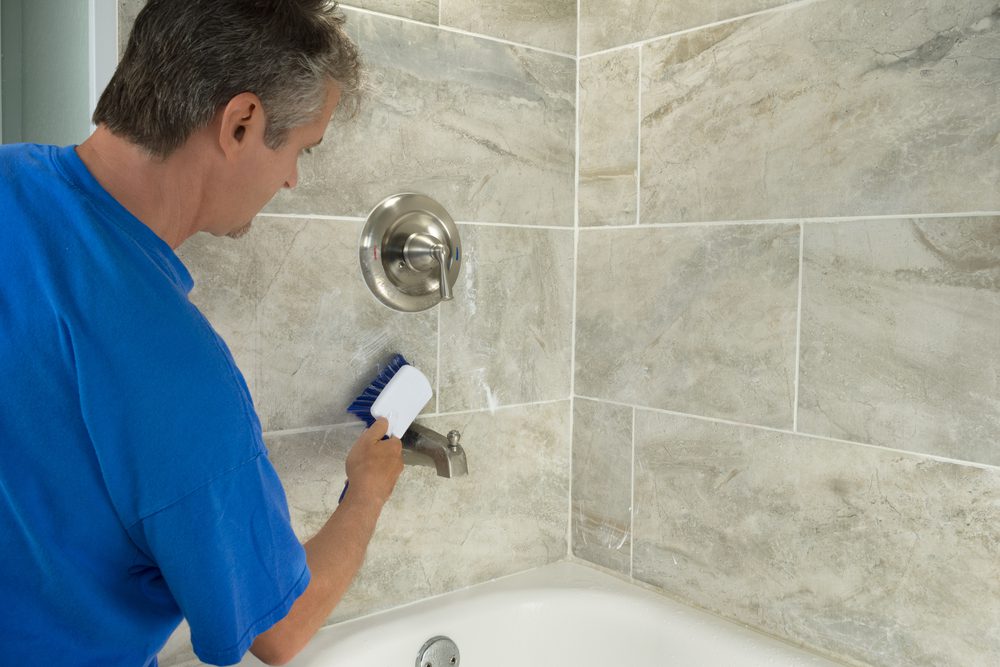
Remove the Damaged Grout Cleanly
Careful removal sets up everything that follows in how to repair grout in shower work. Score joints with a handheld grout saw or an oscillating tool at low speed, staying centered to avoid chipping tile edges. Aim to remove at least two-thirds of the grout depth for strong mechanical lock with the new mix. Vacuum dust frequently and keep the blade cool to minimize micro-chips. At changes of plane, cut out grout completely—those joints will be recaulked, not regrouted.
Avoid Tile Damage
Use light pressure, multiple passes, and fresh blades. If you feel binding, back out and re-score rather than forcing the cut. Patience prevents edge blowouts and is central to how to repair grout in shower without collateral damage.
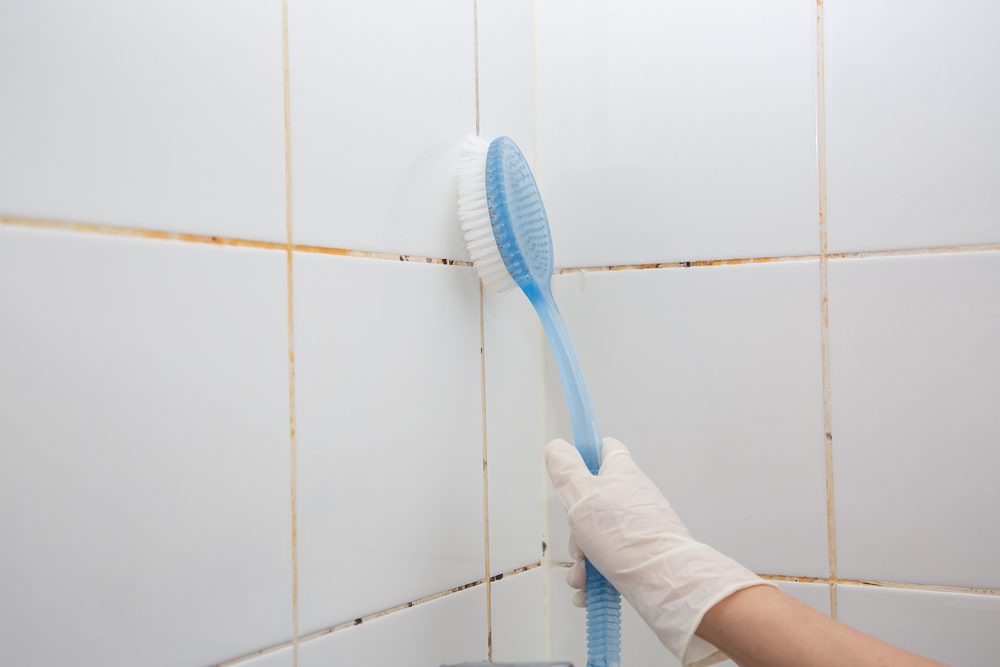
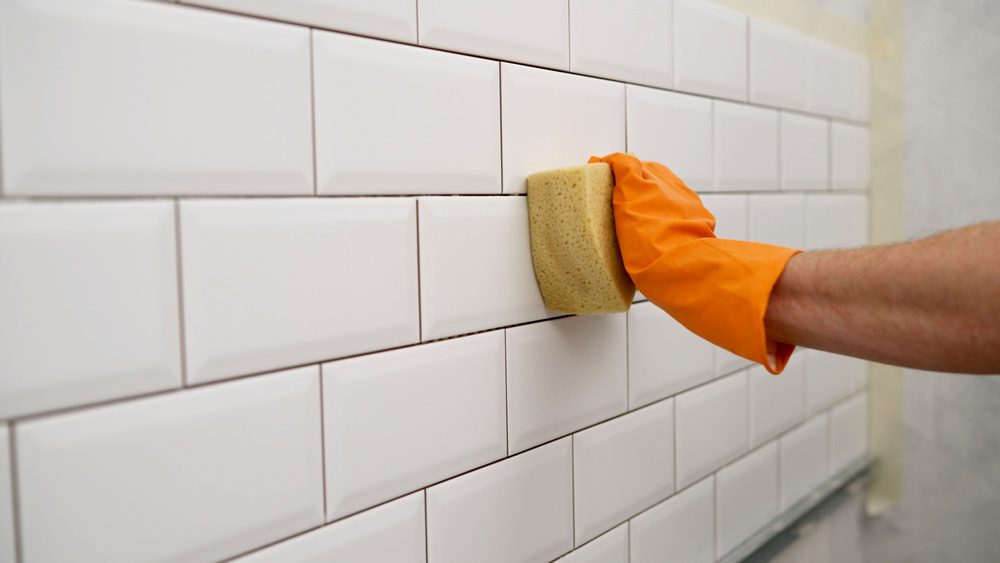
Clean, Disinfect, and Dry the Joints
Clean joints ensure strong adhesion when learning how to repair grout in shower assemblies.
Vacuum thoroughly, then wipe with a damp microfiber to remove fine dust. Where mildew or soap scum was present, treat joints and tile edges with a diluted, tile-safe cleaner or peroxide-based bathroom disinfectant. Rinse and allow to dry fully—residual moisture can discolor grout and weaken the bond.
Address Stubborn Stains
If efflorescence is visible, remove with a manufacturer-approved efflorescence remover (never harsh acids on delicate stone). This prep step keeps salts from reappearing through new grout—another key to how to repair grout in shower for the long term.
Choose the Right Grout and Mix Correctly
Material choice influences durability and maintenance when deciding how to repair grout in shower areas. Cementitious grouts (sanded/unsanded) are user-friendly and color-rich; epoxy grouts offer superior stain and water resistance but demand stricter timing and cleanup.
Mix to Spec, Let It Slake
Measure water precisely, mix to a creamy “peanut-butter” consistency, and allow the mix to slake (rest) per instructions, then remix without adding water. Proper mixing prevents weak joints and shading—vital details in how to repair grout in shower projects.
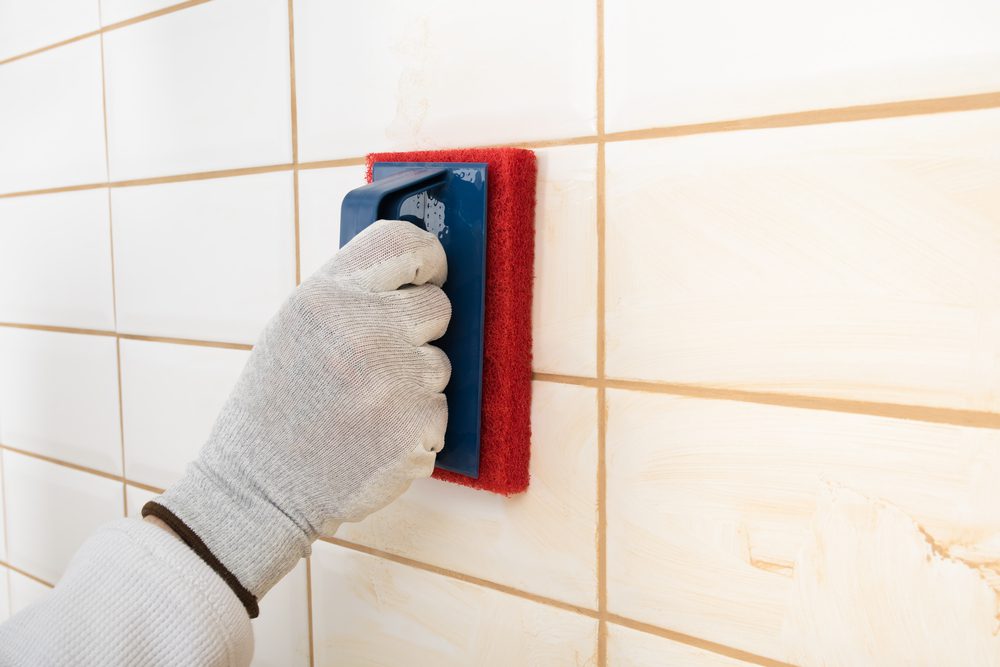
Pack, Tool, and Shape the Joints
Application technique drives the finished look in how to repair grout in shower work. Using a rubber float, force grout diagonally across joints to pack them completely.
Work small sections to maintain control. After the initial set (surface dulls), wipe lightly with a damp sponge in diagonal strokes, rinsing frequently. Keep joints full, edges crisp, and avoid over-washing.
Control Haze and Consistency
After 15–30 minutes, polish with a barely damp microfiber to lift haze. Maintain uniform joint depth and width for a seamless blend with existing work—hallmarks of how to repair grout in shower like a pro.
Caulk the Corners and Perimeters
Movement joints are essential to watertight performance and belong in every plan for how to repair grout in shower spaces. Once grout firms, apply color-matched 100% silicone at vertical corners, along the floor perimeter, and where tile meets tubs or receptors. Tool a smooth, continuous bead to absorb movement and prevent cracking.
Know What Not to Grout
Never grout changes of plane. Caulk there, always. This one habit dramatically extends the life of how to repair grout in shower repairs.
Curing, Sealing, and First Use
Respect cure times to lock in durability when finishing how to repair grout in shower repairs. Most cementitious grout needs 24 hours before light use and up to 72 hours before sealing (check the bag).
Epoxy grouts typically do not require sealing. After full cure, apply a penetrating sealer to cementitious grout, wiping off tile faces promptly to avoid residue.
Ventilation Matters
Run the bath fan and keep the space dry during cure. Moisture and steam can cause uneven color or soft joints—small details that make how to repair grout in shower results last.
Color Matching and Blending Old with New
A subtle color transition elevates how to repair grout in shower aesthetics. Grout dries lighter than it looks wet; create small test boards or sample patches to verify color before full application. If existing grout has aged, consider lightly cleaning adjacent joints so the new sections blend more naturally.
When to Refresh the Whole Field
If more than 25–30% of the field is compromised, a full regrout ensures uniform color and integrity—often the smarter way to how to repair grout in shower comprehensively.
Mold, Moisture, and When to Call a Pro
Persistent staining or musty odors may indicate hidden moisture. A moisture meter or thermal camera can reveal damp substrates—critical intelligence for how to repair grout in shower without masking bigger problems.
Red Flags Requiring Expert Help
Soft drywall, crumbling backer, repeated grout failure, or loose tiles suggest substrate issues or waterproofing defects. In those cases, professional remediation beats spot repairs and ultimately protects your investment in how to repair grout in shower work.