How to Replace Shower Head in an Apartment
Learning how to replace shower head in a rental is a quick, low-cost upgrade that can improve water pressure, comfort, and style—without altering the plumbing behind the wall. With a few basic tools and some renter-friendly tactics, you can swap heads in minutes and leave no trace when it’s time to move out.
Contents
Planning & Permission Before You Start
A little prep saves headaches later. In an apartment, understanding how to replace shower head the right way includes knowing your lease rules and documenting the existing setup.

Review Your Lease & Take Photos
Check the lease for any restrictions on fixtures. Snap clear photos of the original shower head and arm from multiple angles. This simple step makes it easy to revert to the original condition—an important part of how to replace shower head in a rental responsibly.
Choose the Right Replacement
Select a head that matches the thread standard (½” NPT is typical in the U.S.) and fits your water pressure. Rain, handheld, and high-pressure fixed heads each feel different; choose a style that aligns with your routine and the building’s pressure profile.
Tools, Materials & Setup
Gathering everything up front makes how to replace shower head fast and tidy.
What You’ll Need
Adjustable wrench or pliers with padded jaws, Teflon (PTFE) tape, soft cloths or an old towel, white vinegar (for mineral removal), and a small bowl or zip bag for soaking. For handheld models, you’ll also need the hose and bracket (often included in the kit).
Prep the Area
Place a towel in the tub or shower floor to protect the surface and catch any falling debris. Keep a small bowl handy for screws or decorative caps. Good staging is a quiet hero in how to replace shower head with minimal mess.
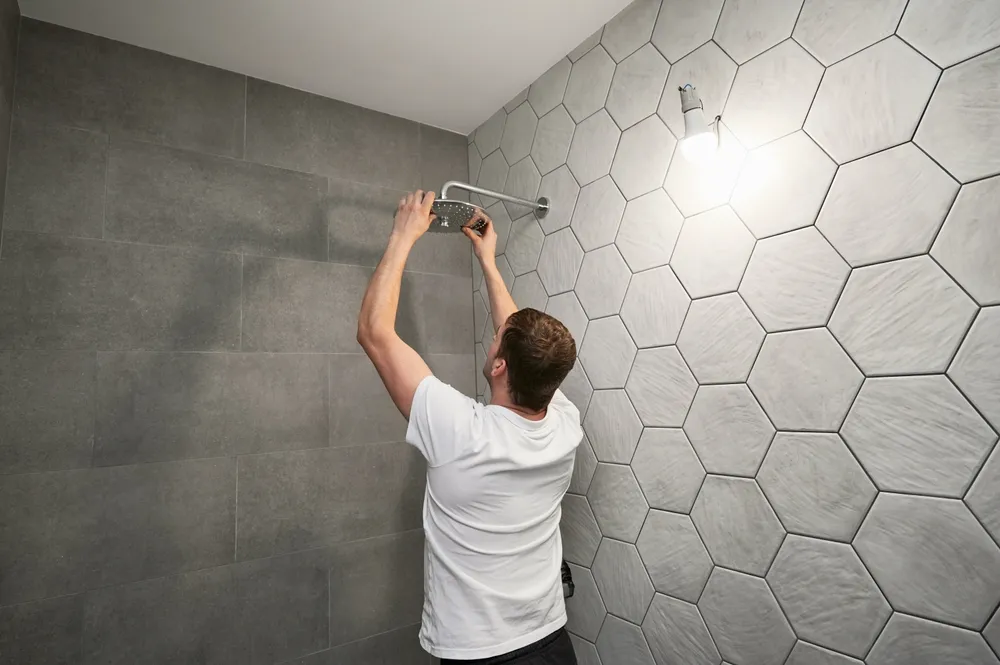
Remove the Old Shower Head Cleanly
A careful removal is the first hands-on step in how to replace shower head.
Loosen Without Scratching
Wrap the old head’s nut with a soft cloth and turn counterclockwise using padded pliers or a wrench. If it’s stuck, spritz with a little white vinegar and wait a few minutes to dissolve mineral buildup.
Inspect the Threads
Once removed, wipe the shower arm threads clean. If old Teflon tape remains, peel it off. A clean starting surface is essential for leak-free results when you continue with how to replace shower head.
Prep the Threads & Apply PTFE Tape
Thread prep is a tiny step that prevents big leaks—core to how to replace shower head like a pro.
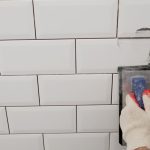
Wrap the Threads Correctly
Wrap PTFE tape clockwise (the same direction you’ll twist on the new head) 3–4 turns around the threads. Press the tape firmly so it molds into the grooves, ensuring a tight, drip-free seal.
When to Add Thread Sealant
Most heads seal perfectly with PTFE tape alone. If your building has lower-quality threads or minor nicks on the arm, a dab of thread sealant paste over the tape can help.
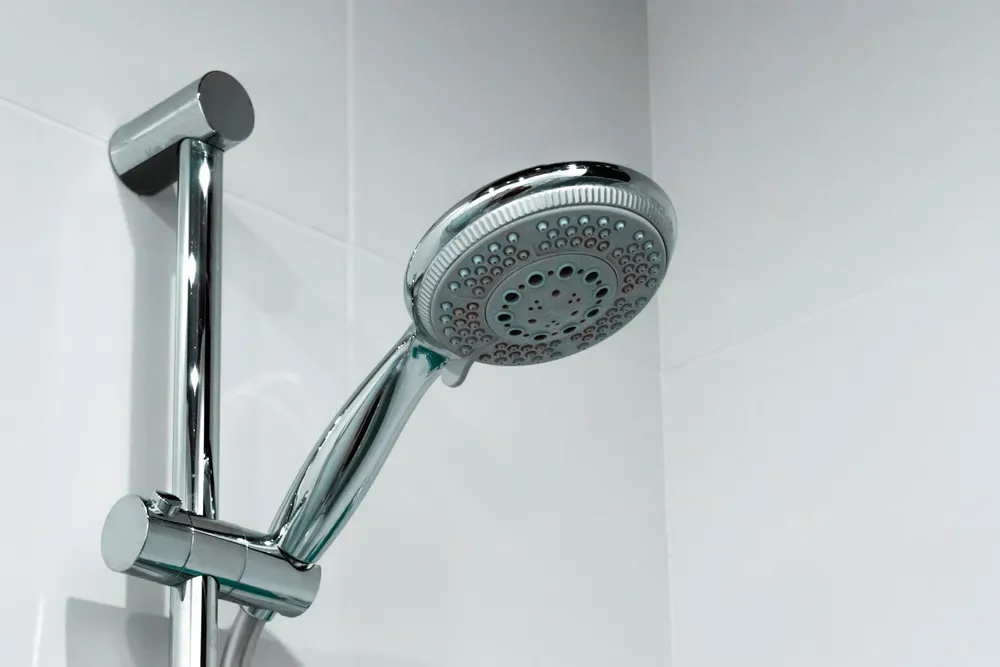
Install the New Shower Head
This is the satisfying part of how to replace shower head—the new fixture goes on in under a minute.
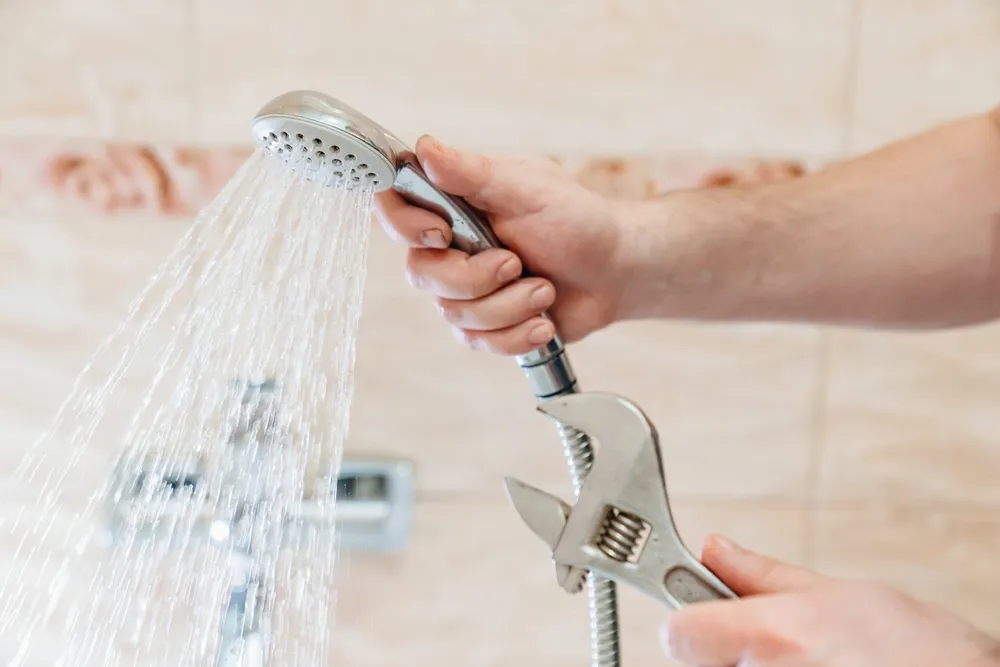
Hand-Tighten First
Thread the new head on by hand to avoid cross-threading. Once it seats, snug it with the wrench a quarter-turn at a time. Do not overtighten—too much torque can crack plastic collars or stress the arm.
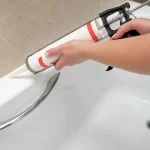
Attach a Handheld (If Using)
Mount the bracket per the kit’s instructions, connect the hose to the head and bracket, then hand-tighten both ends. Give each end a gentle snug with the wrench if the manufacturer recommends it.
Test for Leaks & Fine-Tune the Spray
Verification is a must when mastering how to replace shower head correctly.
Cold Test, Then Warm
Turn on cold water first and inspect the connection for drips. If you see a weep at the threads, shut water off and add one more wrap of PTFE tape. Test again on warm to account for thermal expansion.
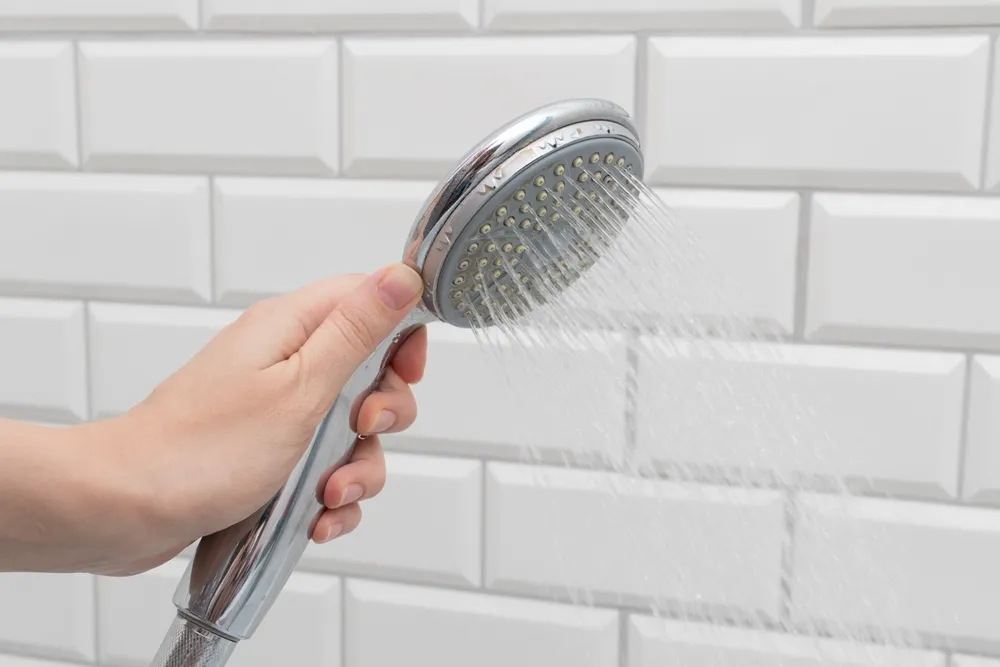
Adjust Flow & Angle
Many heads include flow restrictors or multiple spray patterns. Find the angle and mode that keep water in the shower footprint—especially important in apartments to prevent moisture issues.
Cleaning & Mineral Buildup Prevention
Care extends the life of your upgrade—an often-overlooked part of how to replace shower head for long-term satisfaction.
Quick Descale Routine
If spray becomes uneven, fill a zip bag with white vinegar, slip it over the head, and secure with a rubber band for 30–60 minutes. Rinse and run water—your spray should be even again.
Protect Finishes
Use non-abrasive cleaners and soft cloths. Harsh chemicals can dull chrome or spot matte black finishes, undermining the fresh look you gained by learning how to replace shower head.