How to Install Wall Tile: A Step-By-Step DIY Guide
Learning how to install wall tile transforms a dated kitchen backsplash, bath surround, or fireplace into a clean, durable showpiece. With a little planning, the right tools, and smart techniques, DIYers can achieve a pro-level result that looks crisp and lasts for years. Use this step-by-step playbook to go from blank wall to beautifully tiled feature—confidently and safely.
Contents
- 1 Planning Your Project Like a Pro
- 2 Tools, Materials, and Prep Area Setup
- 3 Substrate Readiness: Flat, Clean, and Sound
- 4 Layout and Reference Lines for a Symmetrical Finish
- 5 Mixing and Applying the Adhesive
- 6 Setting the Tile: Straight, Level, and Even
- 7 Cutting Tile and Fitting Around Obstacles
- 8 Grouting for Strength and Style
- 9 Caulking, Trim, and Finishing Touches
- 10 Lighting, Shelves, and Accessory Add-Ons
- 11 Budget, Timeline, and Quality Control
- 12 FAQs
- 13 Conclusion
Planning Your Project Like a Pro
Before you pick up a trowel, map the scope, pick materials, and lock your layout. A thoughtful plan is the foundation of how to install wall tile successfully.
Choose Tile, Trim, and Grout
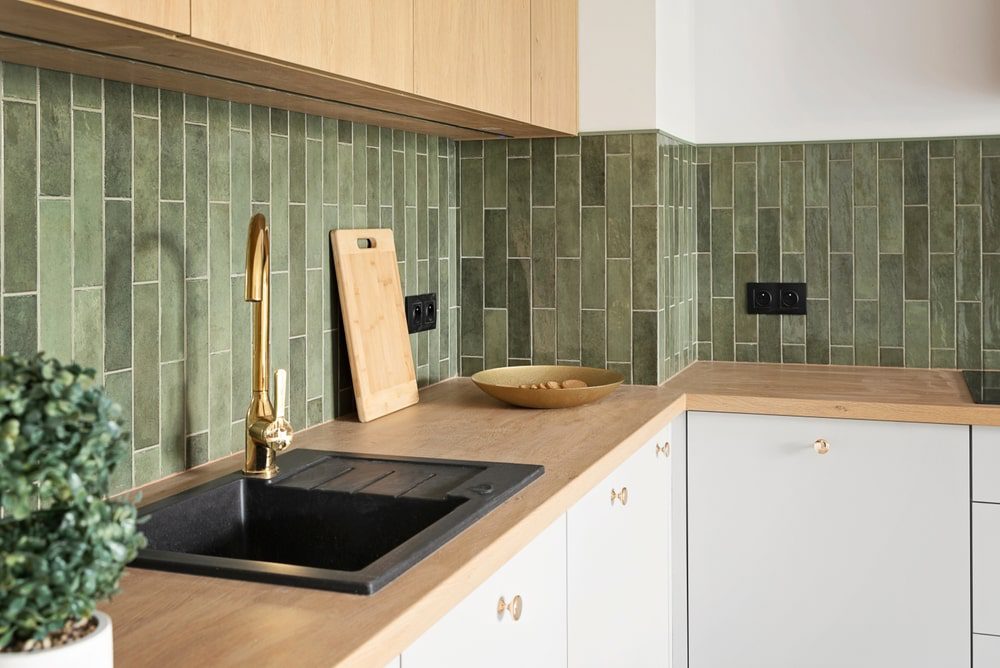
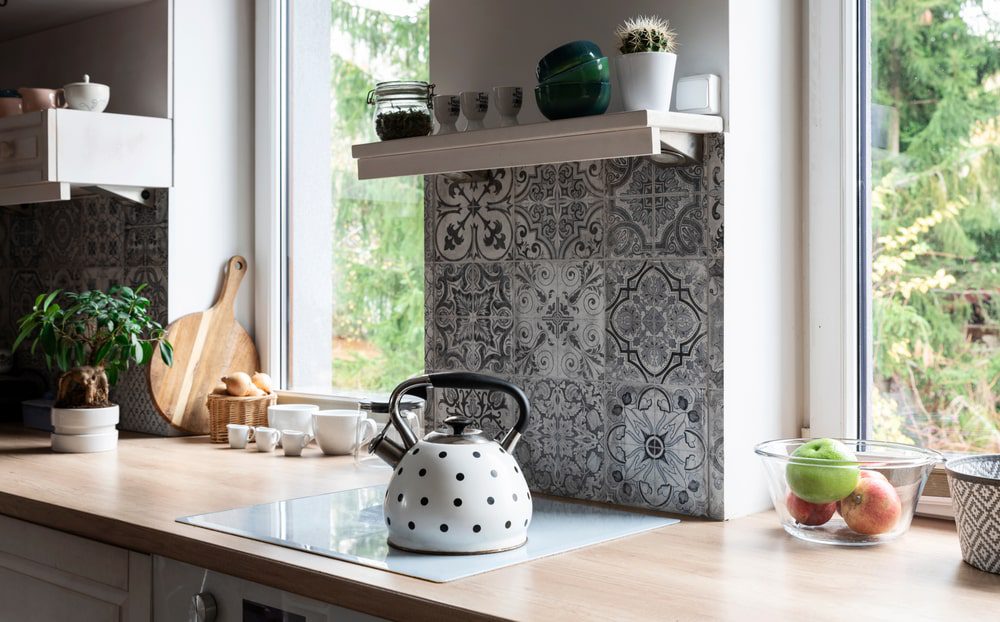
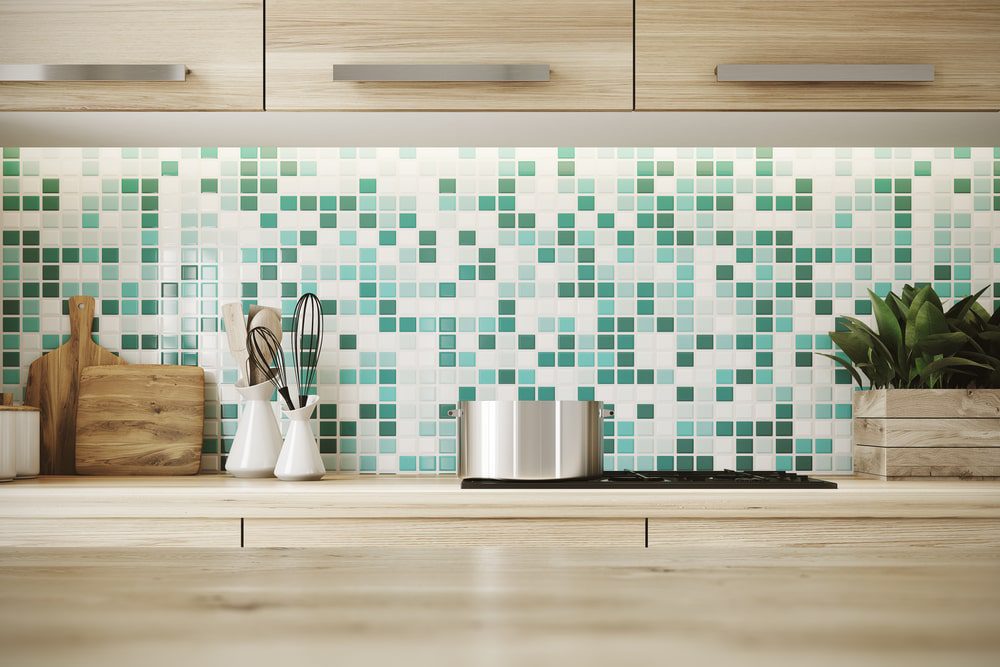
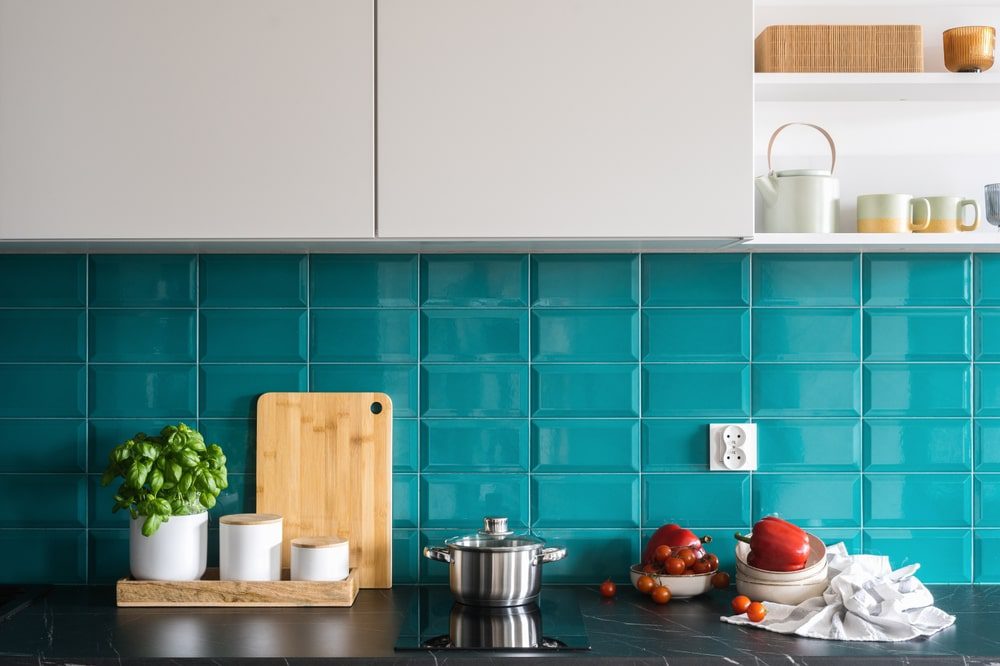
Select tile that suits the room’s moisture, traffic, and style. Pair it with compatible trim (bullnose, metal profiles) and a grout type (sanded, unsanded, or epoxy). This trio determines the look, durability, and maintenance of your install.
Measure, Calculate, and Order
Measure the area (length × height), subtract openings, then add 10–15% for cuts and waste. Order setting materials—thinset or mastic as appropriate—and all accessories up front to avoid mid-project delays.
Tools, Materials, and Prep Area Setup
Lining up the right gear makes how to install wall tile smoother, faster, and cleaner from day one.
Core Tools You’ll Use
Have a notched trowel (size matches tile), margin trowel, tile spacers, level/laser, rubber grout float, mixing paddle, buckets, sponges, and painter’s tape. Add a wet saw or snap cutter and a hole saw for outlets or plumbing.
Site Protection & Staging
Cover counters and floors with rosin paper or drop cloths, tape off cabinets, and set a mixing/cleaning station with water and power. Good staging minimizes mess and keeps your workflow efficient.
Substrate Readiness: Flat, Clean, and Sound
The surface you set tile on dictates long-term success. A stable substrate is central to how to install wall tile the right way.
Check for Flatness and Defects
Walls should be clean, dry, and flat within 1/8″ over 4′. Fill dips, sand high spots, and repair damaged drywall or cement board. In wet zones, use cement board or a tile-approved backer—never plain drywall in showers.
Prime or Waterproof as Needed
Follow manufacturer recommendations: prime porous drywall or roll/sheet waterproofing membranes in wet areas (tubs, showers). Proper prep prevents water damage and tile failure.
Layout and Reference Lines for a Symmetrical Finish
A clean layout avoids awkward slivers and keeps lines true. Layout discipline is an unsung hero of how to install wall tile.
Find Your Starting Course
Dry-lay a row with spacers to see cut sizes at edges. Adjust the starting line so both ends have balanced cuts, not a skinny sliver on one side.
Snap or Laser Your Guides
Strike a perfectly level reference line for your first full course and a plumb line at center. These guides keep courses straight as the pattern climbs the wall.
Mixing and Applying the Adhesive
Using the correct setting material—and applying it correctly—is a core skill for how to install wall tile.
Thinset vs. Mastic
Use polymer-modified thinset for porcelain/ceramic, large-format, and wet areas. Mastic is for light-duty, dry interior walls only. Read the bag for pot life and open time.
Proper Trowel Technique
Spread adhesive with the flat side to key-in, then comb with the notched side in straight, parallel lines. For large-format tile, back-butter the tile to improve coverage and reduce voids.
Setting the Tile: Straight, Level, and Even
This is where your wall comes to life. Precision placement is the heart of how to install wall tile.
Place, Twist, and Check
Press each tile into the bed and slightly twist to collapse ridges. Use spacers to maintain joints. Check level and plane every few pieces to avoid lippage.
Maintain Expansion Gaps
Leave a small movement gap (typically 1/8″) at changes of plane—countertop junctions, corners, and ceilings. These will be caulked later, not grouted.
Cutting Tile and Fitting Around Obstacles
Clean, accurate cuts separate pro-looking installs from the rest when learning how to install wall tile.
Straight Cuts, Notches, and Miters
Use a wet saw for straight cuts and L-notches, and a snap cutter for quick, clean breaks on standard ceramic. For outside corners, consider mitering or use metal profiles for a refined edge.
Outlets, Valves, and Fixtures
Mark carefully and drill with tile hole saws. Dry-fit around boxes and valves before setting. Always shut off power/water in work zones for safety.
Grouting for Strength and Style
Grout locks the field together and defines the finish—an essential step in how to install wall tile.

Mixing and Packing Grout
Mix to peanut-butter consistency and let slake if required. Pack diagonally across joints with a rubber float. After the initial set, wipe with a damp sponge, rinsing often, and avoid over-washing.
Sealing and Cure
Seal natural stone and some cementitious grouts once cured (per manufacturer). Epoxy grouts typically don’t require sealing but need prompt cleanup during install.
Caulking, Trim, and Finishing Touches
The finishing pass is where how to install wall tile gains that crisp, custom look.
Color-Matched Caulk at Changes of Plane
Use flexible, color-matched silicone/latex caulk at corners, edges, and countertop lines. This absorbs movement and prevents cracking.
Profiles, Caps, and Cleanup
Install edge trims (Schluter-style, bullnose) where tile terminates. Final-wipe with a microfiber cloth to remove haze, then recheck lines and joints for consistency.
Lighting, Shelves, and Accessory Add-Ons
Small upgrades enhance functionality while you practice how to install wall tile.
Task Lighting & Under-Cabinet Runs
If tiling a backsplash, coordinate under-cabinet lighting and switches before setting tile. Preplanning avoids drilling through finished work later.
Niches, Ledges, and Hooks
Pre-frame shower niches or add ledge shelves with solid-surface caps. Mark blocking locations so accessories mount securely without damaging tile.
Budget, Timeline, and Quality Control
Realistic pacing and checks ensure your first attempt at how to install wall tile feels professional.
A Practical Schedule
Day 1: Demo, substrate prep, layout. Day 2: Set field tile. Day 3: Cuts, details, and touch-ups. Day 4: Grout and caulk. Build in extra time for membranes or complex patterns.
Punch List Before You Call It Done
Step back and scan for lippage, inconsistent joints, pinholes in grout, and unfinished edges. Address issues while materials are still workable.