How to Replace Strainer in Kitchen Sink Without Creating a Leak
A basket strainer is a small part with a demanding job. It seals the sink opening, catches food debris and connects the basin to the drain piping below. When the flange seal hardens, the locknut corrodes or the tailpiece shifts, water can escape into the cabinet before the problem is visible from above.
If you are researching how to replace strainer in kitchen sink fixtures, first identify which joint is leaking and confirm that the sink does not have a garbage-disposal flange instead of a standard basket strainer. For corroded plumbing, stone or composite sinks, or a larger kitchen update, professional sink installation services can protect the cabinet, countertop and drain layout while the repair is completed.
Contents
- 1 Confirm the Leak and Buy the Correct Replacement
- 2 Prepare the Cabinet, Tools and Drain Connections
- 3 Step-by-Step Strainer Replacement
- 3.1 Step 1: Clear the Sink and Make the Area Safe
- 3.2 Step 2: Disconnect the Tailpiece and P-Trap
- 3.3 Step 3: Remove the Old Locknut and Strainer Body
- 3.4 Step 4: Clean and Inspect the Sink Opening
- 3.5 Step 5: Apply the Approved Seal Under the Flange
- 3.6 Step 6: Assemble the Washers and Locknut Below
- 3.7 Step 7: Remove Excess Sealant and Reconnect the Drain
- 3.8 Step 8: Test With Standing Water and Flowing Water
- 4 Adapt the Method to the Sink and Drain Material
- 5 Diagnose a Leak After the New Strainer Is Installed
- 6 Common Mistakes to Avoid
- 7 Know When the Repair Has Become a Remodeling Issue
- 8 Frequently Asked Questions
- 8.1 Do I need to turn off the water to replace a sink strainer?
- 8.2 Should I use plumber’s putty or silicone?
- 8.3 How tight should the strainer locknut be?
- 8.4 Can I reuse the P-trap?
- 8.5 Why does the new strainer still leak?
- 8.6 How long should I wait before using the sink?
- 8.7 Can I replace a disposal flange with a basket strainer?
- 9 Protect the Cabinet With a Repair That Solves the Real Problem
Confirm the Leak and Buy the Correct Replacement
Before attempting how to replace strainer in kitchen sink assemblies, dry the cabinet and determine whether water begins at the upper flange, the large locknut or a lower slip-joint connection.
Replacing a sound strainer will not fix a P-trap washer, cracked tailpiece or disposal gasket.
Trace the Water to Its Highest Wet Point
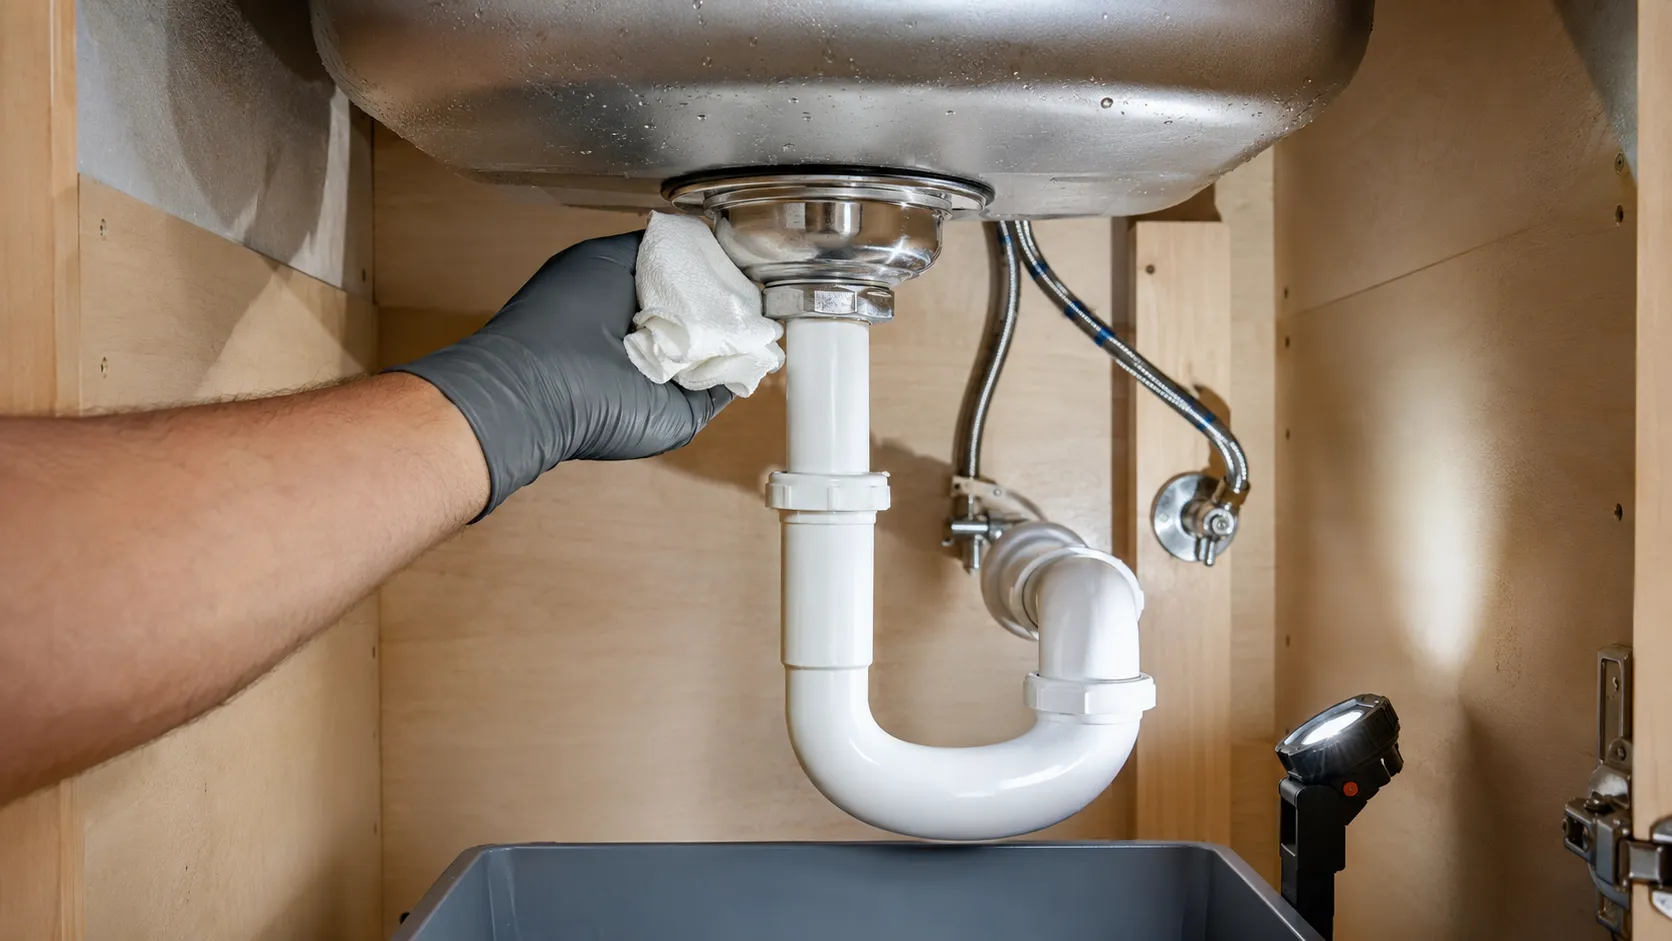
Empty the sink cabinet, wipe every fitting dry and place a paper towel around each joint. Fill the basin with a few inches of water while the stopper is closed. If moisture appears around the underside of the strainer before the water is released, the flange or strainer body is leaking. If the area stays dry until the sink drains, inspect the tailpiece nut, P-trap and downstream connections.
Water can travel along a pipe and drip several inches from its source. Use a flashlight and follow the moisture upward. A stain on the cabinet floor identifies where the water landed, not necessarily where the failure began.
Distinguish a Basket Strainer From a Disposal Flange
A standard basket strainer has a removable basket at the top and a body that connects to a tailpiece below. A garbage-disposal opening has a disposal flange and mounting ring designed for that appliance. The parts are not interchangeable, and a disposal is heavier and requires a specific support procedure.
If a disposal is present, disconnect electrical power at the plug and breaker and follow the appliance manufacturer’s removal instructions. The unit should be supported before its mounting ring is released. Homeowners who are not comfortable verifying power or handling the disposal should call a qualified professional.
Match the Opening, Sink Thickness and Tailpiece
Many kitchen basket strainers are designed for a nominal 3½-inch sink opening, but the replacement still must fit the actual sink, basin thickness and drain connection. Measure the opening and old body rather than buying by appearance. Deep fireclay, cast-iron or stone-composite sinks may need a longer threaded body than a thin stainless-steel sink.
The UKB guide on how to measure a kitchen sink explains how material thickness, cabinet dimensions and surrounding clearances influence replacement choices. Bring the old strainer or its model information when shopping, and verify whether the kit includes the tailpiece, washer and nut you need.
Confirm the Approved Sealant for the Sink Material
Traditional plumber’s putty is common under a metal strainer flange, but it is not appropriate for every porous stone, composite or plastic surface. Oil in standard putty can stain some materials, and some manufacturers specify stain-free putty, silicone or a supplied gasket instead. Oatey’s plumber’s putty guidance specifically recommends checking the fixture manufacturer and using a compatible product for the surface.
Do not combine putty and silicone unless the strainer or sink instructions require that system. More sealant does not compensate for an incorrect washer order or a damaged drain opening.
Prepare the Cabinet, Tools and Drain Connections
A controlled setup makes how to replace strainer in kitchen sink plumbing less frustrating because the old parts may be corroded and residual water will remain in the trap. Arrange the workspace so you can see the washer order and support the drain without twisting it.
Gather the Necessary Tools and Materials
A typical replacement uses a new basket-strainer assembly, manufacturer-approved putty or sealant, channel-lock pliers, an adjustable wrench, a basket-strainer wrench or large locknut tool, a flat screwdriver, plastic putty scraper, bucket, towels and a flashlight. A small wire brush can help clean metal threads, while a non-scratch pad is safer on a finished sink surface.
Have a replacement tailpiece washer and slip-joint washer available if the old ones are compressed, split or hardened. Reusing a deformed washer to save a few minutes is one of the most common causes of a second leak.
Protect the Cabinet and Document the Existing Assembly
Place a shallow pan or bucket beneath the P-trap and line the cabinet with towels. Photograph the piping from several angles before loosening anything. Mark the orientation of the trap and tailpiece with painter’s tape so you can recognize whether the drain shifts during reassembly.
If the cabinet floor is swollen or darkened, allow it to dry and check for mold or structural damage. A recurring leak may have affected more than the strainer, and covering the area before it is evaluated can trap moisture.
Relieve Stress on the Drain Piping
Drain piping should meet the strainer without being forced sideways or upward. If the tailpiece is already pulling against the old strainer, plan to correct the alignment rather than recreating the stress. A slightly misaligned P-trap can lever the new strainer and break the flange seal over time.
Do not heat, bend or aggressively pry plastic drain piping. If the trap arm is too high, too short or incorrectly sloped, the repair has become a plumbing-layout issue rather than a simple strainer replacement.
Step-by-Step Strainer Replacement
The core process for how to replace strainer in kitchen sink fixtures is to disconnect the drain, remove the old body, clean both sealing surfaces, assemble the new parts in the manufacturer’s order and test under standing and flowing water.
Step 1: Clear the Sink and Make the Area Safe
Remove dishes and strainers from the basin. If there is no disposal, shutting off the faucet supply is usually not required for the drain work, but avoid operating the faucet while the drain is disconnected. If a disposal or powered accessory is involved, unplug it and switch off the circuit breaker. Verify that it cannot start.
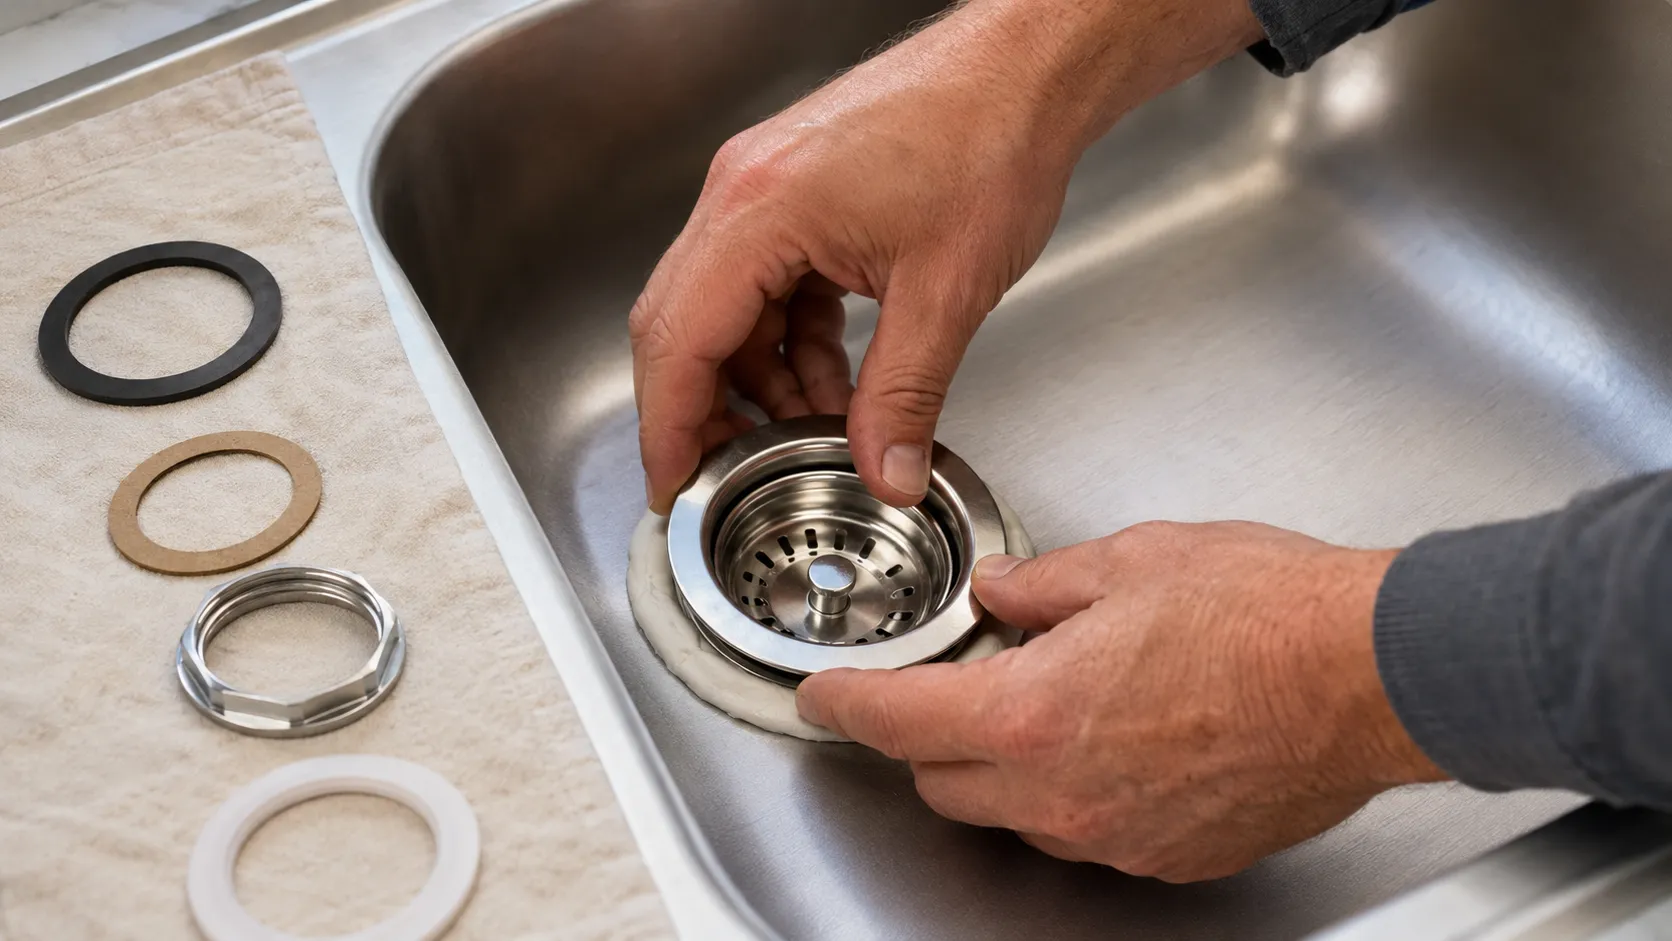
Place the replacement parts on a clean towel in assembly order. Compare them with the manufacturer’s diagram before dismantling the old strainer. Kohler’s sink-drain installation guide shows why component order matters: the flange, washers and mounting hardware create different parts of the seal and support.
Step 2: Disconnect the Tailpiece and P-Trap
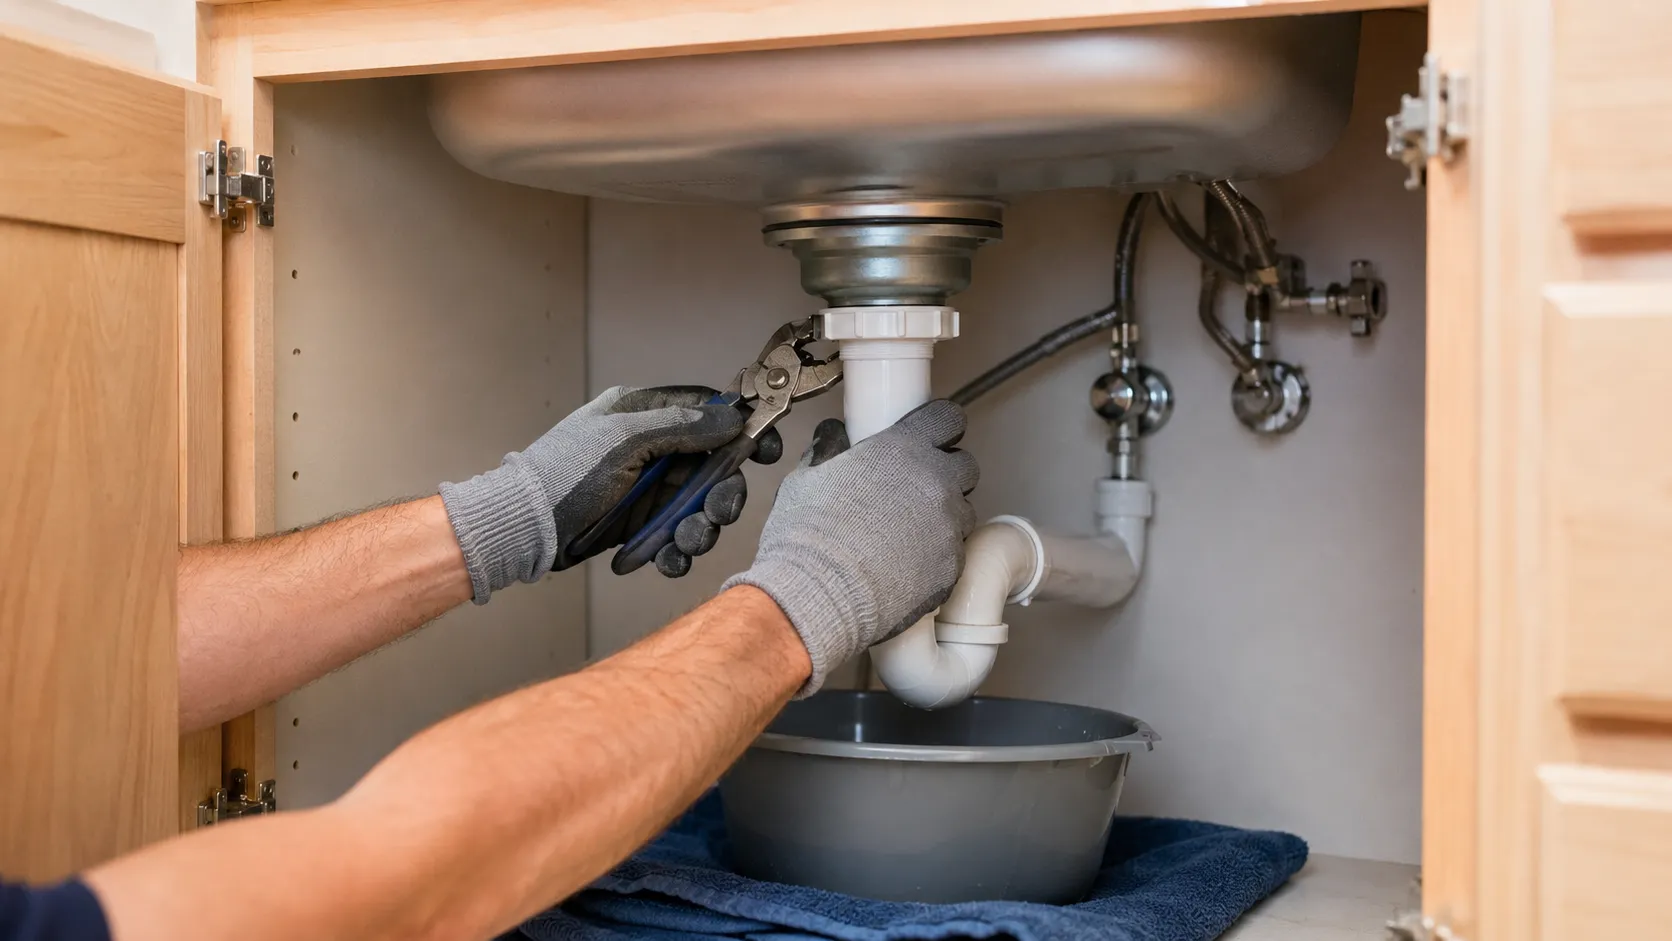
Position the bucket beneath the trap. Loosen the slip nuts connecting the trap to the tailpiece and wall-side trap arm. Support the trap as the final nut releases because it will contain water. Remove it carefully and inspect the washers.
If the tailpiece is attached directly to the strainer with a separate nut, loosen that connection as well. Avoid twisting the wall-side drain or applying force to glued joints. A corroded metal trap that deforms during removal should be replaced rather than forced back into service.
Step 3: Remove the Old Locknut and Strainer Body
From beneath the sink, remove the large strainer locknut or the mounting screws used by the specific design. Hold the upper flange so the entire assembly does not rotate. A basket-strainer wrench, locknut tool or carefully positioned pliers may be required.
Severe corrosion can fuse the nut to the body. Penetrating oil used away from the sink finish may help, but follow product safety instructions and clean residue before resealing. If the nut must be cut, protect the basin and call a professional if there is any risk of damaging the sink.
Once the lower hardware is off, push the strainer body upward and lift it from the basin. Keep the old washers in order until the new assembly is understood.
Step 4: Clean and Inspect the Sink Opening
Remove old putty or sealant with a plastic scraper. Clean the top and underside of the drain opening until the new flange and gasket can sit flat. Avoid metal blades that can scratch stainless steel, chip enamel or gouge a composite sink.
Inspect the opening for cracks, rust, chips or distortion. A new strainer cannot reliably seal a broken basin or a drain hole that has been damaged by overtightening. Small surface discoloration may be cleanable, but structural damage needs evaluation before reassembly.
Step 5: Apply the Approved Seal Under the Flange
If the manufacturer specifies plumber’s putty, roll it into a uniform rope and place it continuously under the flange. Press the flange into the opening from above so the putty compresses evenly. Use enough to create a complete bed, not a large mass that prevents the flange from seating.
For a specified silicone installation, clean and dry the surfaces as directed and observe the required cure time before water testing. Do not substitute a sealant because it happens to be available. The sink and strainer instructions take priority over a generic DIY method.
Step 6: Assemble the Washers and Locknut Below
From beneath the sink, install the supplied rubber gasket, friction washer, backup ring and locknut in the exact order shown by the strainer manufacturer. The rubber component typically creates the lower seal, while the friction washer lets the nut turn without bunching the gasket. Some designs use mounting screws rather than one large locknut.
Hand-tighten first while a helper keeps the flange centered above. Then tighten evenly with the proper tool. The goal is a snug, stable assembly with even sealant squeeze-out, not maximum force. Overtightening can distort a thin stainless-steel sink, split a plastic component or squeeze out too much sealant.
Step 7: Remove Excess Sealant and Reconnect the Drain
Clean the squeeze-out around the top flange without rotating the strainer. Reinstall the tailpiece and P-trap using sound washers in the correct orientation. Slip-joint washers must seat squarely; cross-threaded nuts should be backed off and restarted by hand.
Align the piping so it meets naturally. Hand-tighten plastic slip nuts and then use only the small additional tightening recommended for the fitting. Excess force can crack the nut or deform the washer. If you need to pull the pipe into position, stop and correct the alignment.
The UKB guide on how to install a drain for a sink provides additional context on tailpieces, traps and leak testing when more of the drain assembly needs replacement.
Step 8: Test With Standing Water and Flowing Water
First, close the basket and fill the sink with several inches of water. Leave it standing while checking the flange and underside with a dry paper towel. This tests the upper seal under pressure. If it remains dry, release the water and watch every lower joint during a full drain.
Then run the faucet for several minutes and fill the basin again. Test once more after the cabinet has dried, because a slow seep can take time to appear. Do not return stored items until the assembly has passed both tests.
Adapt the Method to the Sink and Drain Material
The details of how to replace strainer in kitchen sink installations change with basin material, strainer design and connected equipment. A method that works on a thin stainless sink can damage a composite or fireclay basin if the same sealant and tightening force are used without checking instructions.
Stainless-Steel Sinks
Thin stainless steel can flex while the locknut is tightened. Keep the flange centered and support it from above so it does not spin. Tighten only enough to compress the gasket evenly. If the drain opening is visibly warped, the basin may need repair or replacement before a new strainer will seal consistently.
Use non-scratch cleaning tools and remove metal filings from the cabinet. Scratches around the flange are difficult to hide after the repair.
Cast-Iron, Fireclay and Enameled Sinks
These sinks are rigid but can chip at the drain edge. Do not strike the old strainer or pry against the finished surface. Verify that the new body is long enough for the thicker basin and that the manufacturer allows the selected sealant.
If the enamel is chipped where the flange seals, have the condition evaluated. A flange may cover cosmetic damage while water continues to reach exposed material below.
Granite, Quartz-Composite and Other Porous Surfaces
Some porous materials can be stained by regular oil-based putty. Use a stain-free product or specified silicone only when approved by both the sink and strainer manufacturer. Test cleaners in an inconspicuous area and avoid abrasives around the finished opening.
Allow specified silicone to cure fully before filling the sink. An early water test can disturb the seal and create a leak that appears after the cabinet is reloaded.
Garbage-Disposal Connections
A disposal uses a dedicated flange, mounting ring and gasket system. Its weight must be supported during removal and reinstallation, and electrical safety is part of the job. Do not attempt to convert a disposal flange to a basket strainer without confirming the drain layout and electrical disposition.
A licensed professional may be needed when hardwired equipment, a dishwasher connection or corroded mounting hardware is involved.
Diagnose a Leak After the New Strainer Is Installed
If water appears after following how to replace strainer in kitchen sink instructions, identify the exact joint before tightening everything.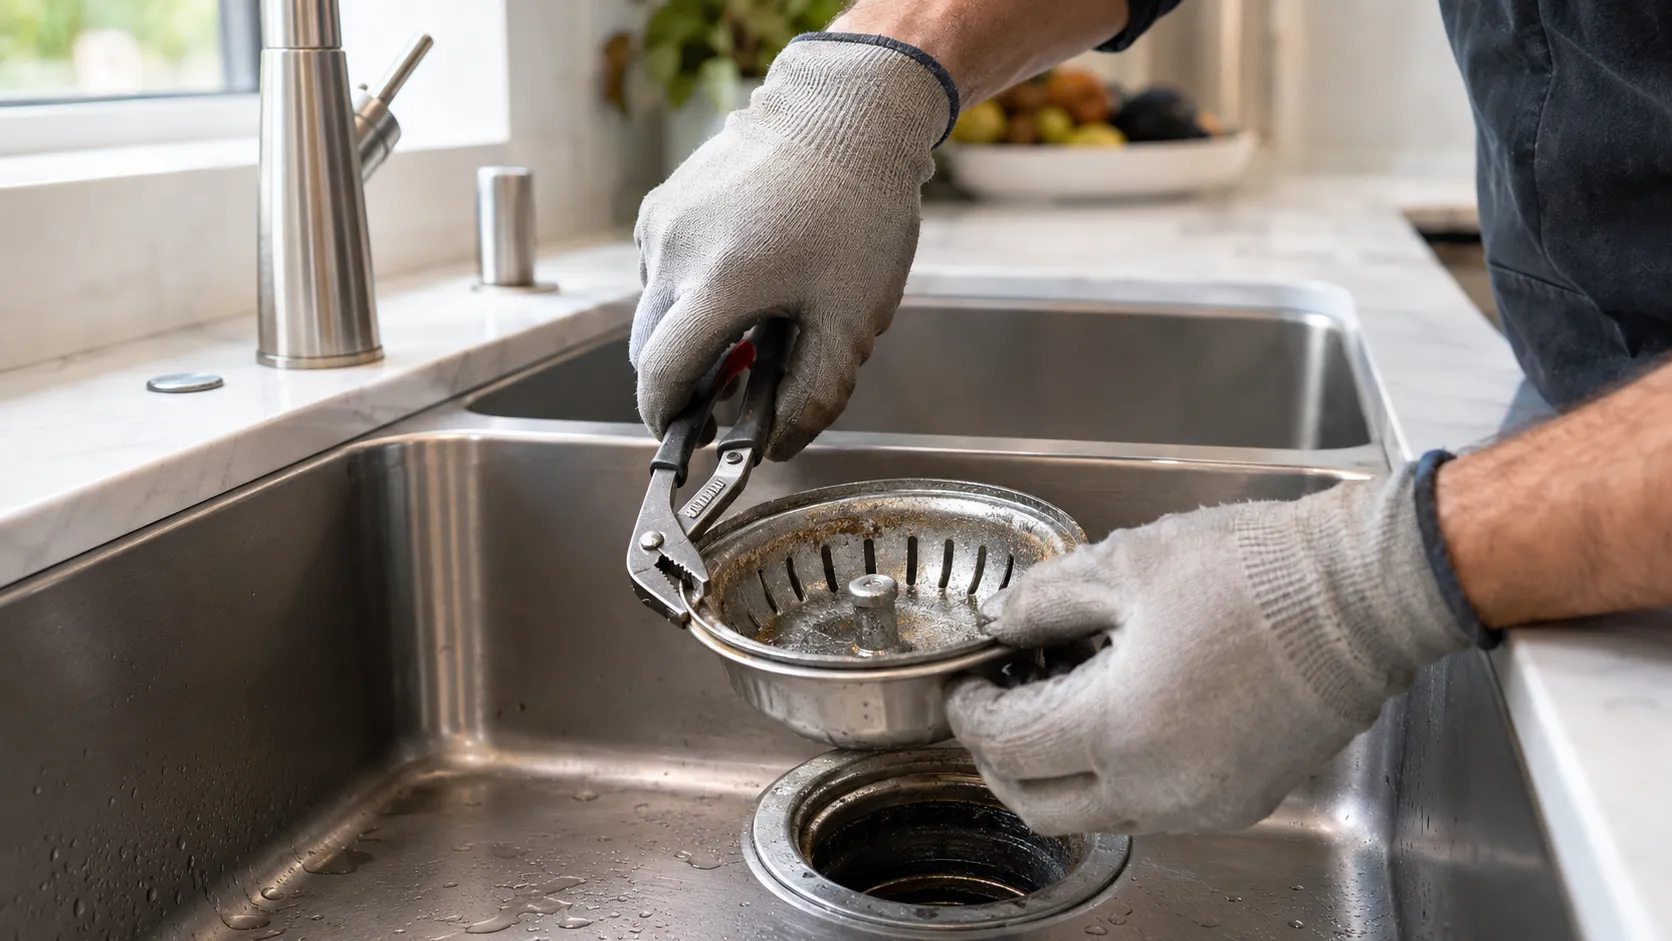
Randomly applying more force can move the leak, distort the basin or crack a fitting.
Leak at the Upper Flange
A leak between the flange and sink usually means the sealing surface was dirty, the flange moved during tightening, the sealant is incompatible or the seal bed is incomplete. The dependable repair is generally to disassemble, clean and reseal, not smear caulk around the visible edge.
Confirm that the sink opening is flat and undamaged. A rotating flange often breaks the seal even when enough putty was used.
Leak Around the Large Locknut
Moisture near the locknut can come from the upper flange and travel downward, so dry the assembly and retest. If the upper seal is dry, inspect the lower gasket for folds, incorrect orientation or uneven compression. Reassemble it according to the diagram rather than overtightening one side.
Leak at the Tailpiece or P-Trap
A drip at a slip joint usually indicates a misaligned pipe, damaged washer, reversed washer or cross-threaded nut. Loosen the connection, align the parts without force and replace the washer if it has a groove or split. Thread the nut by hand before using a tool.
Slow Leak That Returns Later
A leak that returns after several days may be caused by pipe stress, cabinet movement or a seal disturbed during disposal vibration. Recheck the alignment and fasteners. If the assembly remains dry during testing but the cabinet becomes wet, inspect faucet supply lines, dishwasher hoses and the sink rim as separate sources.
Common Mistakes to Avoid
A successful answer to how to replace strainer in kitchen sink fixtures depends as much on avoiding shortcuts as on installing the new part. These mistakes account for many repeat repairs.
Using the Wrong Sealant for the Sink
Standard putty can stain some porous materials, while silicone can make later service difficult if it was not specified. Follow the sink and strainer instructions and use a compatible product.
Reusing Flattened Washers
An old slip-joint washer may look intact while its sealing edge has hardened into the previous position. Replacing inexpensive worn washers reduces the chance of a lower-joint leak.
Overtightening the Locknut
Extra torque can warp a metal sink, crack a plastic body or squeeze out the seal. Tighten evenly until the assembly is stable and the gasket is properly compressed.
Reconnecting Misaligned Drain Piping
Forcing the trap to meet the new strainer puts sideways pressure on the flange and washers. Correct the tailpiece length or trap alignment before final tightening.
Testing Only With the Faucet Running
A running-water test may miss a flange leak that appears when the sink holds water. Test with a filled basin, then release the water and test the drain joints under full flow.
Know When the Repair Has Become a Remodeling Issue
Sometimes how to replace strainer in kitchen sink components reveals damage that a new basket cannot solve. A swollen cabinet floor, cracked sink, corroded drain inside the wall or poorly supported countertop needs a broader repair plan.
Address Cabinet and Countertop Water Damage
Dry the cabinet completely and probe suspicious material for softness. Laminate separation, persistent odor or visible microbial growth may require professional remediation and cabinet repair. Do not install a decorative liner over wet or deteriorated material.
Also inspect the sink clips and countertop seam. Movement at the sink rim can repeatedly disturb plumbing connections below.
Correct Chronic Drain Misalignment
If the P-trap must be forced into position, a plumber should evaluate the tailpiece and trap-arm elevation. Repeatedly tightening a strained connection treats the symptom and increases the chance of another failure.
Coordinate a New Sink With the Rest of the Kitchen
A strainer repair may be the right short-term choice, but a deeply scratched, cracked or undersized sink can affect countertop planning and cabinet use. When a new sink is part of a remodel, choose the basin, faucet, disposal, countertop cutout and drain configuration together.
Frequently Asked Questions
These concise answers cover the issues homeowners most often encounter while learning how to replace strainer in kitchen sink assemblies.

UKB
Unique Kitchen & baths is a family-owned business that is committed to providing high-quality kitchen and bathroom remodeling, as well as flooring installations at affordable prices.