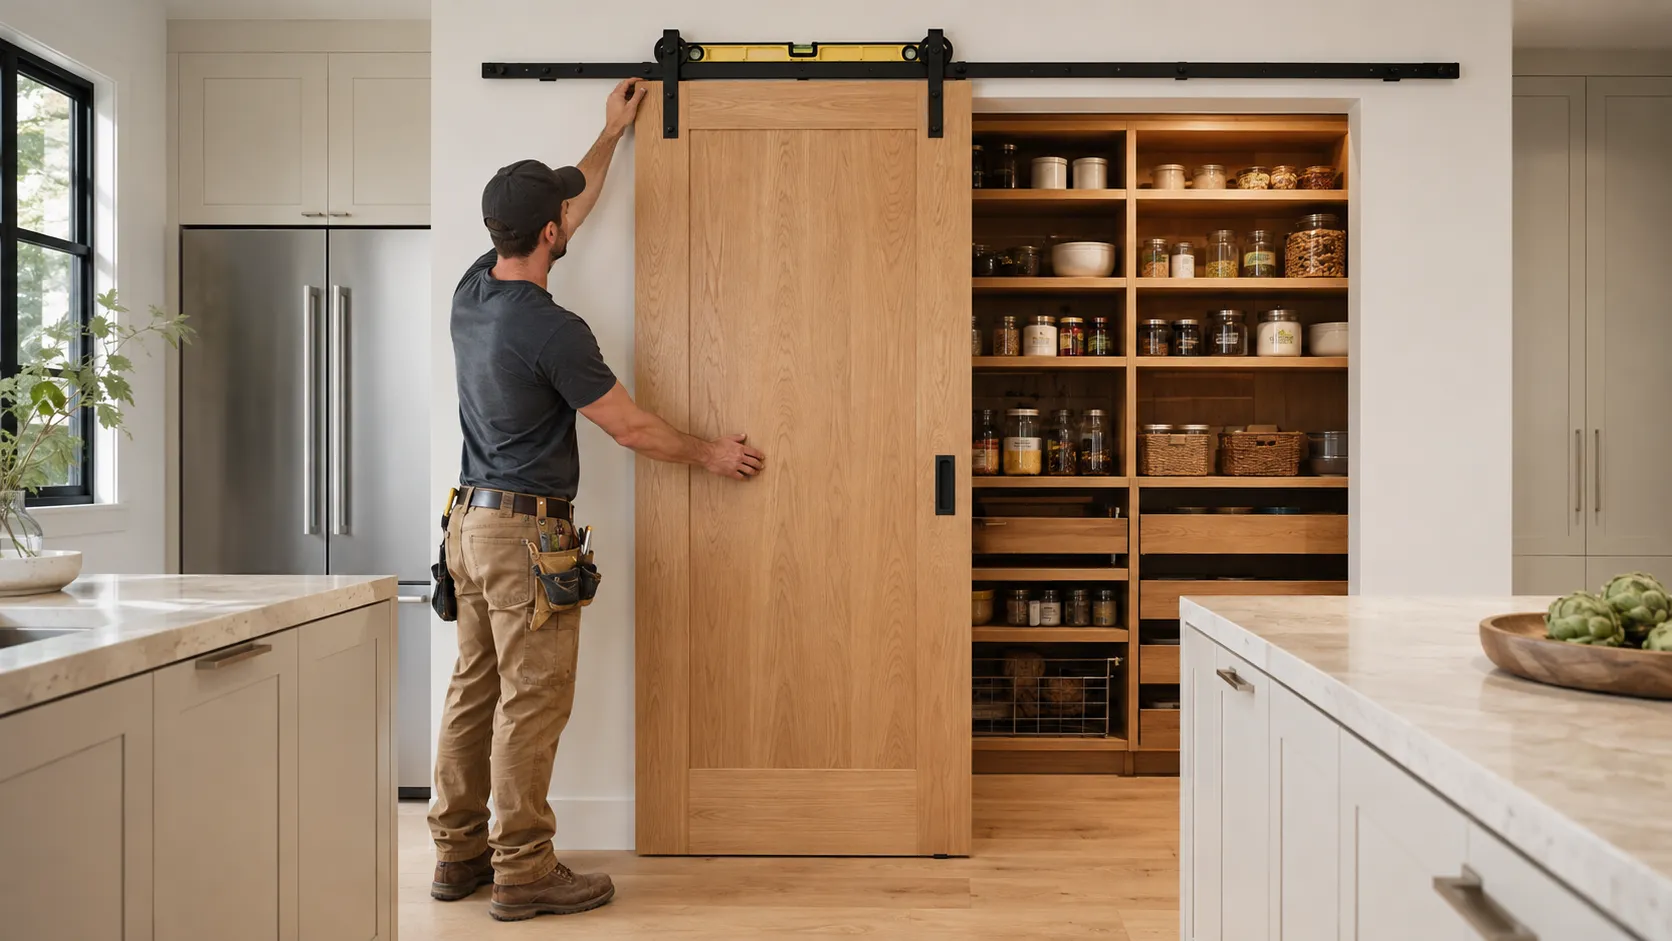
How to Install Sliding Pantry Doors That Stay Level and Glide Smoothly
This guide focuses on a wall-mounted sliding pantry door because it is a common retrofit when a swinging door consumes valuable kitchen space. Pocket and bypass systems follow different framing and track requirements, so always use the instructions supplied with the exact hardware set. Pantry conditions also deserve special attention because baseboards, switches, shelving, handles, and food-storage access all affect the final fit.
Begin with the wall and hardware rather than the door style. A sliding door is only as dependable as the structure carrying its track, the clearance behind the panel, and the guide controlling its lower edge. A beautiful door mounted to drywall alone or hung on an out-of-level track will not stay reliable.
Contents
- 1 Choose the Right Sliding Door System Before Installation
- 2 Prepare the Opening, Wall, and Tools
- 3 How to Install Sliding Pantry Doors Step by Step
- 3.1 Step 1: Measure the Finished Opening and Door
- 3.2 Step 2: Establish the Track Elevation
- 3.3 Step 3: Install the Ledger or Structural Mounting Points
- 3.4 Step 4: Mount and Level the Track
- 3.5 Step 5: Attach Hangers to the Door
- 3.6 Step 6: Hang the Door With a Helper
- 3.7 Step 7: Install Stops and the Floor Guide
- 3.8 Step 8: Adjust and Test the Full Travel
- 4 Adjust the Door for Real Pantry Use
- 5 Troubleshoot Sliding Pantry Door Problems
- 6 Protect Safety and Long-Term Performance
- 7 Coordinate the Door With a Larger Kitchen Remodel
- 8 Frequently Asked Questions
- 9 Create a Better Pantry With Unique Kitchen and Baths
Choose the Right Sliding Door System Before Installation
Before starting on how to install sliding pantry doors, confirm which sliding system matches the opening, available wall space, door weight, and level of construction you are willing to undertake. The wrong system cannot be corrected with better drilling.
Compare Wall-Mounted, Bypass, and Pocket Doors
A wall-mounted door slides across the face of the wall and is usually the simplest retrofit, but it requires clear wall space beside the pantry. Bypass doors slide in parallel tracks and work well for wide openings, although one section remains covered.
A pocket door disappears into the wall and offers the cleanest opening, but it usually requires framing work and careful coordination with wiring, plumbing, and blocking.
For pantry planning beyond the door itself, UKB’s custom pantry ideas on a budget explains how shelving depth, storage zones, and layout choices affect usability.
Match the Track to Door Size and Weight
Use the hardware manufacturer’s published door-thickness range and maximum weight. Include the finished door, glass, mirrors, applied trim, and handle when estimating weight. Do not assume a decorative track kit can carry a solid wood or glass panel simply because the rail is long enough.
The Johnson Hardware wall-mounted sliding door specifications illustrate how a manufacturer defines track length, door thickness, hanger type, mounting brackets, guides, and load capacity. Use the documentation for your own hardware as the controlling source.
Confirm Door Coverage and Travel
The door should cover the finished opening with enough overlap to limit sightlines into the pantry. It must also travel far enough to clear the usable opening. Measure casing, baseboards, wall switches, outlets, countertop overhangs, and nearby cabinet hardware. Tape the proposed open and closed door edges on the wall, then walk through the kitchen to identify conflicts.
Check Pantry-Specific Clearances
Open shelving should not project into the door’s path, and stored items should not block the handle or floor guide. If the pantry has a light switch behind the open door, relocate the control before installation rather than accepting poor access. The UKB walk-in pantry design tips can help coordinate circulation, storage, lighting, and door placement as one system.
Prepare the Opening, Wall, and Tools
Good preparation makes How to Install Sliding Pantry Doors safer and more predictable. The goal is to locate structural support, establish a true level line, and verify that the finished door will clear the wall from one end of its travel to the other.
Locate Structural Framing and Hidden Services
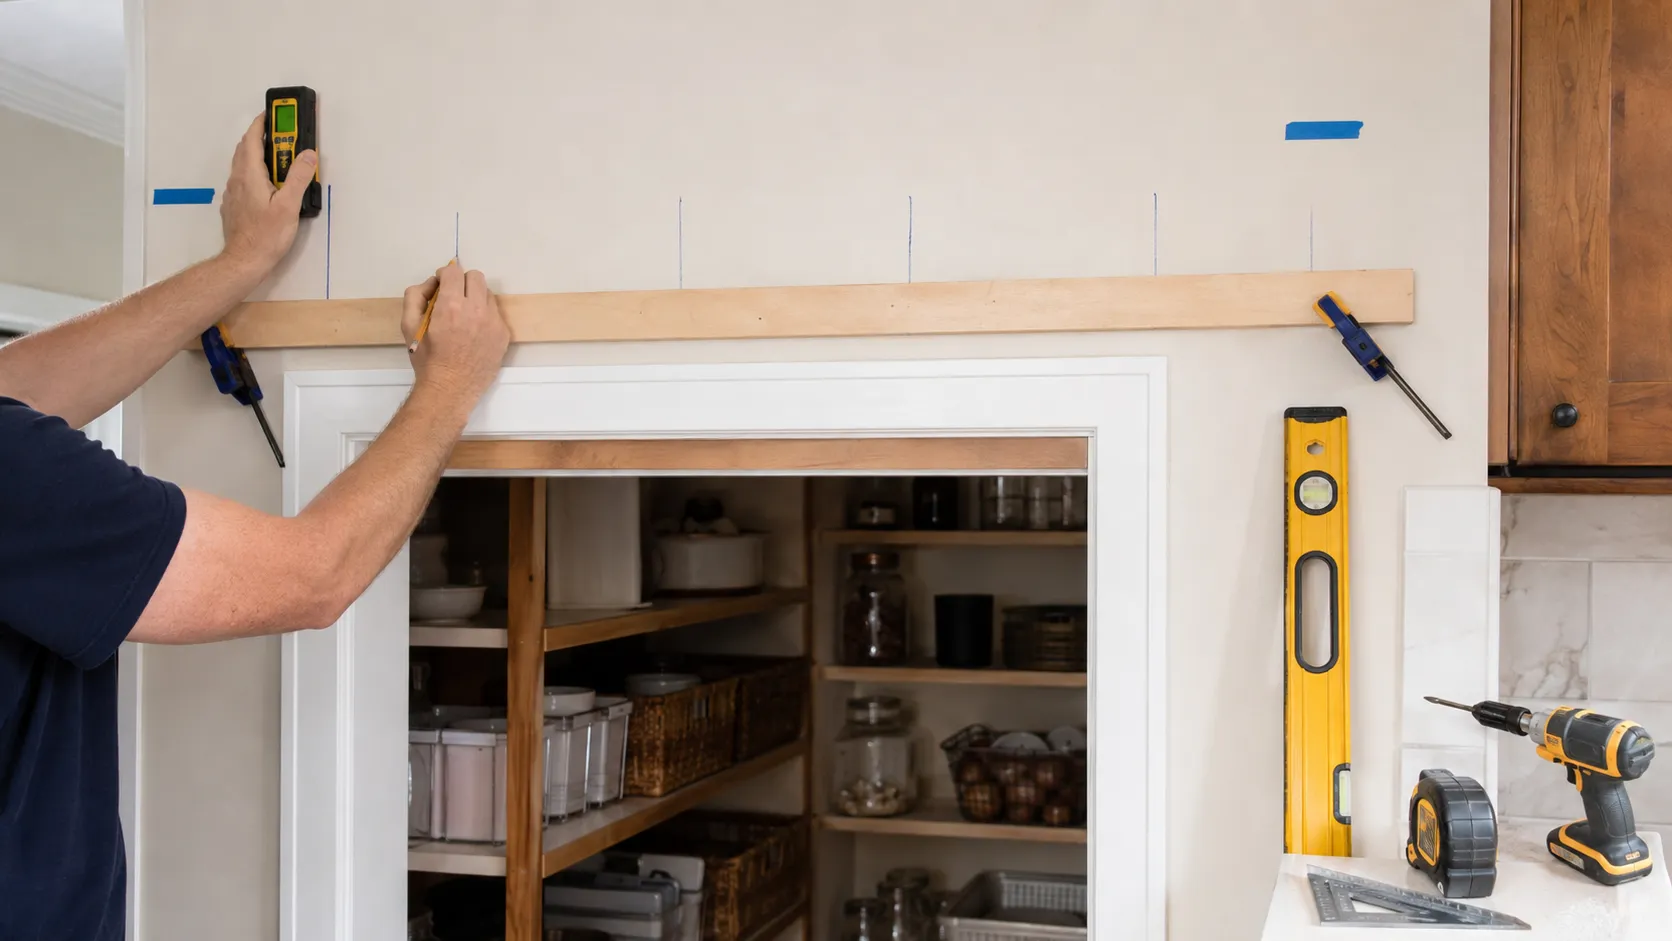
Use a stud finder, then confirm likely stud locations by checking trim fasteners, receptacle positions, or another non-destructive clue. Before drilling, consider wiring and plumbing that may run through the wall. A pantry beside a refrigerator, sink, or laundry area deserves extra caution. If structural backing is missing or hidden services are uncertain, pause and consult a qualified professional.
Decide Whether the System Needs a Ledger Board
Some wall-mounted tracks attach through a solid ledger board that is secured to studs. The ledger distributes the load and can space the rail away from door casing or baseboard. Lowe’s sliding barn door installation guide notes that the board should mount to wall studs and be thick enough to provide the clearance required by the trim. Your hardware manual determines the exact board size, fasteners, and track elevation.
Assemble the Tools and Protect the Work Area
Typical tools include a tape measure, long level, stud finder, drill-driver, bits, sockets or wrenches, square, pencil, painter’s tape, clamps, and the manufacturer’s fasteners. Use shims only where the instructions permit them. Protect finished floors with a non-slip covering and keep the heavy door supported until both hangers are safely engaged.
How to Install Sliding Pantry Doors Step by Step
The installation sequence for How to Install Sliding Pantry Doors should follow the hardware manual, but the checkpoints below help prevent the most common fit and alignment failures. Do not hang the door until the track, fasteners, and clearances have been verified.
Step 1: Measure the Finished Opening and Door
Measure opening width and height at multiple points because floors, walls, and trim may not be square. Record the door’s actual thickness and finished weight. Determine the required top clearance for hangers and the bottom clearance for the guide. Use the most restrictive measurement when planning the track location.
Step 2: Establish the Track Elevation
Calculate track height from the actual door, hanger geometry, floor clearance, and manufacturer-specified offsets. Mark a level reference line across the full track length. Do not measure the same height up from the floor at several points and connect the marks because an uneven floor can transfer its slope to the track.
Step 3: Install the Ledger or Structural Mounting Points
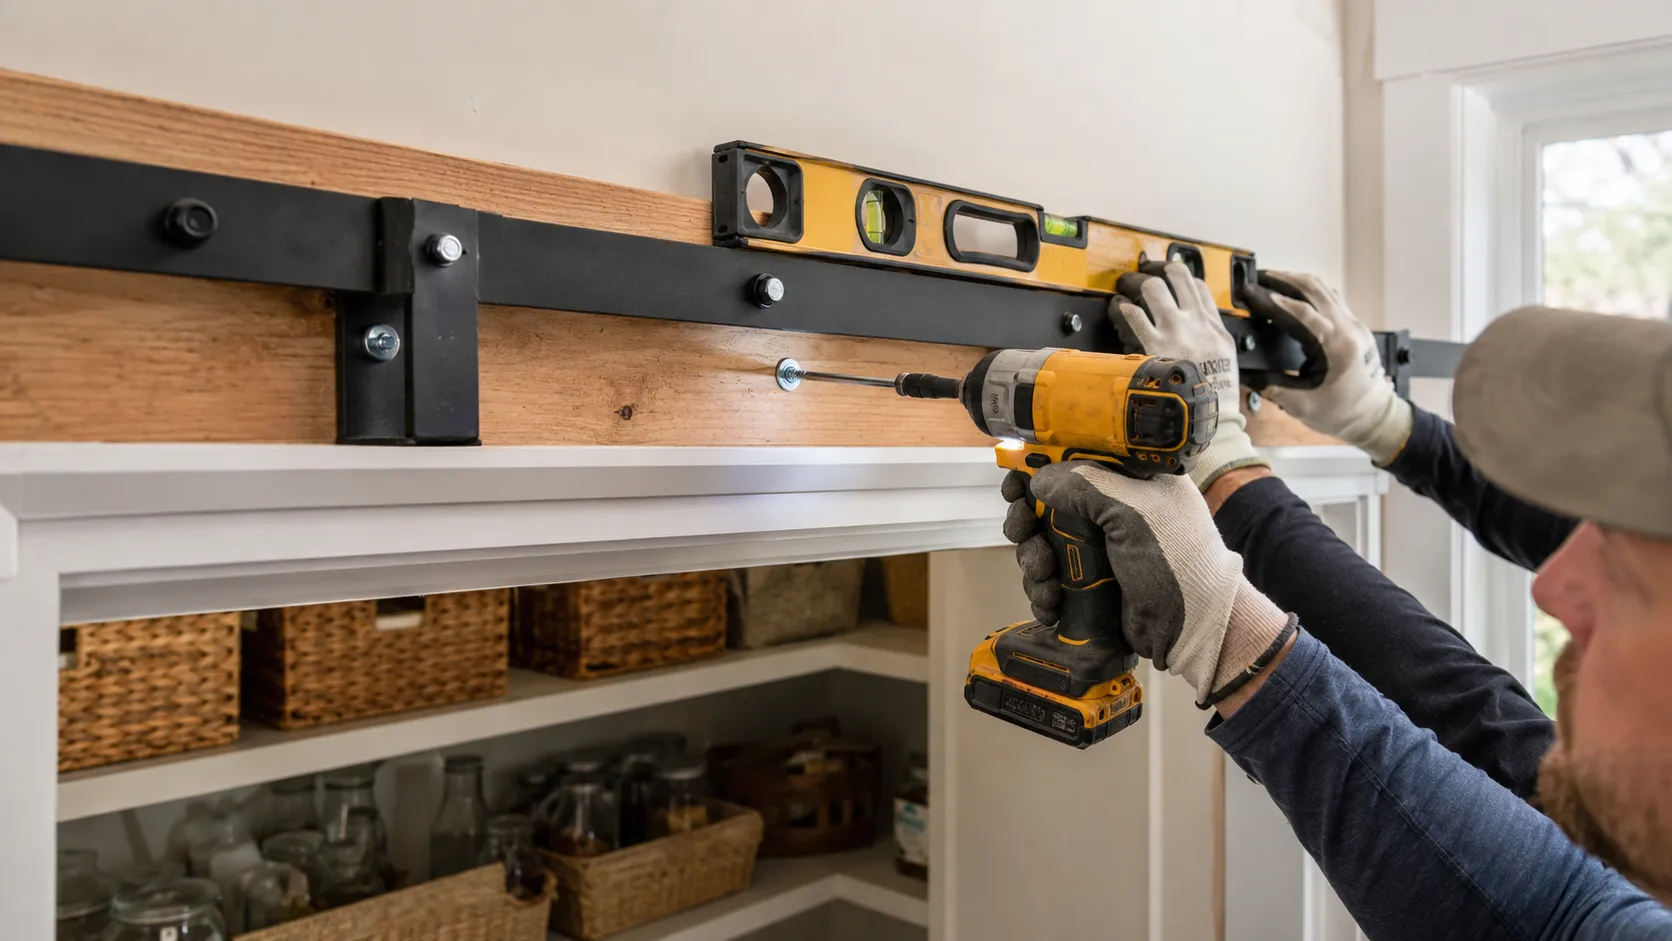
Secure the ledger to verified studs with the specified structural fasteners, or mount the brackets directly as instructed by the system manufacturer. Drywall anchors are not a substitute for structural attachment on a heavy sliding door. Confirm that the ledger is straight, flat, and thick enough to keep the moving panel clear of casing and baseboards.
Step 4: Mount and Level the Track
Position the track on the level reference line and start the fasteners without fully tightening them. Check level across the entire rail, then tighten in stages so one bracket does not pull the track out of alignment. Recheck after final torque. A small slope can cause the door to roll open or closed on its own.
Step 5: Attach Hangers to the Door
Lay the door on padded supports and mark hanger positions according to the hardware instructions. Predrill when required and keep both hangers square to the top edge. If the door must be notched or routed, use the supplied template and verify depth on scrap material before cutting the finished panel.
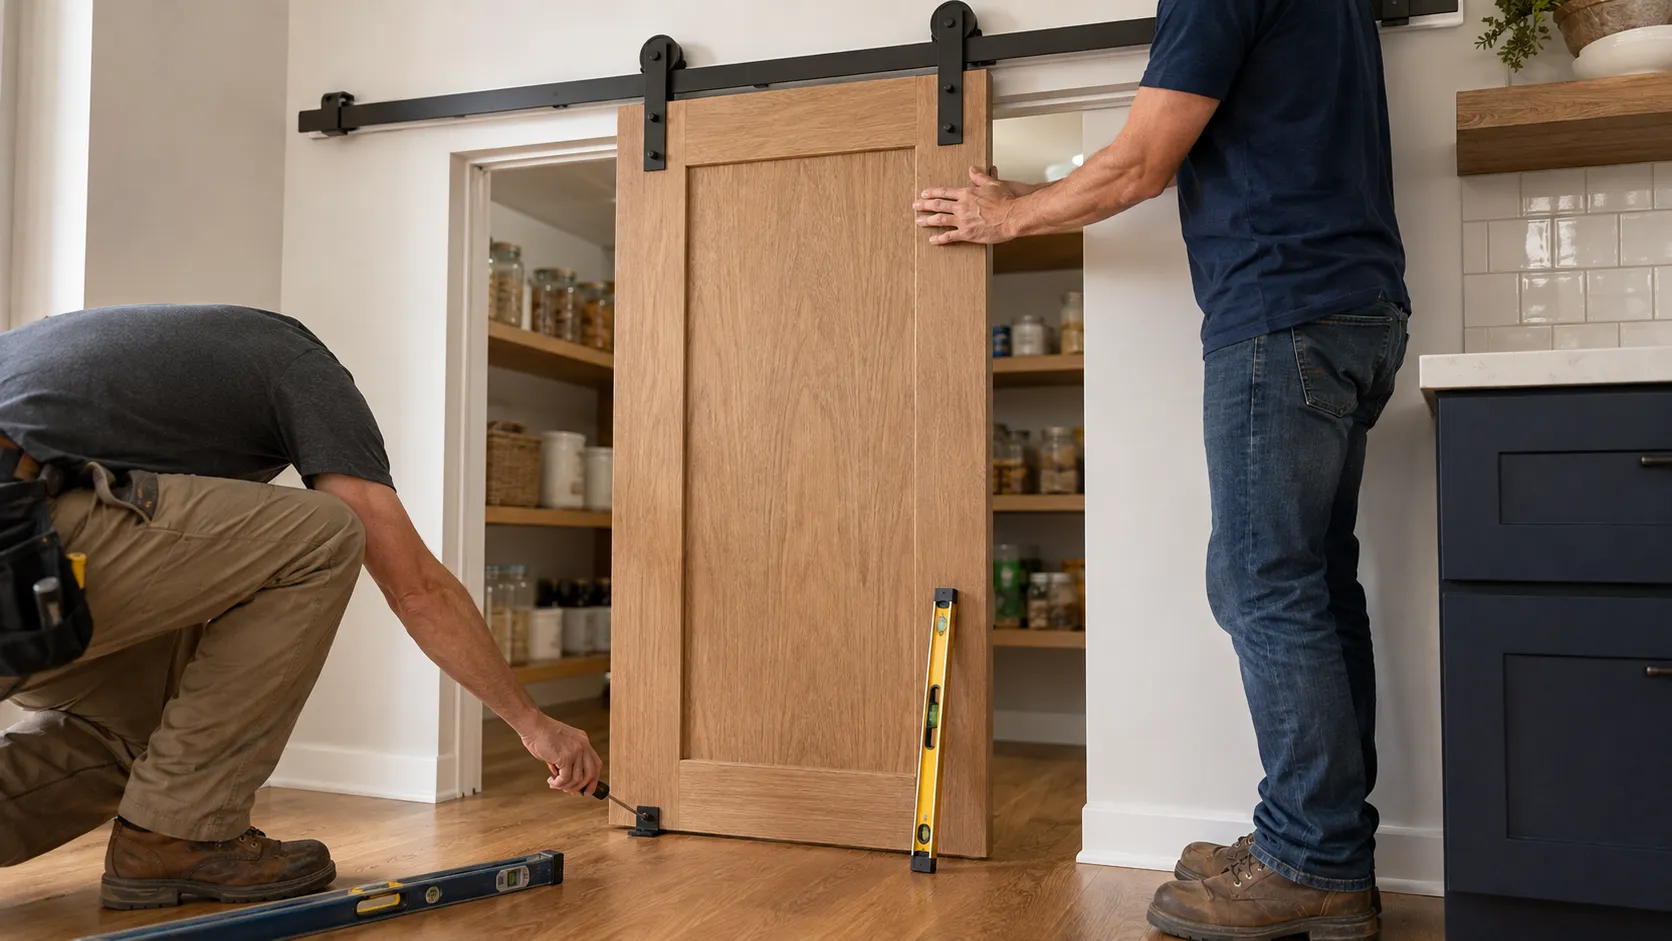
Step 6: Hang the Door With a Helper
Sliding pantry doors can be awkward even when they are not exceptionally heavy. Use a helper to lift and seat the hangers without twisting the door or striking the wall. Once engaged, install anti-jump blocks or retainers immediately. Do not leave a newly hung panel unattended before those safety parts are in place.
Step 7: Install Stops and the Floor Guide
Set the closed and open stops so the panel fully covers the opening but cannot overrun the track. Position the floor guide where it controls the door throughout travel without binding. Depending on the system, the guide may register in a groove beneath the door or capture its sides. Use only a guide compatible with the door construction.
Step 8: Adjust and Test the Full Travel
Move the door slowly from stop to stop. Check for contact with casing, baseboard, flooring transitions, handles, and nearby cabinetry. Adjust hanger height so the reveal is even and the guide remains engaged. Test the door repeatedly before installing decorative fascia or finishing plugs.
Adjust the Door for Real Pantry Use
A successful How to Install Sliding Pantry Doors project should work during grocery unloading, cooking, and daily access, not just look correct in a photograph. Final adjustments should account for hand clearance, cleaning, lighting, and the way pantry shelves are used.
Choose a Handle That Clears the Wall
A handle on the exposed face must be comfortable to grasp without hitting adjacent cabinets. The wall-facing side may require a recessed pull so it can pass the casing or wall. Check both open and closed positions before drilling handle holes. A projecting pull on the wrong face can reduce travel and leave the pantry partly blocked.
Keep the Floor Guide Cleanable
Place the guide where it remains effective but does not create an avoidable dirt trap or toe hazard. Confirm that a vacuum or mop can reach around it. If drilling into tile, stone, radiant-heated flooring, or a floor with concealed services, obtain the correct installation method before making holes.
Balance Privacy, Dust Control, and Ventilation
A sliding door normally has more perimeter gap than a hinged door. Use adequate overlap and compatible seals if reducing light or dust is important, but do not obstruct ventilation required for appliances or mechanical equipment. A food pantry usually benefits from a dry, stable environment, so solve moisture or heat issues separately from the door.
Troubleshoot Sliding Pantry Door Problems
When How to Install Sliding Pantry Doors does not produce smooth travel, diagnose the cause before adding force or tightening every fastener. Most problems trace back to track level, wall clearance, hanger adjustment, or guide alignment.
The Door Rolls Open or Closed by Itself
Place a long level on the track and verify the rail after all fasteners are tight. A track that is even slightly sloped can move the door. Correct the mounting plane according to the manufacturer’s instructions rather than relying on a stronger stop to hide the problem.
The Door Rubs the Wall, Trim, or Baseboard
Check whether the wall bows, the ledger is too thin, a hanger is twisted, or the door is warped. Confirm clearance at several points in the travel. Spacers or a thicker ledger may be appropriate only when the hardware system permits them and the structural fasteners still achieve proper engagement.
The Door Swings or Leaves the Guide
Verify that the guide is centered, firmly attached, and engaged throughout the full travel. Confirm that anti-jump devices are installed at the specified gap. A wider improvised guide is not automatically safer because it may bind or damage the door edge.
Protect Safety and Long-Term Performance
Finishing How to Install Sliding Pantry Doors includes safety hardware and a maintenance plan. These doors move significant weight overhead, so missing retainers, loose fasteners, or a damaged guide deserve prompt attention.
Verify Every Safety Component
Confirm the end stops cannot slide, anti-jump devices are secured, hangers are fully seated, and the floor guide cannot pull free. If children use the pantry, consider a compatible soft-close system and keep fingers away from pinch points at the jamb and between paired panels.
Recheck Fasteners After Initial Use
After the first period of regular use, inspect the track brackets, hanger fasteners, stops, handle, and guide. Tighten only to the manufacturer’s specification. Repeated loosening may indicate the wrong fastener, inadequate structural backing, vibration, or damaged threads.
Clean the Track Without Contaminating the Rollers
Remove dust with a soft brush or vacuum attachment. Do not apply oil or grease unless the hardware manufacturer specifically recommends it, since lubricant can collect debris or damage some roller materials. Replace worn parts with compatible components rather than mixing systems.
Coordinate the Door With a Larger Kitchen Remodel
The best time to plan How to Install Sliding Pantry Doors is before cabinets, electrical devices, trim, flooring transitions, and pantry shelves are finalized. Early coordination lets the wall receive proper blocking and gives the door a clear travel path.
Resolve Layout Conflicts Before Finishes
A door may overlap a switch, cover a decorative wall panel, collide with a countertop, or expose an unfinished flooring transition. These conflicts are easier to solve during design. The UKB guide on how to plan for a kitchen remodel can help organize layout, electrical, storage, finish, and sequencing decisions before installation.
Use Professional Installation for Structural or Finish-Sensitive Work
Professional help is appropriate when framing must be opened, structural backing is absent, the panel is heavy or glass, flooring cannot be safely drilled, walls are out of plane, or several doors must align. It is also wise when the pantry door is integrated with custom cabinetry and small reveal differences will be highly visible.
Frequently Asked Questions

UKB
Unique Kitchen & baths is a family-owned business that is committed to providing high-quality kitchen and bathroom remodeling, as well as flooring installations at affordable prices.