How to Install a Drop-In Kitchen Sink That Sits Flat and Stays Dry
A drop-in sink looks forgiving because its rim covers the cut edge, but the hidden details determine whether the installation stays dry. A cutout that is slightly too large can leave mounting clips with nothing to grip. An unsealed laminate core can swell after a single leak. A drain forced sideways to meet the wall connection can remain under stress and begin dripping months later.
This guide treats the sink, countertop, cabinet, faucet, drain, and disposal as one assembly. It explains how to verify fit before cutting, protect exposed countertop material, set the sink without voids, tighten clips evenly, and test every joint. Product instructions always control because rim profiles, clips, sealants, and clearances vary by model.
Contents
- 1 Confirm the Sink, Cutout, and Cabinet Work Together
- 2 Prepare the Work Area and Existing Plumbing
- 3 Lay Out and Cut the Countertop Opening
- 4 Dry-Fit the Sink and Preinstall Accessible Components
- 5 Apply Sealant and Set the Sink
- 6 Tighten the Mounting Clips Evenly
- 7 Connect the Drain, Disposal, and Water Supplies
- 8 Test the Installation Under Real Use
- 9 Protect the Countertop From Long-Term Swelling
- 10 Diagnose Fit Problems Before They Become Leaks
- 11 When Professional Installation Is the Safer Choice
- 12 Frequently Asked Questions
- 13 Conclusion: Treat the Sink as a Complete Assembly
Confirm the Sink, Cutout, and Cabinet Work Together
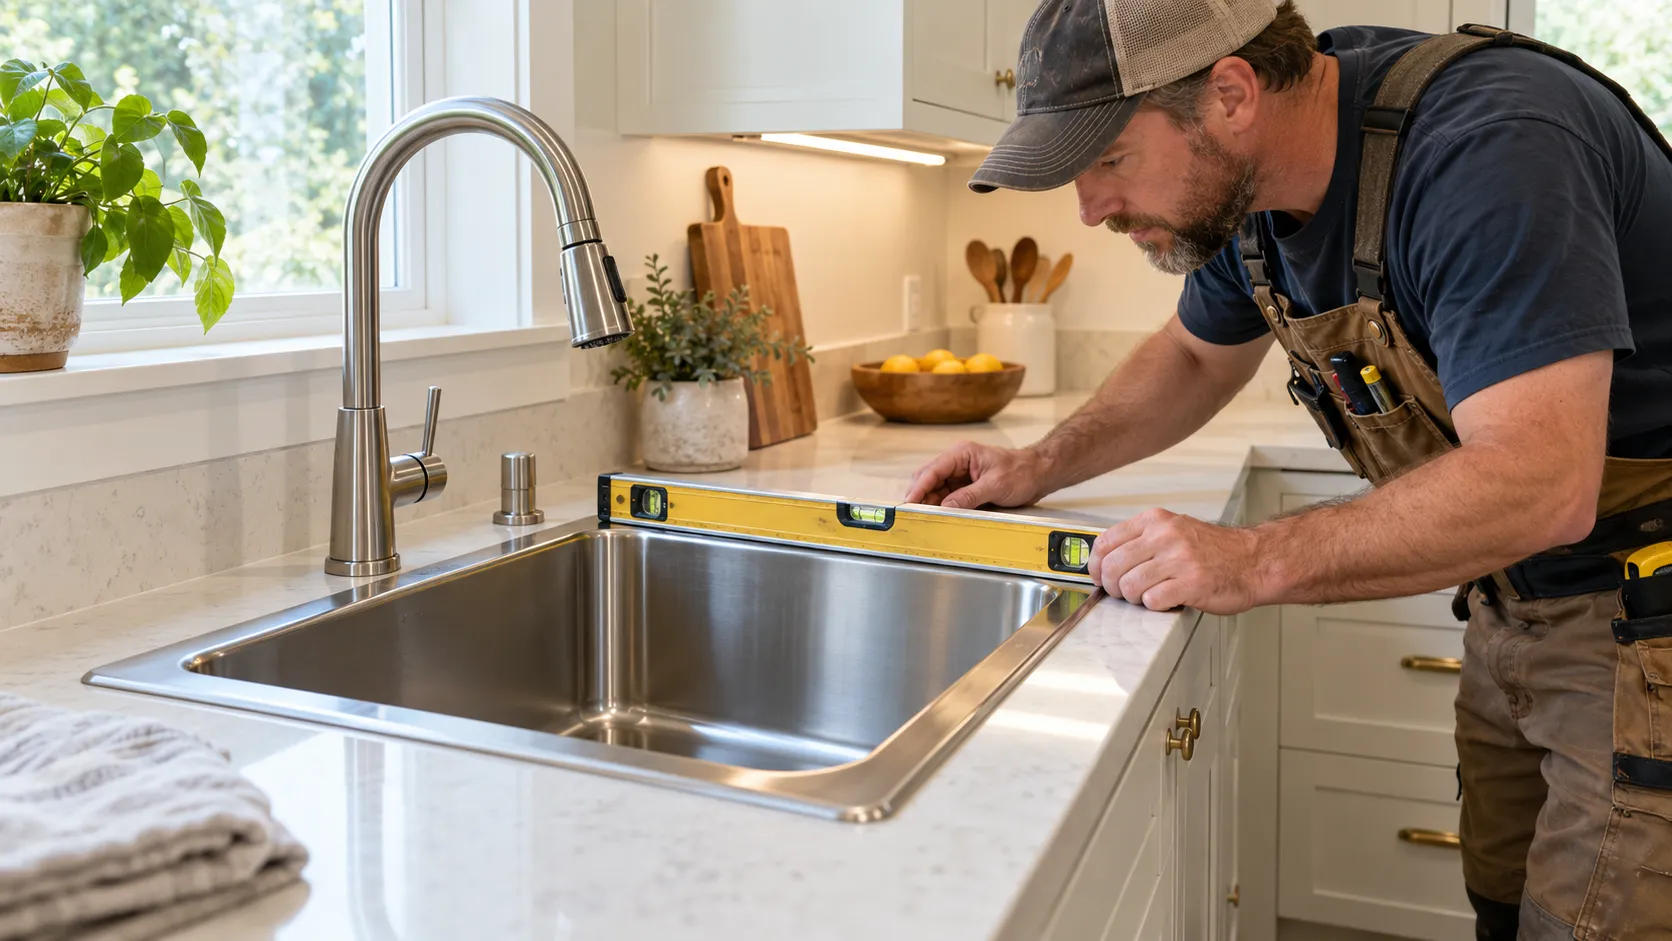
The most important step in how to install a drop-in kitchen sink is proving compatibility before the old sink comes out or a new countertop is cut. Measure the actual fixture and compare it with the manufacturer’s template, cabinet opening, countertop seams, faucet holes, and plumbing below.
Use the manufacturer template, not a nominal sink size
A sink sold as 33 inches may not have a 33-inch cutout. The rim, bowl, clip rail, and corner radius all affect the required opening. Verify the model number, inspect the supplied template, and compare its dimensions with the actual sink before transferring any line.
Place the sink upside down on a protected surface and confirm that the template matches the underside profile rather than just the outside rim. UKB’s guide on how to measure a kitchen sink explains why cabinet width, bowl depth, mounting style, and existing opening all matter before purchase.
Check clearances above and below the countertop
Center the proposed cutout between the cabinet sides while maintaining the setback required by the sink manufacturer. Confirm that the rim will clear the backsplash, window trim, and countertop seam. Beneath the counter, verify clearance for the bowls, clip tabs, faucet shanks, soap dispenser, air gap, disposal, water filter, supply valves, and P-trap.
Open nearby drawers and operate doors. Deep bowls can interfere with a center stile, pullout, or drain elevation even when the sink fits the countertop. A double-bowl replacement may also shift the drain outlet enough to require a planned plumbing adjustment.
Decide whether the countertop can be cut safely
Laminate and many wood countertops can be cut on site with the proper blade, support, and edge sealing. Stone, engineered quartz, porcelain, glass, and some solid-surface materials require specialized fabrication and dust controls. Never enlarge a stone opening with an ordinary jigsaw or grinder simply because the sink rim will cover the edge.
Locate seams, build-up strips, fasteners, and cabinet walls before cutting. If the opening is close to a seam or leaves a narrow front rail, consult a countertop professional. The rim hides the cut edge, but it does not restore strength to a poorly located opening.
Prepare the Work Area and Existing Plumbing
Good preparation protects the kitchen and makes the final alignment easier. Clear the sink cabinet, protect floors and cabinet faces, identify shutoffs and electrical connections, and create a sequence for removing the old fixture without damaging the counter.
Isolate water and electrical connections
Close the hot and cold shutoff valves, then open the faucet to relieve pressure. If a valve does not fully stop the flow, shut off the home’s water and replace or service the valve before proceeding. Place a pan under the drain and supply connections because trapped water will remain in the lines and P-trap.
Switch off and verify power to a garbage disposal or any receptacle that may be exposed during the work. Disconnect hardwired equipment only when qualified to do so. Water, metal tools, and an uncertain electrical circuit are not a reasonable DIY combination.
Remove the old sink without prying against the countertop
Disconnect the supply lines, trap, dishwasher hose, disposal, and accessory tubes as applicable. Release every mounting clip from below, then cut the old seal around the rim with a nonmarring scraper or appropriate knife. Do not lever the sink against laminate or stone, which can chip the surface or lift the laminate skin.
Lift with a helper when the sink is heavy or awkward. After removal, scrape the mounting surface clean without gouging it. Inspect the old cutout for swelling, cracks, loose laminate, and unsupported edges before assuming the new sink can be installed in the same opening.
Lay Out and Cut the Countertop Opening
The opening should be large enough for the bowl and clip rail but small enough to support the full rim and give every clip solid material to engage. A careful layout protects both fit and appearance.
Transfer the template and verify the cut line
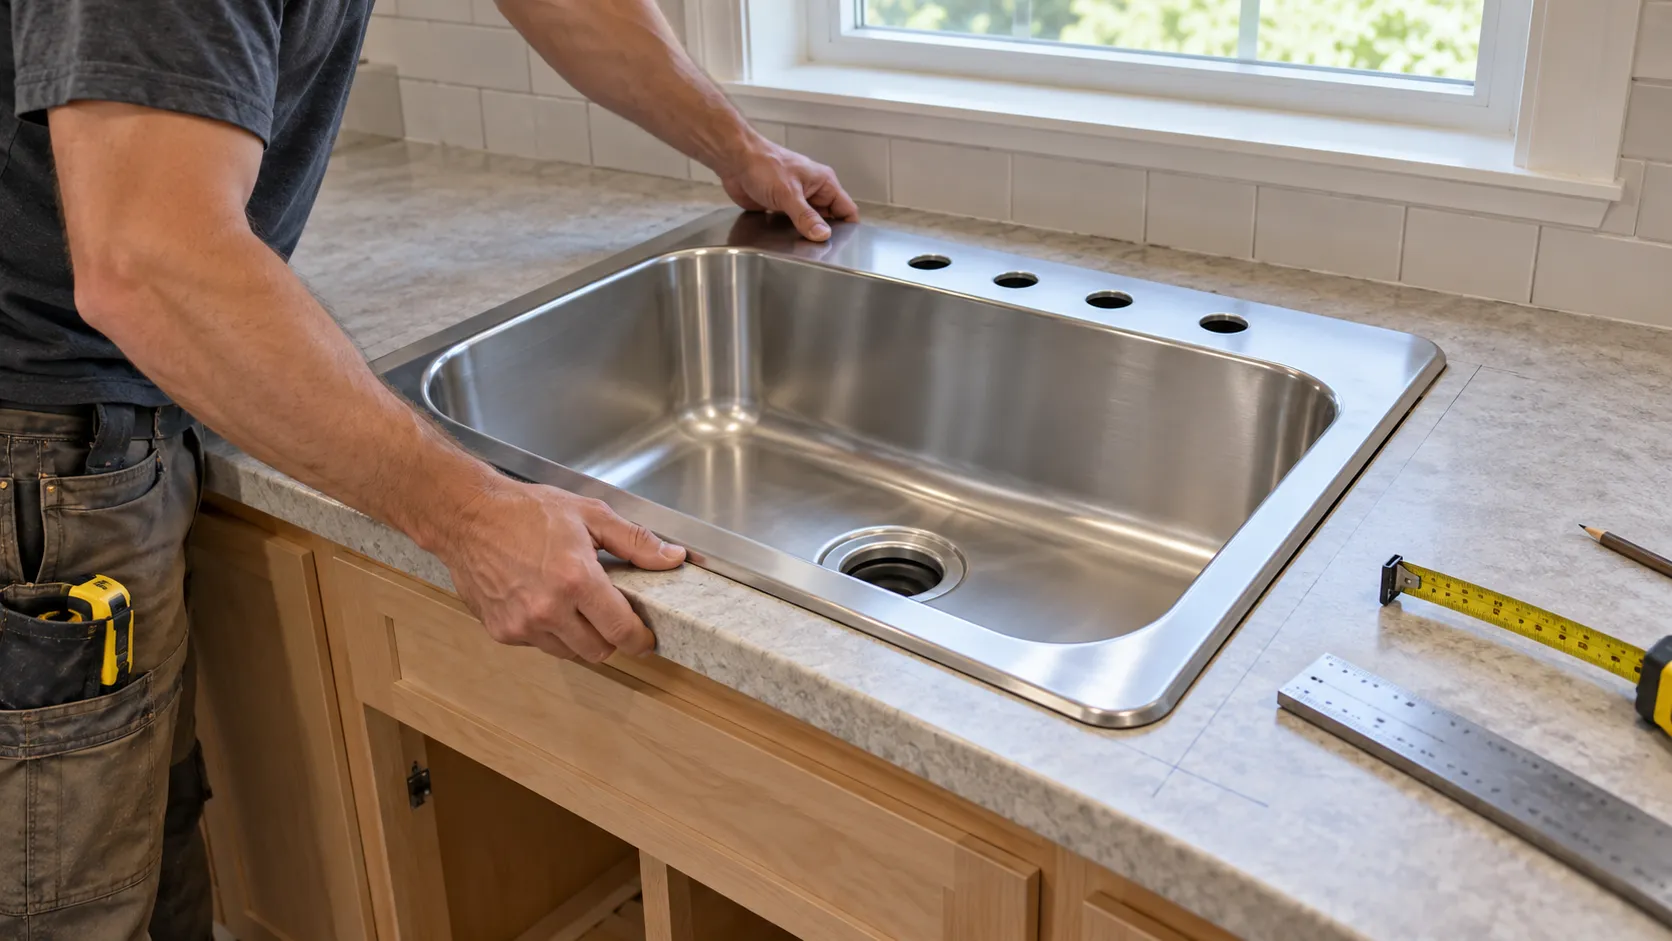
Position the template according to the manufacturer setback and centerline. Tape it securely, trace the cut line, and mark faucet or accessory conflicts separately. If no template is supplied, follow the manufacturer’s stated tracing offset. Do not guess a standard rim overhang because it varies by model.
Drill starter holes just inside the waste side of the line using a bit appropriate for the countertop. Before cutting, check the cabinet below again and confirm that no supply line, wire, drawer rail, or structural cleat is in the blade path. A small inspection mirror can reveal obstructions hidden beneath the front rail.
Support the waste piece and make a controlled cut
Apply painter’s tape along a laminate cut line to reduce surface chipping and use a sharp, suitable blade. Support the center waste piece from below so it cannot drop and tear the last section of laminate. Cut to the line without widening corners beyond the template radius.
For an existing opening, avoid removing material until the new sink has been test-fitted. Small high spots can be corrected gradually. A large gap cannot be added back, and oversized openings often prevent clips from gripping.
Seal every exposed porous edge
Vacuum dust and inspect the entire cut edge. Seal exposed particleboard, plywood, or wood with a compatible waterproof sealer, paying special attention to corners and faucet holes. Allow it to cure as directed before applying the sink sealant.
Edge sealing is essential even though the rim will cover the cut. Water can enter from a failed bead, a loose faucet, condensation, or a minor plumbing leak. Once a laminate core swells, tightening the clips will not make it flat again.
Dry-Fit the Sink and Preinstall Accessible Components
A dry fit confirms that the bowl clears the opening, the rim lies flat, and the clips can reach sound countertop material. It also creates an opportunity to install components that are difficult to reach after the sink is set.
Check rim contact and clip access
Lower the clean, empty sink into the opening without sealant. Do not drag the rim across the counter. Confirm an even reveal, continuous rim support, and enough access for every mounting clip. A slight manufactured variation is different from a rim that rocks because the counter is uneven or the opening is binding.
Mark the centered position with removable tape. If a clip cannot engage because of cabinet framing or build-up strips, resolve the conflict according to the sink instructions rather than omitting several clips. The manufacturer determines clip spacing and acceptable modifications.
Install the faucet, strainer, and accessories when access is better
Many faucets, strainers, soap dispensers, and air gaps are easier to mount while the sink is on padded supports. Orient the faucet and verify that handles clear the backsplash. The UKB kitchen sink faucet installation guide covers mounting-hole compatibility and supply-line setup in more detail.
Install basket strainers or disposal flanges with the gasket or sealant specified by the component manufacturer. UKB’s kitchen sink strainer replacement guide explains the parts beneath the drain opening and the value of a clean, even seal. Do not assume plumber’s putty is compatible with every sink, stone surface, or composite material.
Apply Sealant and Set the Sink
The rim seal blocks water from reaching the cutout, while the clips hold the sink in firm, even contact with the countertop. Sealant should form a continuous barrier without becoming the only thing securing the fixture.
Choose the sealant specified for both surfaces
Review the sink and countertop instructions before choosing silicone, putty, or another product. Some sink finishes and porous surfaces can stain or react with oil-based putty. A kitchen-and-bath silicone that is compatible with both materials is common, but the manufacturer directions take priority.
Clean the countertop and underside of the rim with products that leave no residue. Apply a continuous, appropriately sized bead on the counter or sink rim as directed. Close the loop completely, especially around corners, without creating gaps at the backsplash side.
Lower the sink straight down and center it once
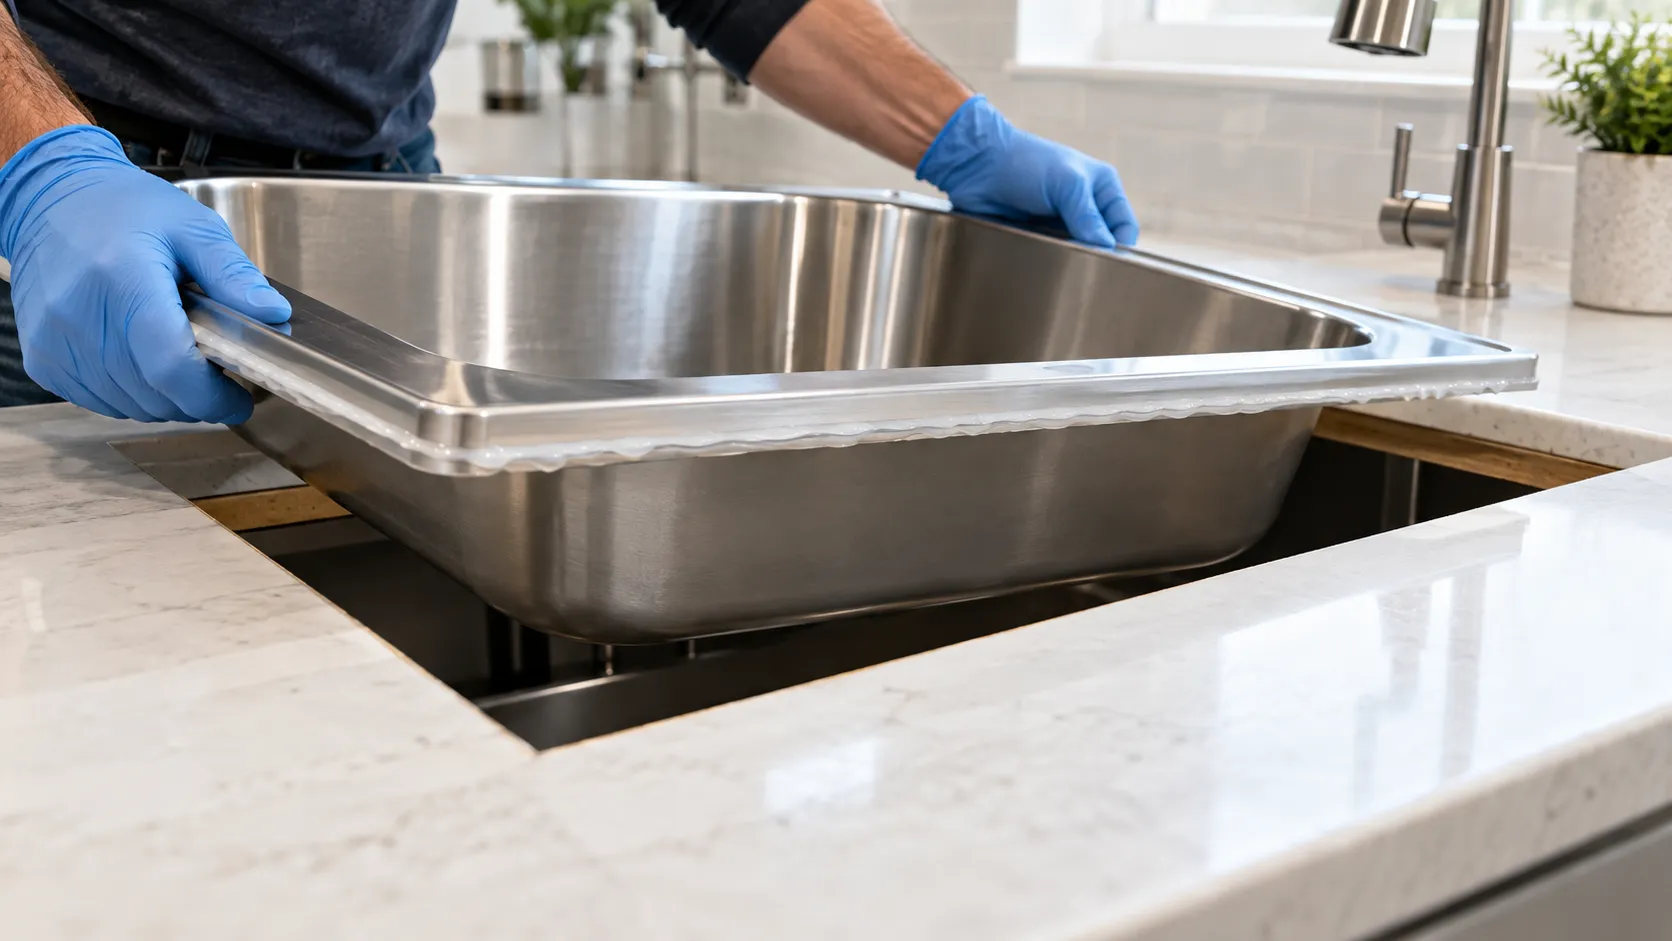
With a helper if needed, lower the sink into the opening using the tape marks as guides. Avoid sliding it through the sealant because that can leave thin spots. Press gently around the rim until a consistent amount of sealant squeezes out.
Check alignment from the front edge, backsplash, and cabinet opening. Make adjustments before the sealant skins over. Remove only the heavy excess at this stage, leaving enough material for the final tooled edge after the clips are tightened.
Tighten the Mounting Clips Evenly
Drop-in sink clips create mechanical pressure between the rim and countertop. Uneven or excessive tightening can bow a thin stainless rim, crush a laminate core, or pull one side out of alignment.
Start all clips before fully tightening any of them
Attach clips at the locations and orientation shown in the sink instructions. Bring each clip into light contact, then tighten in an alternating pattern from side to side and end to end. This sequence distributes pressure and helps the rim settle evenly.
Use hand tools unless the manufacturer specifically approves a powered setting. Stop when the rim is uniformly seated and the clips are secure. More torque does not create a better seal once the countertop begins to compress or the sink rim starts to distort.
Inspect the entire perimeter before the sealant cures
Look across the rim at a low angle for lifted corners or waves. Check below to ensure each clip grips the counter rather than the cut edge, a loose build-up strip, or empty space. Correct problems while the sealant remains workable.
Tool the exposed sealant into a neat, continuous edge and remove residue using the product’s approved cleanup method. Follow the stated cure time before filling the sink or exposing the joint to cleaning water.
Connect the Drain, Disposal, and Water Supplies
Plumbing should meet the installed sink without being forced. A connection under sideways tension can loosen, distort a washer, or place stress on the sink outlet even when it does not leak during the first test.
Align the drain rather than pulling it into place
Dry-fit the tailpiece, disposal outlet, branch fittings, and P-trap. Maintain a logical path to the wall connection and use approved fittings. If the new bowl is deeper or its outlet has moved, rebuild the tubular drain layout instead of bending parts or using an accordion-style shortcut.
Clean slip-joint surfaces, orient tapered washers correctly, and tighten by hand before using modest additional wrench pressure where appropriate. The trap should remain removable for service and should not carry the weight of a misaligned disposal or tailpiece.
Reconnect supplies and appliances methodically
Replace kinked, corroded, or incompatible faucet supply lines. Connect hot and cold lines without twisting them, then reconnect the dishwasher drain hose and air gap or high loop as required by the appliance instructions and local rules. Restore disposal wiring only after plumbing assembly is complete and dry.
Support hoses and cables away from sharp edges and moving storage. Confirm that shutoff valves remain accessible and that no connection is hidden behind a fixed organizer.
Test the Installation Under Real Use
A proper leak test loads one connection group at a time, then subjects the full assembly to the volume and vibration it will experience in daily service. Dry paper or tissue makes a small leak easier to detect than a hand on a wet fitting.
Test supplies, drains, and accessories in stages
Open the shutoff valves slowly while watching the valve outlets and faucet connections. Run cold water, then hot water, and inspect above and below the sink. Fill each bowl to a useful level so the strainer and sink flex under weight, then release the water and examine every drain joint.
Run the disposal with water if one is installed, and operate the dishwasher drain connection according to the appliance instructions. Wipe all joints dry between tests. A drop that appears after a full-basin release may come from a different joint than one visible during a low-flow faucet test.
Recheck after cure and after the first day
Inspect the rim, faucet holes, supply connections, strainers, trap, and disposal again after the sealant cures. Look inside the cabinet after normal washing and dishwasher use. A tissue placed beneath each joint can reveal a slow leak before the cabinet bottom shows damage.
Do not store cleaning products against the plumbing until the installation has passed repeated checks. Record the sink model and keep its template, clip instructions, and warranty information for future service.
Protect the Countertop From Long-Term Swelling
This additional section addresses the failure that is often invisible at installation: moisture entering the cut edge over time. A sound rim seal, sealed substrate, and accessible plumbing work together to protect the countertop.
Maintain the rim and faucet penetrations
Inspect the seal at the backsplash side, where standing water and cleaning residue collect. Replace failed or separated sealant instead of applying a new bead over dirty material. Keep the faucet base stable because movement can break its seal and allow water into unused mounting holes.
Wipe up pooled water rather than relying on the rim to contain it. On laminate, report swelling or a raised seam early. Once the substrate expands, the rim may no longer sit flat enough to be resealed reliably.
Keep leaks visible and serviceable
Use a removable cabinet tray or leak alarm, but do not conceal connections behind permanent panels. Maintain enough clearance to inspect supply valves, strainer bodies, disposal connections, and the trap. A small drip is cheaper to fix when it can be seen.
If a prior leak has damaged the countertop around the opening, UKB’s countertop installation service can help determine whether a new top, repaired substrate, or different sink configuration is the sounder long-term choice.
Diagnose Fit Problems Before They Become Leaks
This additional troubleshooting section helps homeowners distinguish a sealant issue from a cutout, rim, clip, or countertop problem. Repeatedly adding caulk will not correct a sink that lacks mechanical support.
Correct a rim that rocks or leaves a gap
Remove the sink and identify the high point. Common causes include a cutout that pinches the bowl, debris under the rim, an uneven countertop seam, a distorted rim, or an incorrectly installed accessory. Correct the cause within the manufacturer’s tolerances rather than tightening one clip until the gap closes.
If the opening is oversized, stop. Custom support, a different sink, or countertop repair may be required. A narrow rim cannot safely bridge an unsupported edge just because sealant fills the visible gap.
Resolve clips that cannot grip the countertop
Confirm that each clip is the correct type and installed in the proper rail orientation. Check whether a clip lands on a cabinet wall, countertop build-up, or damaged substrate. Manufacturer-approved alternate clip positions may solve the conflict, but random fasteners through the sink rim can damage the fixture and void coverage.
When several clips cannot engage, the sink and opening are not compatible enough for a reliable installation. A countertop fabricator or remodeler can evaluate support options before the sink is put into service.
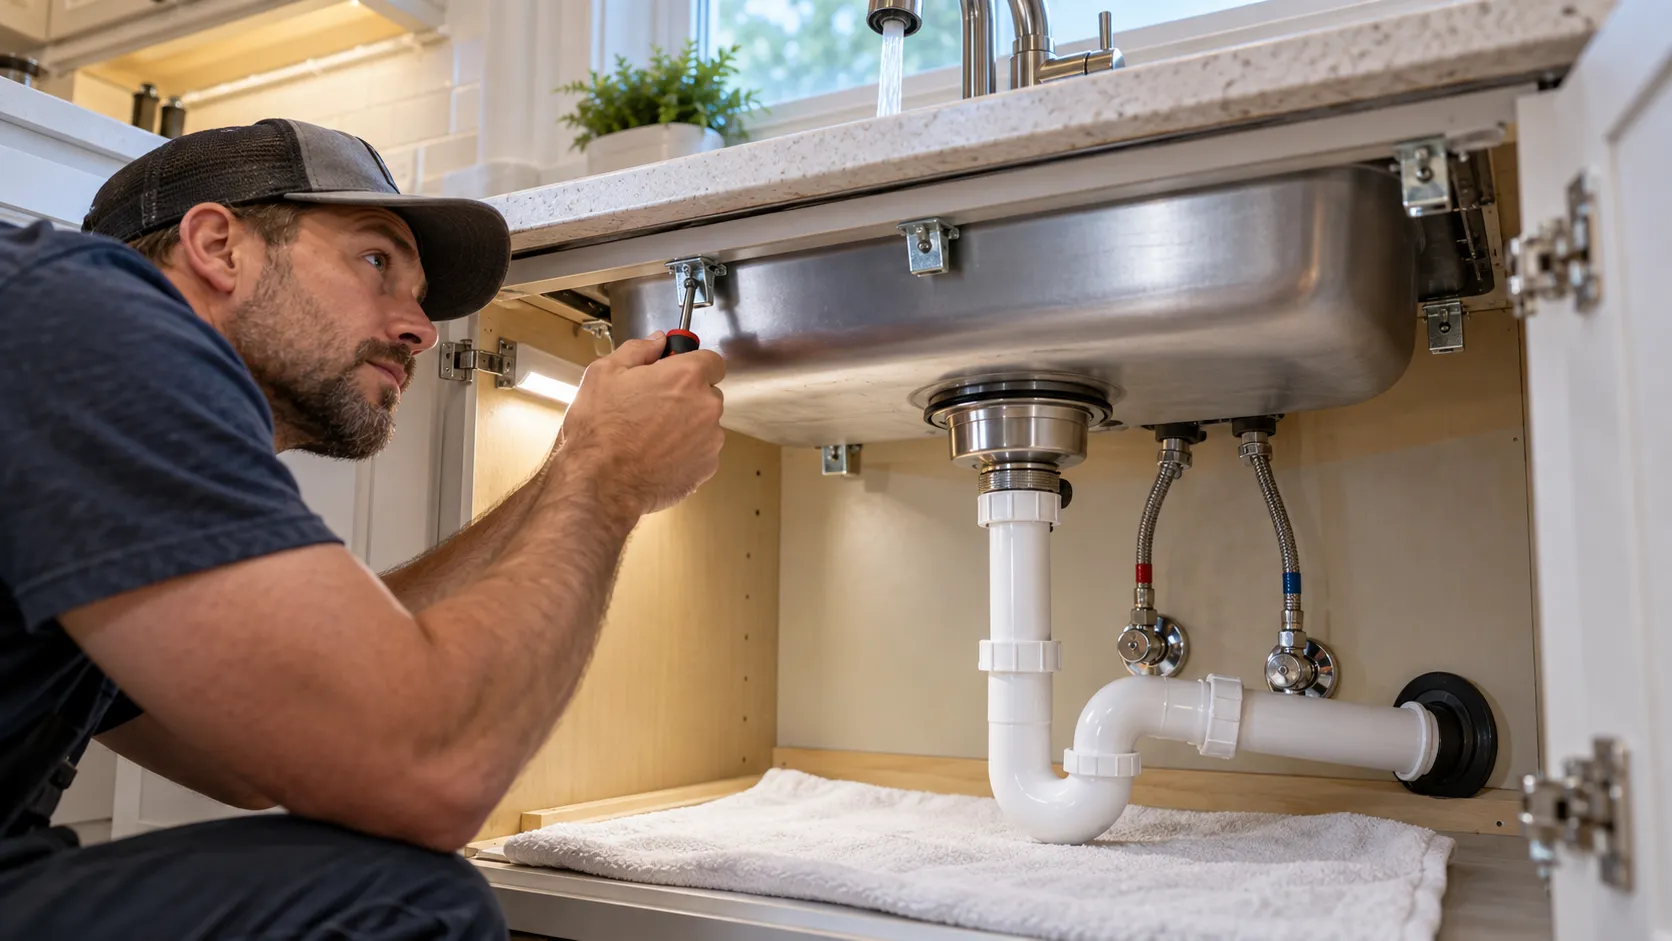
When Professional Installation Is the Safer Choice
DIY installation is reasonable when the replacement matches a sound opening, the countertop is cuttable with ordinary tools, and the plumbing aligns without modification. Professional help is valuable when the work crosses countertop fabrication, electrical, structural, or significant plumbing boundaries.
Call for stone, difficult cutouts, or altered plumbing
Hire a qualified fabricator for granite, quartz, porcelain, or other brittle surfaces. Call a plumber when shutoff valves fail, the drain must be moved inside the wall, a disposal circuit is uncertain, or the connection involves code-sensitive venting and dishwasher requirements.
A remodeling contractor is useful when the sink change affects the countertop, cabinet rails, backsplash, faucet layout, flooring, or appliance clearances. One coordinated scope prevents separate fixes from conflicting at the end of the project.
Verify the scope before work begins
Ask who is responsible for the sink, template, countertop cut, edge sealing, faucet, drain, disposal, electrical connection, debris removal, and final leak test. Confirm product warranty requirements and whether the existing countertop can support the planned sink.
Manufacturer guidance remains the primary installation reference. The Kohler kitchen sink installation guide describes compatibility and top-mount basics, while Elkay’s drop-in sink instructions demonstrate the model-specific template, fitting, and mounting sequence that should be checked before work begins.
Frequently Asked Questions
These concise answers cover common decisions that arise during a drop-in sink replacement or new-countertop installation.

UKB
Unique Kitchen & baths is a family-owned business that is committed to providing high-quality kitchen and bathroom remodeling, as well as flooring installations at affordable prices.