How to Install a Farmhouse Sink Without Damaging the Cabinet
A farmhouse sink can become the visual anchor of a kitchen, but the installation is more structural than a standard drop-in replacement. The exposed apron changes the cabinet face, while a deep fireclay or cast-iron bowl may weigh well over 100 pounds before it holds water, cookware, or a garbage disposal. Learning how to install a farmhouse sink starts with load support, exact measurements, and a sequence that coordinates the cabinet, countertop, plumbing, and sink as one system.
This guide explains the decisions that prevent the most expensive mistakes: cutting from a catalog dimension instead of the actual sink, expecting countertop clips to carry the bowl, or discovering too late that the drain outlet conflicts with the existing plumbing. If the project involves stone fabrication, cabinet reconstruction, or relocated utilities, professional sink installation can protect both the finish and the structure of the kitchen.
Contents
- 1 Confirm the Sink, Cabinet, and Countertop Are Compatible
- 2 Plan Independent Support Before Cutting the Cabinet
- 3 Modify the Base Cabinet for the Apron Front
- 4 Build and Level the Sink Support
- 5 Set the Sink, Seal the Joint, and Reconnect Plumbing
- 6 Protect the Countertop and Catch Leaks Early
- 7 Recheck the Installation After the Kitchen Returns to Use
- 8 Know When a Professional Installation Is the Safer Choice
- 9 Frequently Asked Questions About Farmhouse Sink Installation
- 9.1 Can a farmhouse sink be installed in an existing cabinet?
- 9.2 Does a farmhouse sink need a support frame?
- 9.3 Should the sink be installed before the countertop?
- 9.4 Can a garbage disposal be used with a farmhouse sink?
- 9.5 How much clearance should be left around the apron?
- 9.6 How long should the sealant cure before using the sink?
- 10 Plan Your Farmhouse Sink Installation With Unique Kitchen and Baths
Confirm the Sink, Cabinet, and Countertop Are Compatible
Before any cutting begins, confirm that the selected sink fits the cabinet and works with the planned countertop. Terms such as apron-front, farmhouse, undermount, and dual-mount do not describe the same installation method. The sink model, cabinet opening, reveal, and countertop material must agree on paper before they meet on site.
Measure the Actual Sink, Not Only the Product Listing
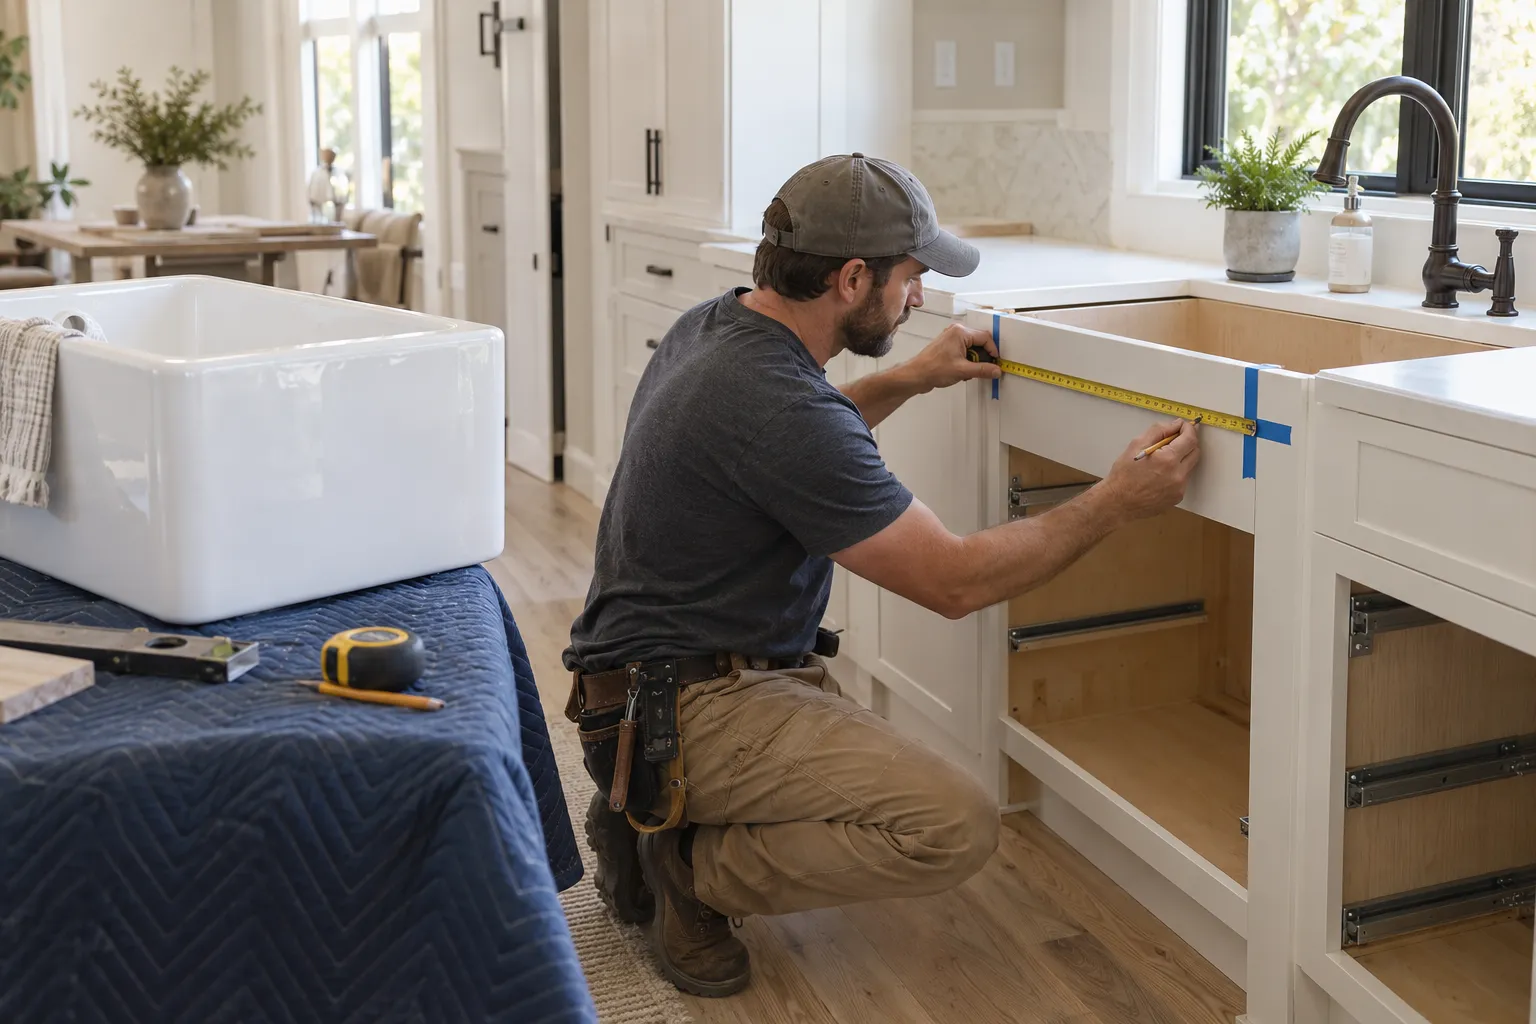
Measure the sink from rim to rim, front to back, from the top rim to the bottom of the apron, and from the rim to the drain outlet. Fireclay is fired at high temperatures and can vary slightly from published dimensions, which is why some ceramic-sink manufacturers advise installers to use the actual sink as the template. Measuring a kitchen sink correctly also reveals whether the bowl depth will crowd the trap, disposal, pullout storage, or rear supply valves.
Record the apron width at several points because handmade or fired sinks are not always perfectly square. Compare those numbers with the clear inside width of the base cabinet, not simply the cabinet’s nominal label. A 36-inch cabinet may have a narrower usable opening after accounting for side panels, face frames, and door hinges.
Identify the Required Mounting Style and Reveal
Read the installation literature for the exact model before deciding whether the rim will sit above the countertop, flush with it, or below it. An undermount installation may use a positive reveal that exposes a narrow ledge, a zero reveal that aligns the counter with the bowl, or a negative reveal where the counter slightly overhangs the sink. The choice affects the countertop template, cleaning access, faucet placement, and the final sightline at the apron.
Manufacturer instructions remain the controlling reference because support details and sealants vary by sink material and model. Kohler’s product-support process directs owners to the installation literature associated with the specific product. Do not substitute a generic online diagram when the manufacturer provides a model-specific template.
Check the Countertop Material Before Finalizing the Cut
Stone, quartz, solid surface, butcher block, and laminate handle sink openings differently. A stone fabricator normally templates after the cabinet and sink support are fixed and level. Butcher block needs careful sealing at every cut edge. Laminate can be vulnerable where the substrate is exposed, especially at the front corners beside the apron.
If the existing countertop must be altered, verify that enough material remains around the sink for strength and faucet clearance. Some retrofits are technically possible but leave fragile strips or visible seams. In those cases, replacing or redesigning the countertop is safer than forcing a new sink into an unsuitable opening.
Plan Independent Support Before Cutting the Cabinet
A dependable farmhouse sink installation gives the bowl its own load path to the cabinet sides or floor. The countertop seam and silicone are for alignment and water control, not for carrying a heavy sink. Planning the support first also lets the installer establish the final rim height before the apron opening is cut.
Calculate the Real Installed Load
Consider the empty sink, a full basin of water, stacked cookware, a garbage disposal, and normal leaning or impact at the front edge. Even when the manufacturer does not publish a filled-load figure, the support should be built conservatively from straight, sound material fastened into substantial cabinet parts. Thin backs, toe-kick skins, and decorative face-frame lips are not structural supports.
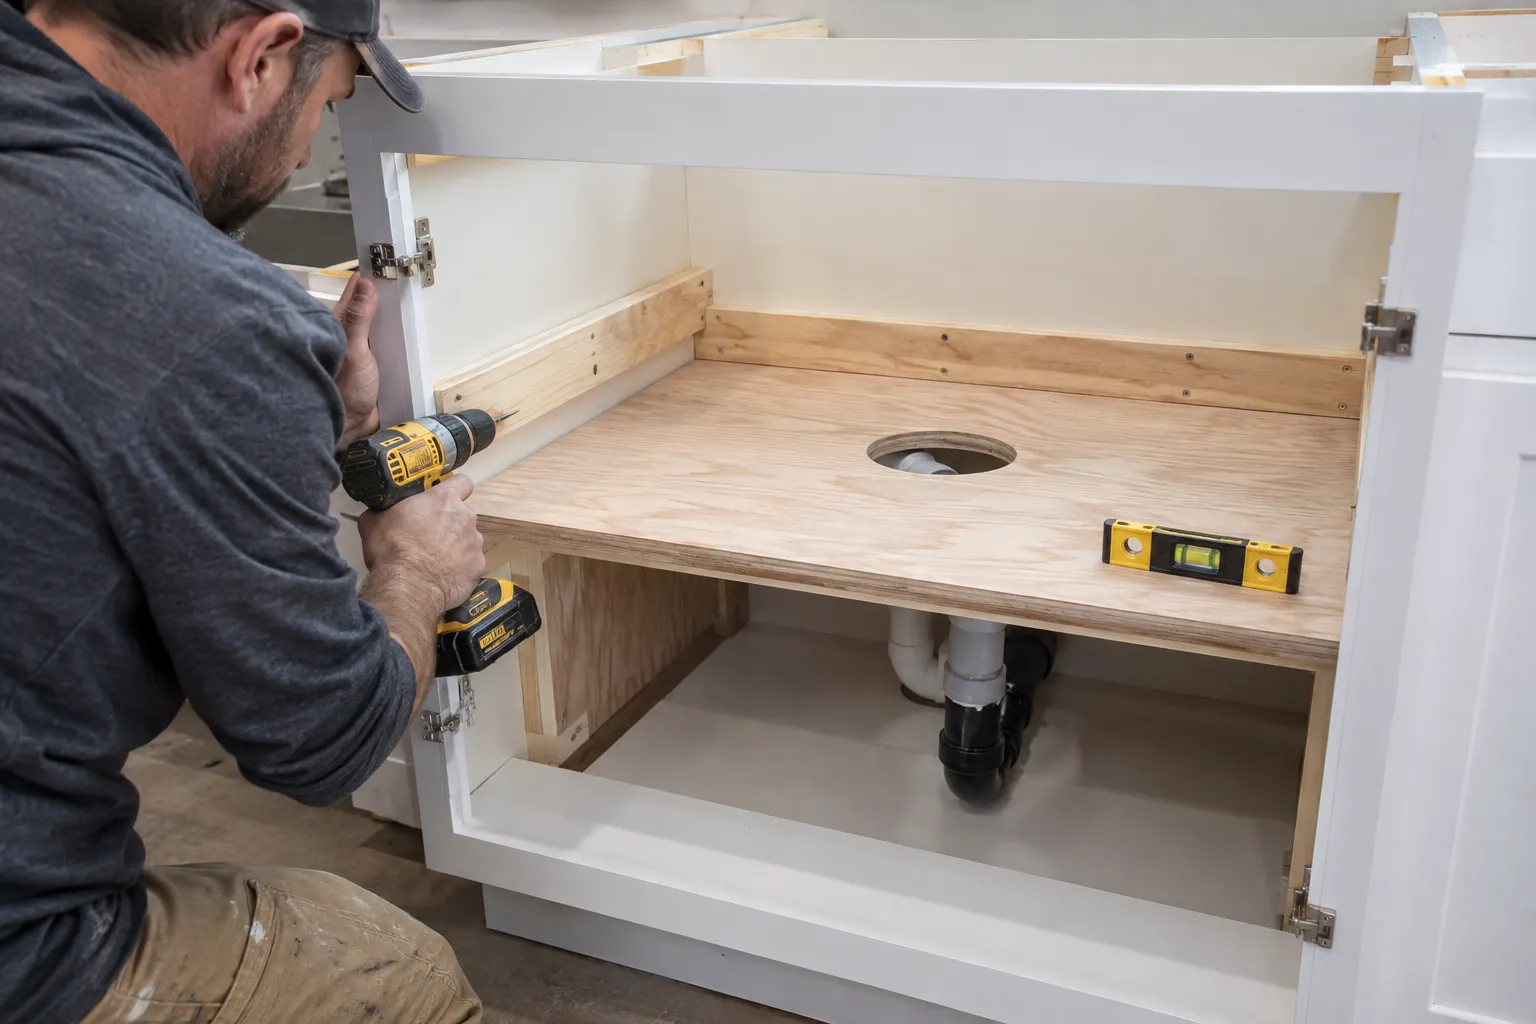
For a framed cabinet, side ledgers can transfer weight into both cabinet walls, while a level plywood platform spreads the load under the bowl. In a frameless cabinet, the installer may add blocking or a purpose-built cradle. Adjustable metal support systems can be useful when plumbing access is tight, provided they are rated and installed for the sink.
Protect the Cabinet Finish and Interior
Remove doors, drawers, shelves, and hardware near the work area. Cover the cabinet floor and adjacent finishes, then mark which pieces belong to each opening. A cut edge can splinter toward the finished face, so painter’s tape, a sharp blade, and a sacrificial backer are practical controls rather than cosmetic extras.
Inspect the cabinet for water damage, loose joints, or a sagging floor before adding weight. A farmhouse sink should not be installed into swollen particleboard or a cabinet whose side panels have separated from the face frame. Repair or replace compromised material first.
Shut Down and Map the Plumbing
Close both water stops, open the faucet to relieve pressure, and place a shallow pan under the trap before disconnecting anything. Photograph the drain and supply arrangement so changes can be planned rather than improvised. The new sink’s deeper bowl often moves the drain outlet downward, which can eliminate the slope needed to reach the wall connection.
Check the disposal, dishwasher hose, air gap, and any filtered-water equipment. If the wall drain is too high for the new bowl and disposal, a plumber may need to lower it inside the wall. That is a better solution than assembling a trap that holds water incorrectly or relies on strained fittings.
Modify the Base Cabinet for the Apron Front
For many homeowners, modifying an existing cabinet is the most intimidating part of the project. The goal is a centered apron opening with consistent clearance, protected finish edges, and enough remaining cabinet structure to support the doors and resist racking.
Transfer the Template to the Cabinet Face
Dry-fit the sink nearby and compare the manufacturer’s template with the actual apron. Establish a cabinet centerline and a sink centerline, then confirm both against door and drawer openings. Use a level to project the final rim height onto the cabinet; the countertop thickness and intended reveal determine where the apron will sit.
Mark the cut in light pencil over low-tack tape. Check the width at the top and bottom, the apron depth on both sides, and the relationship to nearby doors. This is the moment to catch an off-center layout. Once a face frame is cut, symmetry is difficult to restore invisibly.
Make Controlled Cuts and Protect Corners
Drill small starter holes only where the template permits, then cut with a fine-tooth jigsaw blade suited to the cabinet material. Support the waste piece so it cannot tear away near the end of the cut. Stop short of critical lines and finish the fit with a file, sanding block, or oscillating tool when that gives better control.
Avoid forcing the sink into a tight opening. Fireclay and enameled cast iron can chip at a concentrated contact point, and a cabinet face can split if the apron is wedged into place. Leave only the clearance required by the instructions, then use trim or sealant specified for the design to finish the gap.
Reinforce What the Cut Removed
An apron opening can remove a horizontal rail that previously tied the cabinet together. Add blocking, rails, or a reinforced platform so the cabinet remains square after that member is altered. Fasteners should penetrate solid material without emerging through finished sides.
Recheck door alignment before moving on. If doors suddenly bind or the cabinet diagonals no longer match, correct the cabinet rather than expecting the countertop to pull it square. A rigid, level box makes every later step more predictable.
Build and Level the Sink Support
A successful farmhouse sink installation depends on a support platform that is flat, rigid, and set at the correct elevation. A platform that is even slightly low can leave the sink hanging from the countertop joint, while one that is too high can prevent the counter from seating.
Install Ledgers, a Platform, or a Rated Cradle
Fasten level ledgers to substantial cabinet sides, add front and rear blocking as the model allows, and place a moisture-resistant plywood platform or rail system beneath the bowl. Preserve openings for the drain, disposal, supply lines, and future service. The platform should support the designated load-bearing areas, not press randomly against a curved or fragile portion of the sink.
Use corrosion-resistant screws of an appropriate length and predrill near cabinet edges. Adhesive can supplement mechanical fastening, but it should not be the only connection. If the cabinet construction does not provide a trustworthy fastening surface, add blocking that transfers the load to stronger components.
Dry-Fit and Shim the Sink Precisely
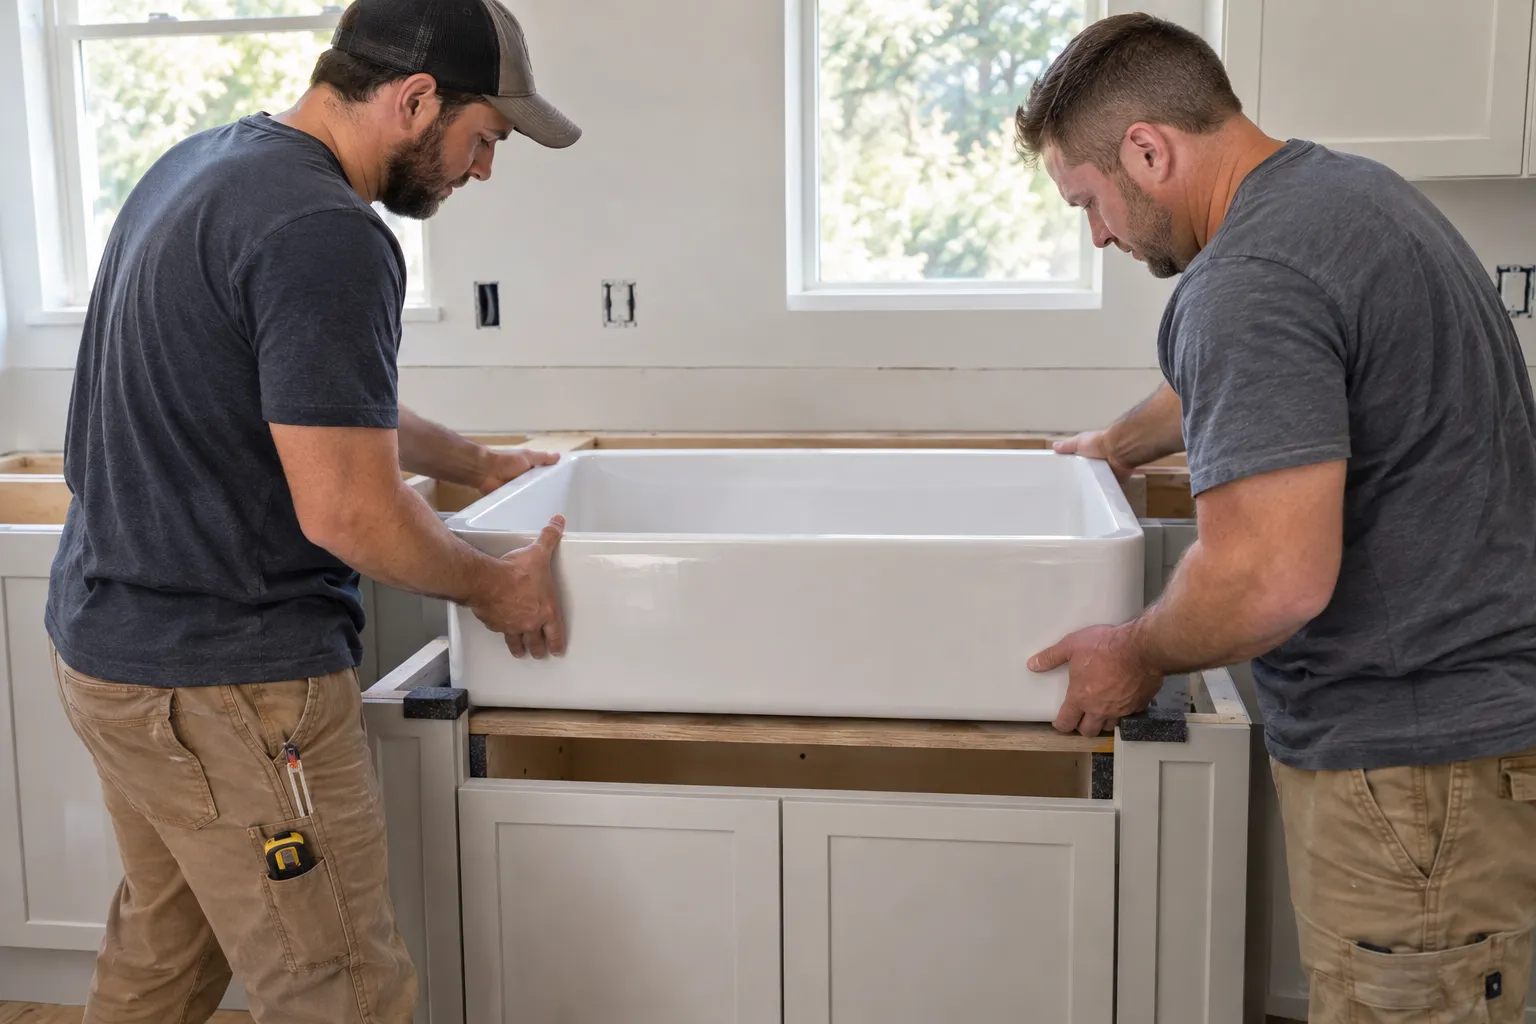
With two or more people for a heavy bowl, lower the sink onto the support. Never lift a sink by the drain opening. Check the apron projection, rim elevation, side gaps, and level in both directions. Set a straightedge across the surrounding cabinet tops to confirm how the rim will meet the future countertop.
Use durable, noncompressible shims only where the manufacturer allows them. Soft wood scraps can shrink or crush, changing the reveal after the countertop is installed. Once the position is correct, mark the support and sink reference points so the bowl can be returned to the same location.
Set the Sink, Seal the Joint, and Reconnect Plumbing
At the finishing stage, the sink should remain aligned without trapping future leaks out of sight. Install the countertop, sink, faucet, drain, and disposal in an order that preserves access and follows the sink and countertop manufacturers’ requirements.
Coordinate the Countertop Template and Installation
For stone or quartz, the fabricator should see the actual sink fixed in its final supported position before templating whenever the selected system requires it. Confirm the reveal at all sides and the faucet-hole locations, including clearance for handles, soap dispensers, and window trim. Once fabrication begins, moving the sink even a small amount can create an uneven reveal.
With wood or laminate, seal cut edges as required for the material before the sink is permanently set. Pay special attention to the narrow areas beside the apron, where water can pool and penetrate an exposed substrate.
Apply the Specified Sealant Without Using It as Structure
Clean and dry both bonding surfaces. Apply the manufacturer-approved sealant in a continuous bead, then set or secure the components according to the chosen mounting style. Smooth the visible joint without leaving voids, and remove excess before it cures.
Silicone controls water and allows limited movement, but it is not a substitute for ledgers or a cradle. Do not pack a large unsupported gap with sealant. A gap that changes around the sink usually indicates a leveling, templating, or fabrication problem that should be corrected mechanically.
Reconnect the Drain, Faucet, and Disposal
Install the strainer or disposal flange using the sealant specified by that manufacturer. Rebuild the trap with properly aligned slip joints, maintaining a continuous fall toward the wall drain. Avoid pulling pipes sideways to make them meet, because stressed fittings are more likely to loosen or leak.
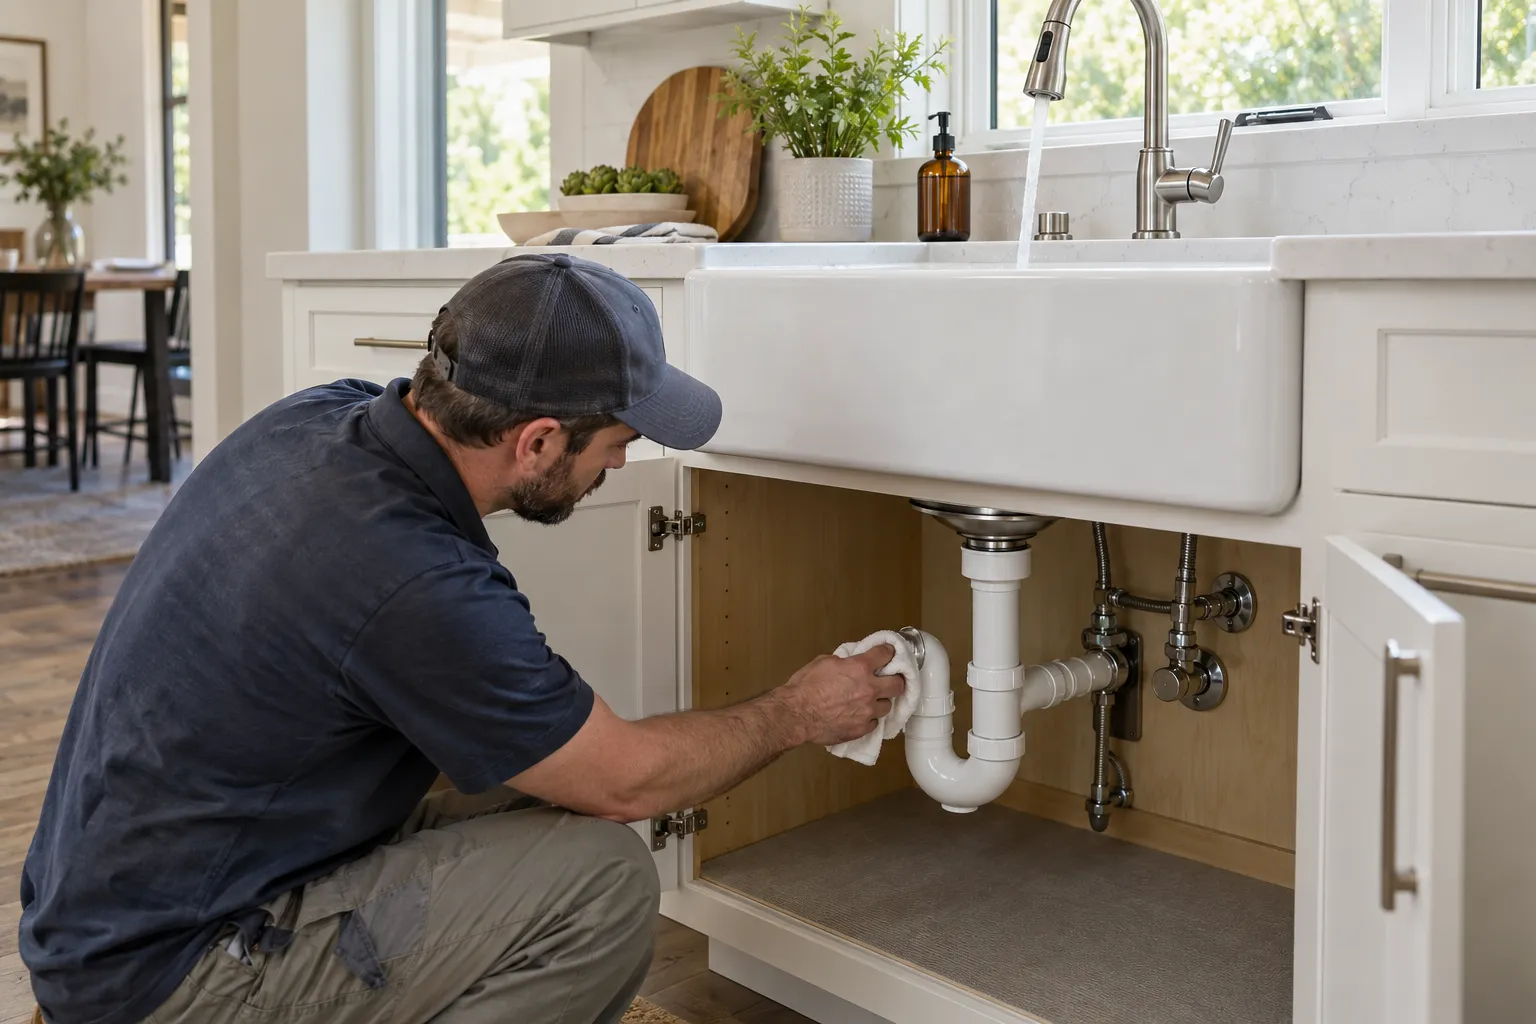
Reconnect the faucet supplies without twisting or kinking them, restore water slowly, and inspect every connection with a dry paper towel. If a garbage disposal is included, confirm that its weight and vibration do not distort the drain connection or contact the cabinet.
Protect the Countertop and Catch Leaks Early
Long-term leak protection starts with planning for water that may escape at the rim, faucet hole, or drain fitting months later. A few preventive details can keep a minor maintenance issue from becoming cabinet damage.
Seal Vulnerable Edges and Add an Inspection Surface
Every exposed wood or composite edge around the opening should receive the appropriate sealer. Inside the cabinet, a removable tray or light-colored liner can make small drips easier to see without hiding plumbing. Avoid permanently boxing in the trap and disposal, since service access is part of a durable installation.
At the front apron, inspect the joint where wiping water tends to collect. A neat joint is not automatically a watertight joint. It must adhere continuously to clean surfaces and match the movement characteristics of the sink and counter materials.
Perform a Staged Water Test
First run each supply connection with the basin empty. Next fill the bowl partway and watch the strainer or disposal flange under static load. Finally release the water while the faucet continues to run, which tests the drain at its highest flow. Wipe each joint dry before the test so a fresh droplet is obvious.
Repeat the test with the dishwasher connection if it was disturbed. Marking a suspect fitting with painter’s tape helps distinguish a new drip from leftover water. Correct leaks immediately rather than placing a towel beneath them and closing the cabinet.
Recheck the Installation After the Kitchen Returns to Use
The job is not finished after the first successful drain test. Materials settle, sealants cure, and disposal vibration can reveal a loose connection after several days. A short follow-up inspection is one of the easiest ways to protect the cabinet investment.
Inspect Support, Reveal, and Sealant
After the curing time specified for the sealant, verify that the reveal remains even and the apron has not dropped. Look for separated sealant, a new gap at a corner, or a support shim that moved. Any change suggests that the load is not transferring evenly through the support.
Do not tighten countertop clips or drain hardware aggressively in response to movement. Find the source. Over-tightening can crack a sink, distort a flange, or damage a stone edge without fixing an inadequate support platform.
Look for Slow Plumbing Leaks
Check the cabinet floor after normal dishwashing, after running the disposal, and after the dishwasher drains. Touch the underside of fittings with a dry tissue and look for mineral tracks or swollen cabinet material. Slow leaks often appear only during a full-bowl drain or when a disposal vibrates.
A professional installer should be able to explain the support method, show that the sink can be serviced, and identify what to monitor. That transparency is a practical sign of workmanship, not merely an aftercare extra.
Know When a Professional Installation Is the Safer Choice
Some farmhouse sink projects are not sensible DIY jobs, even with detailed instructions. Stone cutting, fireclay handling, cabinet reconstruction, drain relocation, and disposal wiring introduce different trades and failure points.
Call for Help When Structure or Fabrication Is Uncertain
Professional help is warranted when the cabinet side panels are damaged, the apron opening removes major framing, the wall drain must move, or the countertop is stone or quartz. The same is true when the sink’s weight requires more people or lifting equipment than the homeowner can safely provide.
Ask the contractor who is responsible for sink support, countertop templating, plumbing, and final leak testing. Divided responsibility can create gaps unless one party coordinates the sequence and approves the finished elevations.
Treat the Sink as Part of the Whole Kitchen
A farmhouse sink affects cabinet proportions, drawer storage, countertop seams, faucet reach, lighting, and even how comfortably a person stands at the bowl. During a larger renovation, it should be selected early enough to influence the cabinet order and plumbing rough-in rather than being added after those choices are fixed.
That whole-room view is especially useful when existing counters or cabinets are already near the end of their service life. Investing in a difficult retrofit can cost more than coordinating the sink with a planned kitchen update.
Frequently Asked Questions About Farmhouse Sink Installation
These concise answers address the questions homeowners most often face when planning a farmhouse sink installation.

UKB
Unique Kitchen & baths is a family-owned business that is committed to providing high-quality kitchen and bathroom remodeling, as well as flooring installations at affordable prices.