How Do You Install Crown Molding on Kitchen Cabinets?
Crown molding can make ordinary wall cabinets look deliberately built into the room, but the final result depends on more than cutting two 45-degree angles. Cabinet tops may be out of level, walls may not be square, and many cabinet boxes do not provide enough solid material for reliable nailing. If you are asking how do you install crown molding on kitchen cabinets, the safest answer begins with a test fit, a dependable attachment surface and cuts based on the room you actually have, not the room shown on the plan.
This guide explains a repeatable method for a standard cabinet crown installation. It also shows where homeowners commonly lose time, how to adjust the method for framed or frameless cabinets and when a finish carpenter or remodeling contractor is the better choice.
Contents
- 1 Before You Cut, Confirm the Cabinet and Crown Molding Setup
- 2 Tools, Materials and Safety Preparation
- 3 Step-by-Step Crown Molding Installation
- 4 How the Installation Changes by Cabinet Type and Ceiling Condition
- 5 Common Mistakes That Make Cabinet Crown Look Uneven
- 6 A Professional Quality Check Before the Job Is Finished
- 7 Frequently Asked Questions
- 7.1 Can crown molding be nailed directly to kitchen cabinets?
- 7.2 Do cabinet crown joints have to be exactly 45 degrees?
- 7.3 Should cabinet crown molding touch the ceiling?
- 7.4 Is coping better than mitering an inside corner?
- 7.5 What size nails should I use?
- 7.6 Can I install crown molding without a miter saw?
- 8 Finish the Cabinets as Part of a Complete Kitchen Plan
Before You Cut, Confirm the Cabinet and Crown Molding Setup
Before deciding how do you install crown molding on kitchen cabinets, identify what will support the molding and how the profile is intended to sit.
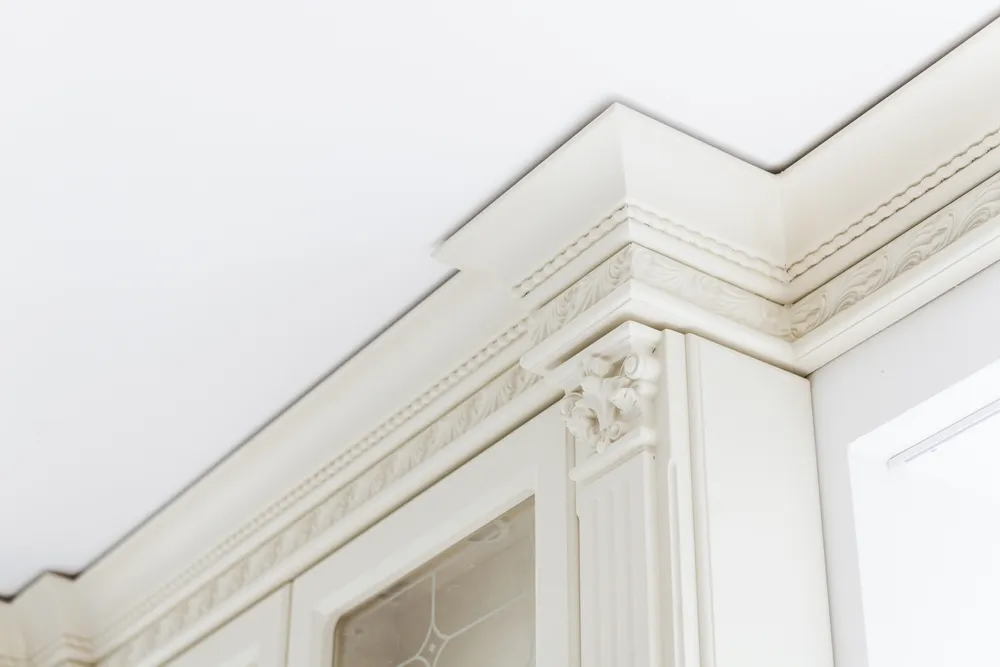
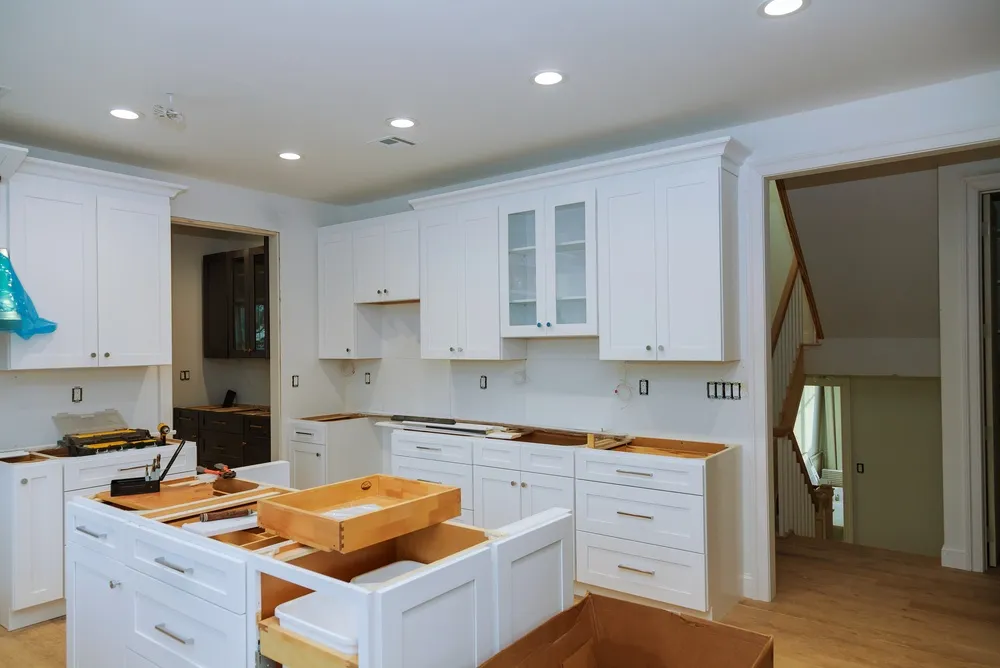
This planning step prevents visible gaps, blocked doors and nail holes in fragile cabinet panels. For a full-room project, professional kitchen design services can coordinate the crown profile with cabinet height, appliance panels, ceiling conditions and lighting before material is ordered.
Identify a Solid Attachment Surface
Open a cabinet door and inspect the top edge. A face-framed cabinet may offer a solid upper rail, while a frameless cabinet often has a thinner top panel or edge that is unsuitable for repeated brad nailing. In that case, installers usually add a wood nailer or build-up strip to the cabinet top. The strip gives the crown a flat, continuous fastening surface and lets the molding sit at the correct projection without relying on the ceiling.
Do not assume that a decorative skin, thin filler or particleboard edge will hold fasteners. Check the cabinet manufacturer’s instructions first. Thomasville’s cabinetry installation and care guide, for example, describes gluing miter joints and fastening molding to the cabinet face frame, which is a useful reminder that the cabinet’s construction, not a universal fastener rule, governs the attachment method.
Confirm the Crown’s Spring Angle and Orientation
Traditional crown is installed “sprung,” meaning its back surfaces contact both a vertical and a horizontal reference plane. Common profiles use a 38/52-degree or 45/45-degree spring angle, but the label or manufacturer’s template should control your setup. Place a short sample against two scrap boards arranged like the cabinet face and top. Mark the wall-side and ceiling-side edges so the piece cannot be reversed at the saw.
If the molding has a deep projection, dry-fit it near refrigerator doors, tall pantry doors and return walls. A profile that looks balanced in a showroom can collide with a door swing or project awkwardly beyond an end panel.
Check Cabinet Level, Ceiling Variation and Corner Angles
Use a long level or laser to check the cabinet run. Then measure the gap between the cabinet top and ceiling at several points. Crown attached to cabinets should normally follow the cabinet line; forcing it to touch a wavy ceiling can make the molding appear crooked and pull joints apart. If the design is intended to close the entire ceiling gap, a scribed filler or multi-piece build-up may be needed rather than oversized crown alone.
Measure inside and outside corners with an angle finder. In an older home, a corner that looks square may be 88 or 92 degrees. Dividing the measured corner angle in half gives a better starting miter than automatically setting the saw to 45 degrees.
Tools, Materials and Safety Preparation
A clean answer to how do you install crown molding on kitchen cabinets depends on controlled measuring, supported cutting and fastening into known material.
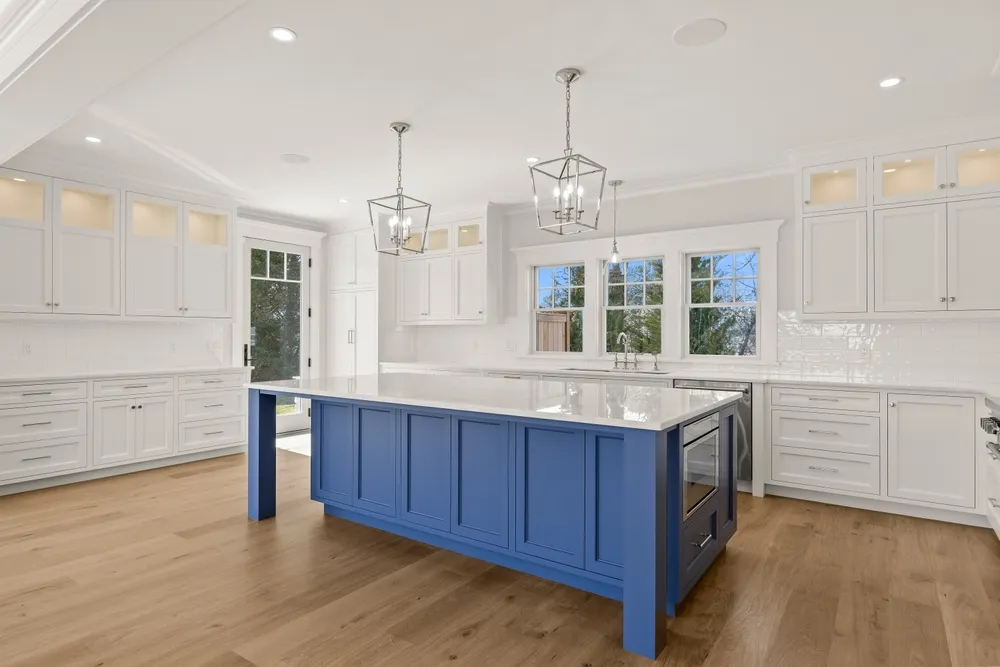
Gather everything before the first cut so you do not hold a long, delicate molding in place while searching for a tool.
Measuring and Cutting Equipment
Use a tape measure, sharp pencil, angle finder, combination square, long level or laser and a miter saw with a fine-finish blade. A crown stop or a simple jig helps keep every piece at the same spring angle when the molding is cut nested against the saw fence. If you cut the molding flat, use the manufacturer’s compound-miter settings for the known spring angle and label every piece to avoid reversing left and right cuts.
If you are still confirming cabinet dimensions, the UKB guide on how to measure kitchen cabinets explains why measuring at several heights and recording walls, openings and obstructions produces a more dependable layout than relying on a single wall measurement.
Fastening and Finishing Materials
Typical materials include matching cabinet crown, straight wood nailer strips, screws appropriate for the cabinet construction, wood glue for miter joints, 18-gauge brads or the cabinet manufacturer’s specified fastener, painter’s tape, color-matched filler, touch-up marker and a paintable caulk only where appropriate. Stained crown usually looks best with carefully fitted joints and color-matched repair products; broad caulk lines can look cloudy against a factory finish.
Choose brad length by adding the molding thickness and required penetration into the solid nailer, while avoiding screws, wiring, lighting channels and the cabinet interior. Test the fastener on offcuts before working on installed cabinetry.
Protect Yourself and the Finished Kitchen
Remove nearby cabinet doors when the manufacturer permits it, cover counters and appliances, and keep the floor clear of offcuts. Support long molding at both ends of the saw so it does not tip or twist during the cut. OSHA’s miter-saw safety guidance emphasizes a working guard, sharp blade, safe hand distance and eye and face protection. A dust mask and hearing protection are also sensible for repeated cutting.
Never place a hand behind the molding near the blade, defeat the saw guard or fire a nailer where a hidden wire or lighting cable may run. If the crown surrounds a cabinet with integrated electrical work, locate and de-energize the affected circuit before fastening.
Step-by-Step Crown Molding Installation
The practical sequence for how do you install crown molding on kitchen cabinets is to establish the reveal, create secure backing, fit one piece at a time and finish only after the entire run closes correctly. Working in sequence keeps small measurement errors from multiplying across several cabinets.
Step 1: Make a Full-Size Mock-Up
Cut two short crown samples and test an inside and outside corner before using full-length material. Hold the sample at the intended height, mark the bottom edge on the cabinet or nailer and check the projection at end panels. The reveal, the visible distance from the cabinet door or face-frame edge to the bottom of the crown, should look consistent across the run.
A mock-up also reveals whether the crown needs a riser or starter molding. When cabinets stop well below the ceiling, a simple crown may be enough. When the design is meant to reach the ceiling, a flat riser can absorb some ceiling variation and give the crown a visually balanced base.
Step 2: Install and Level the Nailer Strips
Cut nailer strips to fit the cabinet run without interfering with doors, hinges or lighting. Position them behind the crown’s lower edge and fasten them to solid cabinet structure using the cabinet manufacturer’s approved method. Do not attach the strip only to a thin top skin. Check the strip with a level and keep its setback consistent so the crown face remains straight.
At outside corners, extend the backing far enough to support both mitered pieces. At exposed ends, plan a return so the crown profile terminates cleanly instead of showing an open end grain or hollow back.
Step 3: Measure Each Piece at Its Installed Edge
Measure where the bottom edge of the crown will land, not along an unrelated wall or ceiling line. For an inside corner, record the distance between the actual corner points at the crown’s lower reference edge. For an outside corner, allow the two long points to meet without shortening the visible face.
Transfer the measurement to the correct edge and mark the waste side. Write the cabinet run and cut direction on the back. Measure the opening again immediately before cutting; this simple habit catches transposed numbers and pieces labeled for the wrong side.
Step 4: Cut and Tune the First Joint
Cut the longest, least complicated piece first when practical. For an inside corner, two miters can work when the room is square and the molding is stable, but a coped joint often hides seasonal movement better. To cope, cut the first piece square into the corner, miter the mating piece to expose the profile and remove the back of that profile with a coping saw or fine jigsaw blade.
For an outside corner, miter both pieces using half the measured corner angle. Cut slightly long, dry-fit and shave the angle in small increments. A tight dry joint is more dependable than trying to close a large gap with nail pressure.
Step 5: Glue the Joint and Fasten to the Backing
Apply a controlled amount of wood glue to mating wood surfaces at the miter. Hold or tape the joint closed and place brads into the solid backing, not into open space. Start near the center of a long piece, confirm the reveal, then work toward the ends. At a miter, fasten close enough to stabilize the joint without splitting the narrow edge.
Keep the nailer perpendicular to the fastening surface and use only enough air pressure or power to set the head just below the surface. A deeply driven brad can crush the molding or create a visible crater in a factory finish.
Step 6: Add Returns, Inspect the Run and Finish the Surface
Where crown ends at an open cabinet side, cut a small return that turns the profile back toward the cabinet. Glue the return rather than relying on a brad through a tiny piece. Once the full run is installed, sight along the bottom edge, open every cabinet and appliance door and check the joints in normal room lighting.
Fill nail holes with a compatible product, touch up cut edges and use a very fine bead of paintable caulk only on paint-grade gaps that cannot be eliminated by fitting. Wipe squeeze-out before it cures. Factory-finished stained crown should be repaired with the brand’s touch-up system so the sheen and color remain consistent.
How the Installation Changes by Cabinet Type and Ceiling Condition
The best method for how do you install crown molding on kitchen cabinets changes when the cabinet construction, finish or ceiling relationship changes.
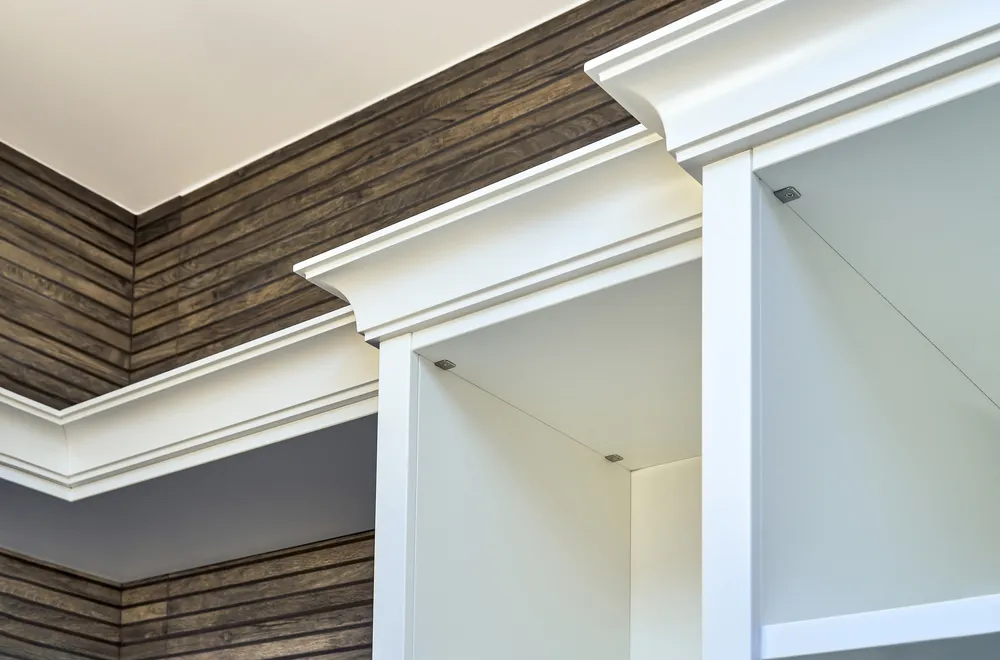
Treating every kitchen as the same is one reason otherwise careful DIY work develops cracks, door conflicts or uneven reveals.
Framed Versus Frameless Cabinets
Face-framed cabinets often provide a substantial upper rail, but installers still confirm fastener location and crown projection before nailing. Frameless boxes may require a purpose-built build-up strip that is screwed from inside the cabinet into approved structure. The fastener must be short enough not to break through the finish and positioned so it does not interfere with door hardware.
If a decorative end panel sits proud of the cabinet box, the nailer may need to be packed out so the crown aligns with that finished panel. Test the transition from the cabinet run to the exposed side before committing to the setback.
Open Space Above Cabinets Versus Crown to the Ceiling
Crown that floats below the ceiling should maintain a level, consistent line even when the ceiling varies. Crown designed to meet the ceiling may need scribing, a filler strip or a two-piece treatment. Pressing the crown into a low ceiling spot can distort the molding and make every adjoining joint harder to close.
For dramatic ceiling changes, a shadow line can be more honest and attractive than a thick caulk joint. A designer can determine whether to lower the crown slightly, add a riser or modify the cabinet height before installation.
New Factory-Finished Cabinets Versus Existing Cabinet Updates
New cabinets usually have matching molding and manufacturer-approved fillers. Existing cabinets may have faded finishes, discontinued profiles or uneven tops. The UKB article on updating old kitchen cabinets without replacing them can help homeowners judge whether crown alone will create a cohesive upgrade or whether refinishing, refacing and hardware changes should be planned together.
On an existing installation, clean the cabinet top, check for water or grease damage and repair loose boxes before adding decorative weight. Crown should complete sound cabinetry, not hide movement or structural problems.
Common Mistakes That Make Cabinet Crown Look Uneven
Knowing how do you install crown molding on kitchen cabinets also means knowing which shortcuts produce the most visible failures. Most problems start before the nailer is fired: the wrong reference edge, unsupported material or an assumption that every corner is square.
Cutting Every Piece Before the First Dry Fit
Measurements can shift as joints are tuned. Cutting the entire room from a list leaves no room to respond to the first corner. Measure, cut and fit one piece at a time, then take the next measurement from the installed work.
Nailing Into Thin Cabinet Material
A brad may appear to hold in a thin skin and loosen later as the molding moves. Use solid backing and follow the cabinet manufacturer’s instructions. If you cannot identify safe fastening points, stop before creating holes in an expensive cabinet box.
Forcing 45-Degree Miters Into Non-Square Corners
Large caulk lines at corners usually point to incorrect angles or a crown piece held at the wrong spring angle. Measure the corner, use a consistent saw jig and make test cuts from scrap. Small tuning cuts are faster than repairing a split or short full-length molding.
Ignoring Finish Compatibility
Regular wood filler can stain a factory-painted surface, and oil-based putty may leave a different sheen. Test every filler and cleaner on an offcut. Use touch-up products supplied or approved by the cabinet brand whenever possible.
A Professional Quality Check Before the Job Is Finished
A professional review of how do you install crown molding on kitchen cabinets focuses on alignment, movement and daily use, not only whether the molding stays attached.
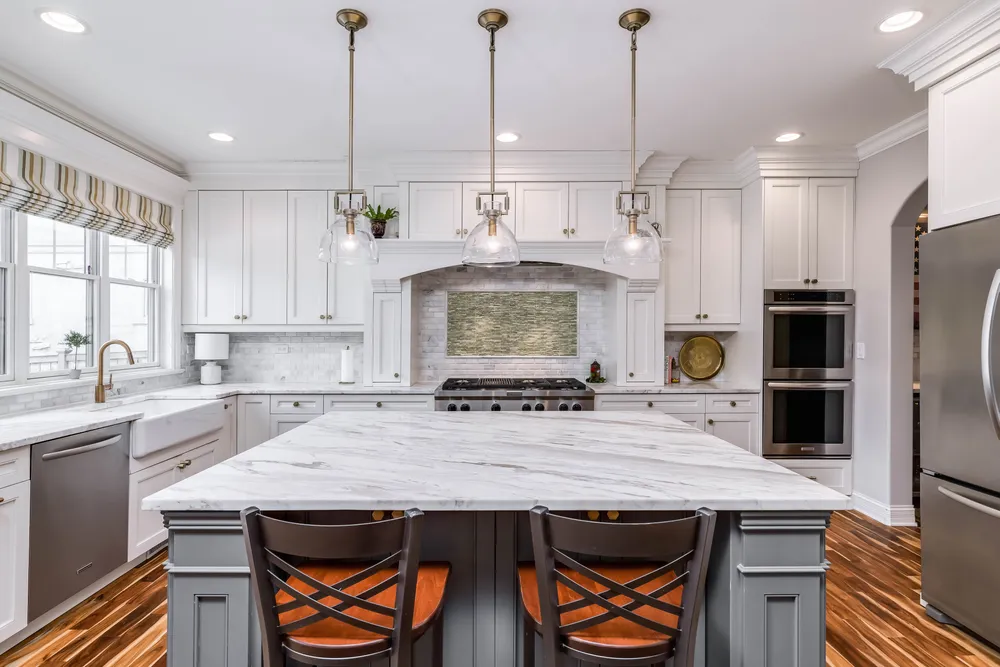
Inspecting the finished run from several positions catches issues that are easy to miss from a ladder.
Sight the Bottom Edge and Repeated Reveals
Stand at both ends of the run and look along the crown’s lower edge. It should read as one continuous line. Compare the reveal above several doors, at tall cabinets and across filler panels. A small ceiling gap is often less noticeable than a crown line that rises and falls.
Operate Doors, Appliances and Lighting
Open doors fully, pull out drawers and test refrigerator, pantry and microwave clearances. Turn on above-cabinet lighting and look for shadows that exaggerate a joint or reveal exposed backing. Functional conflicts should be corrected before holes are filled.
Recheck Joints After Adhesive Sets
Return to the project after the glue has set and the room has returned to normal temperature. Confirm that miters remain closed, returns are secure and no brad has surfaced. This second look is especially useful for long wood molding, which can react to humidity and installation pressure.
Frequently Asked Questions
These concise answers address the practical follow-up questions homeowners usually have after learning how do you install crown molding on kitchen cabinets.

UKB
Unique Kitchen & baths is a family-owned business that is committed to providing high-quality kitchen and bathroom remodeling, as well as flooring installations at affordable prices.