How Much Space Around Kitchen Island is Required?
The short answer is that most working aisles need more room than homeowners expect. A 36-inch gap may be usable as a simple passage, but it can feel restrictive in front of appliances or when two people cook together. The right clearance depends on what faces the island, who uses the kitchen and whether stools, doors or appliance handles project into the route.
If you are planning how much space around kitchen island cabinetry will feel comfortable, begin with the finished countertop edges, not the cabinet boxes, and test the narrowest point with doors open. Professional kitchen design services can turn those measurements into a scaled layout before cabinetry, plumbing or electrical locations are fixed.
Contents
- 1 The Quick Answer for Kitchen Island Clearance
- 2 Measure the Space the Way It Will Actually Be Used
- 3 Adjust the Clearance for What Faces Each Side
- 4 Test the Island Footprint Before Construction
- 5 When the Desired Island Does Not Fit
- 6 Plan for Accessibility and Future Needs
- 7 Common Kitchen Island Spacing Mistakes
- 8 Frequently Asked Questions
- 8.1 Is 36 inches enough between an island and cabinets?
- 8.2 Is 42 inches enough around a kitchen island?
- 8.3 When should I use a 48-inch aisle?
- 8.4 How much room is needed behind island seating?
- 8.5 Do I measure from cabinets or countertops?
- 8.6 Can a kitchen island be too far from the counters?
- 8.7 Does every side of the island need the same clearance?
- 8.8 Should a Professional Verify My Kitchen Cabinet Measurements?
- 9 Design the Island Around the Household, Not a Single Number
The Quick Answer for Kitchen Island Clearance
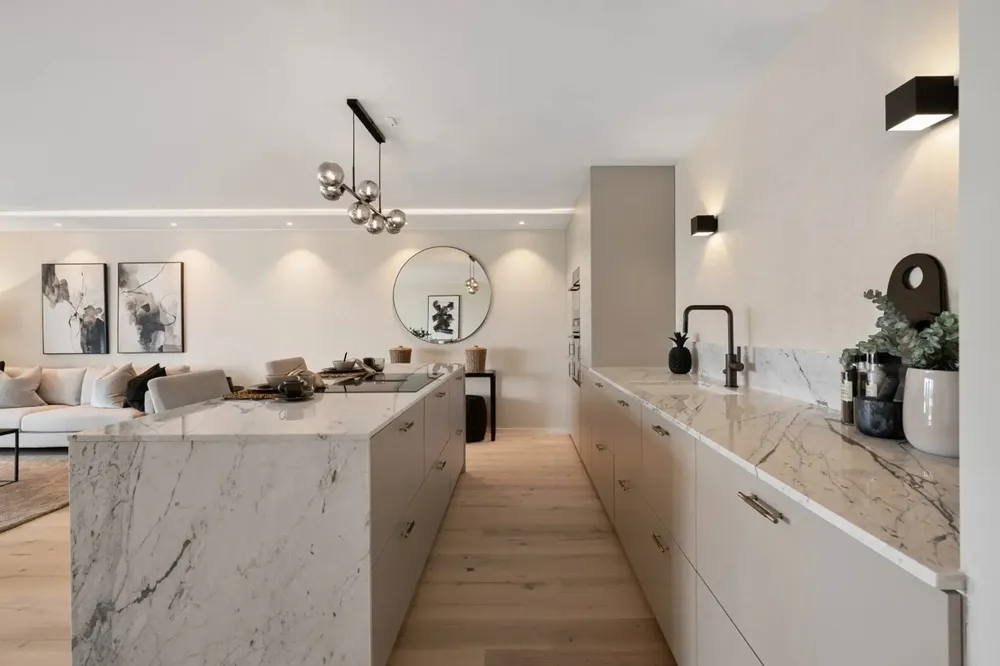
When homeowners ask how much space around kitchen island installations need, a practical starting point is 42 inches for a one-cook work aisle and 48 inches where multiple cooks regularly share the zone.
Those figures align with the NKBA Kitchen Planning Guidelines, but they are recommendations rather than substitutes for local codes, accessibility requirements or the realities of a particular appliance plan.
36 Inches Can Work for a Non-Working Passage
A 36-inch gap may be acceptable where people only walk past the island and no appliance, drawer or active prep station opens into that path. It is best treated as a lower-end passage dimension, not an automatic target for every side. Even at 36 inches, a projecting handle, base trim or stool can reduce the usable width.
Before accepting this clearance, walk the route while another person stands at the island. If one person must turn sideways or step into the next zone, the plan is too tight for the household’s real behavior.
42 Inches Is a Strong Starting Point for One Cook
A 42-inch work aisle generally provides room for one person to prep, turn and reach opposing storage without excessive travel. It also gives many drawers enough space to open while the user stands behind them. This is why 42 inches is a common planning target between an island and a parallel counter.
That dimension still needs to be tested against dishwasher doors, oven doors and refrigerator handles. An appliance specification can turn a comfortable nominal aisle into a pinch point once the door is open.
48 Inches Better Supports Multiple Cooks
A 48-inch work aisle is more forgiving when two people prepare food, when children pass behind a cook or when one side of the island contains a sink or cooktop. It allows people to pass without forcing the active cook against a hot surface or open drawer.
More space is not always better, however. If opposing work centers are separated too far, routine tasks become tiring. The goal is not the widest aisle possible; it is the smallest clearance that safely supports movement, open appliances and the number of users.
60 Inches May Be Needed for Turning or an Enclosed Accessible Layout
Some accessible or future-ready layouts need a larger turning area. The U.S. Access Board kitchen clearance standards identify 40 inches between opposing elements in certain pass-through kitchens and 60 inches in qualifying U-shaped kitchens. Those standards do not automatically govern every private residential remodel, but they are valuable when designing for a wheelchair user, aging in place or a project subject to accessibility rules.
A designer should confirm which local and project-specific requirements apply. Do not assume a single “ADA island clearance” number works in every kitchen configuration.
Measure the Space the Way It Will Actually Be Used
The most reliable way to determine how much space around kitchen island elements is available is to measure finished obstructions at their furthest projection. Cabinet-to-cabinet measurements can overstate the real aisle because countertops, handles, trim and stools extend beyond the boxes.
Measure Countertop Edge to Countertop Edge
Take the primary aisle measurement from the front edge of the island countertop to the front edge of the opposing countertop, appliance face or wall, whichever projects furthest. Include waterfall panels, decorative legs and thick end panels. If the island countertop has a seating overhang, measure from that overhang on the seating side.
Record several points along the run. Walls and cabinet lines are not always perfectly parallel, so an aisle that measures 44 inches at one end may narrow to 40 inches near the refrigerator.
Add Handles, Door Swings and Pull-Outs to the Plan
Review manufacturer specification sheets for the refrigerator, range, dishwasher, microwave drawer and beverage center. Mark both the closed projection and the open-door depth. A dishwasher door can temporarily occupy most of a modest aisle, while a French-door refrigerator may require side clearance to open bins fully.
Plan for the person using the appliance as well as the appliance itself. A door that technically opens but leaves nowhere to stand is not a functional clearance.
Measure Stools in Their Pulled-Out Position
A stool tucked beneath an overhang does not represent the space used during a meal. Measure a stool’s depth, pull it back to a comfortable position and allow a route behind the seated person. If the main household path runs behind the island seating, it will normally require more room than seating against a wall with no through traffic.
The UKB guide to kitchen islands with seating explores seat types, overhangs, storage and lighting decisions that should be coordinated with the aisle rather than added after the island size is fixed.
Adjust the Clearance for What Faces Each Side
There is no one-number answer to how much space around kitchen island designs need because each side may perform a different job.
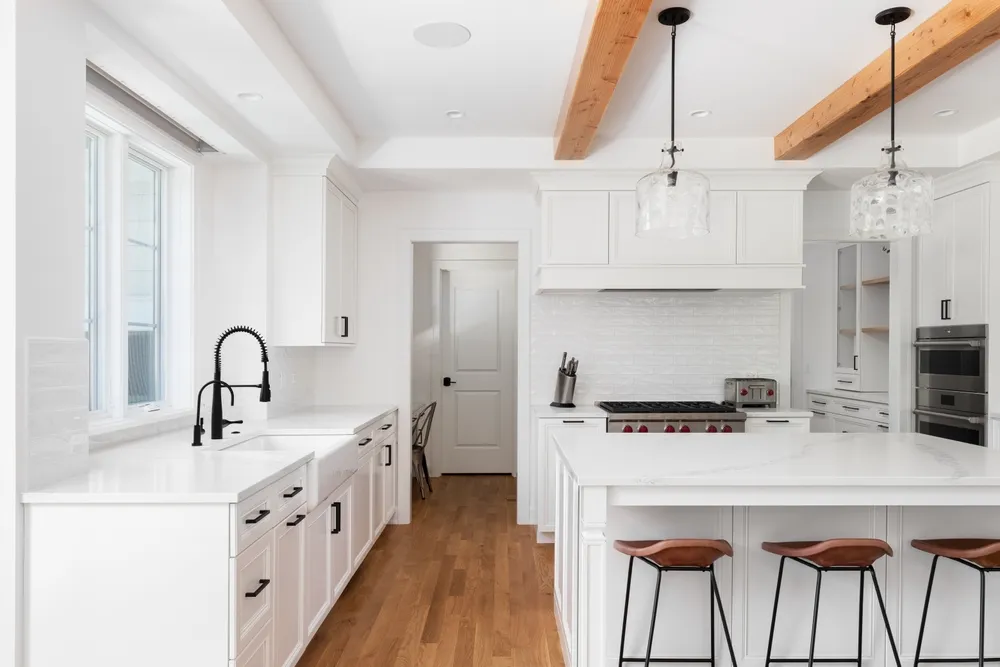
A prep aisle, an appliance aisle, a seating route and a quiet end can all require different clearances in the same kitchen.
Island Across From a Counter or Sink
Where the island faces a sink or prep counter, 42 inches is a sensible one-cook starting point and 48 inches is more comfortable for two cooks. Consider whether drawers on both sides will open toward each other. Opposing open drawers can create a collision even when the clear aisle feels generous during normal walking.
Place the most frequently paired work centers within easy reach. For example, an island prep surface across from the refrigerator may be useful, but a main traffic path should not cut directly through that work zone.
Island Across From a Range, Oven or Dishwasher
Hot appliances and large doors need additional attention. The cook should be able to step back safely from a range, and another person should not be forced through the landing zone behind them. An oven door needs clearance to open fully with standing room in front. A dishwasher needs space for loading without trapping the user between the door and the island.
Model the open appliance on the floor with painter’s tape or cardboard. If the remaining gap disappears, move or resize the island before cabinetry is ordered.
Island With Seating Along a Traffic Route
Seating clearance depends on counter height, stool depth and the amount of traffic behind the diner. A shallow, no-traffic seating zone may work with a more compact gap, while a busy route behind stools often needs substantially more room. The chair must pull out, the diner must sit comfortably and another person must be able to pass without bumping the stool.
Keep the seating area out of the primary refrigerator-to-sink route when possible. A person pausing at the island should not block the kitchen every time someone needs water or a snack.
Island Near a Wall, Doorway or Corner
At an island end, check door casings, baseboards, pantry doors and circulation into adjacent rooms. The narrowest corner controls the route, not the average open space around it. An island that appears centered may create an awkward squeeze at one doorway.
If a door swings into the proposed island area, change the swing, adjust the island or reconsider the layout. A small visual shift is preferable to a daily collision.
Test the Island Footprint Before Construction
Before finalizing how much space around kitchen island plans will remain, create a full-size mock-up. This is one of the most useful steps in a remodel because it tests behavior that a dimensioned drawing cannot fully predict.
Tape the Finished Countertop Outline on the Floor
Use painter’s tape to mark the actual countertop footprint, including seating overhangs, waterfall ends and decorative supports. Then tape the opposing counter line if cabinetry has been removed. Avoid marking only the cabinet base; the countertop is what users walk around.
Place boxes or a folding table inside the outline to make the mass visible. A flat tape rectangle is easy to step across unconsciously, while a raised mock-up reveals how the island will affect the room.
Simulate Daily Tasks With Doors Open
Stand where the sink, range and refrigerator will be. Pretend to unload groceries, remove a pan from the oven, load the dishwasher and pass behind a seated person. Open existing appliance doors or use cardboard to represent future doors. Invite the household member who needs the most space or uses a mobility aid to test the layout.
This rehearsal often shows that one side needs more room while another can give up a few inches. Rebalancing the island may preserve its function without reducing it uniformly.
Test Two-Person and High-Traffic Moments
A kitchen can feel generous with one person and fail during breakfast or entertaining. Have two people work at opposite counters while another walks through the main route. Include pets, children and the way trash, pantry and refrigerator doors are actually used.
For a compact room, the UKB article on small-kitchen island ideas offers alternatives such as narrow storage-focused islands and scaled seating. The goal is to choose a form that fits the room rather than forcing a showroom-size island into it.
When the Desired Island Does Not Fit
If the answer to how much space around kitchen island cabinetry remains is less than the household needs, reduce or redesign the island before sacrificing safe movement.
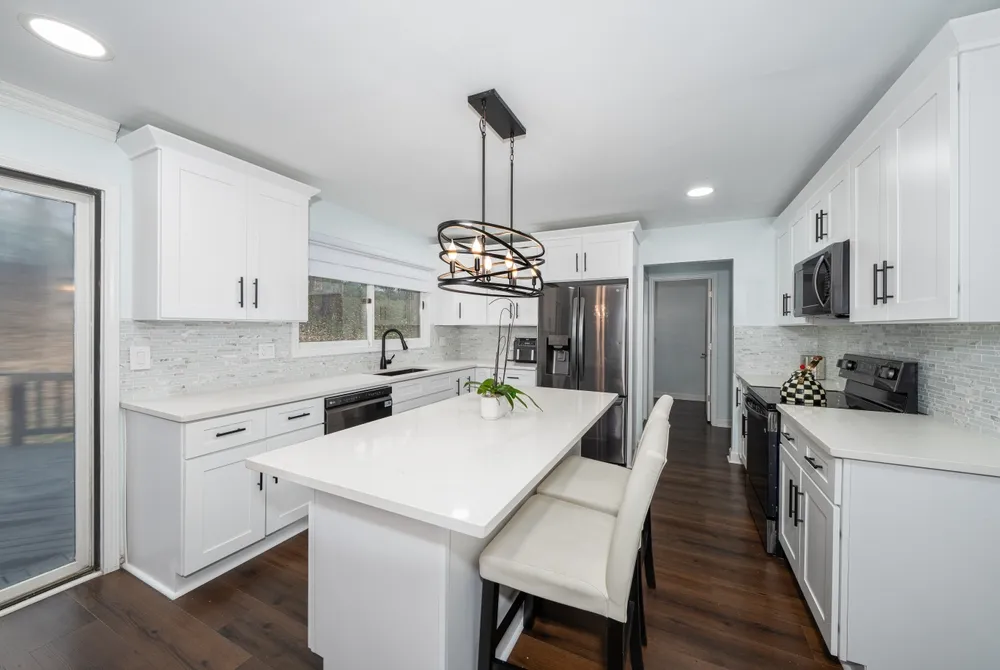
A smaller island that works every day delivers more value than a large centerpiece that blocks appliances.
Reduce Depth Before Reducing the Critical Work Aisle
Many homeowners can preserve useful length while trimming the island’s depth. A storage-only island may not require cabinets on both sides, and a reduced overhang may work if seating moves elsewhere. Review drawer and appliance depths before resizing so the remaining cabinetry is still functional.
Do not reduce a work aisle below a comfortable level simply to keep an oversized countertop. Counter space is helpful only when users can reach and move around it safely.
Use a Peninsula Where Circulation Supports It
A peninsula can provide prep space and seating while eliminating one circulation side. It may work especially well when the kitchen opens to a dining room and the peninsula can define the boundary. The tradeoff is that it can create a dead end, so the remaining entry should be tested during busy periods.
A peninsula also simplifies some plumbing and electrical routes because one end connects to a wall or cabinet run.
Consider a Mobile Worktable Instead of a Fixed Island
A movable worktable can add prep space in a small kitchen and shift out of the way for gatherings. It should still be stable, appropriately sized and used away from hot appliance doors. Wheels need reliable locks, and the top should be suited to food preparation.
If the plan depends on moving the unit daily, make sure there is a realistic storage location. A mobile island parked in a doorway is not a circulation solution.
Rework the Overall Layout
Sometimes the island is not the real problem. A deep refrigerator, poorly located doorway or oversized corner cabinet may be consuming the useful aisle. The 10×10 kitchen layout with an island article shows how compact planning depends on using every dimension deliberately.
A whole-room layout review can reveal whether a counter-depth appliance, relocated pantry or different cabinet configuration creates the clearance the island needs.
Plan for Accessibility and Future Needs
A thoughtful decision about how much space around kitchen island features to provide should account for the people who may use the kitchen later, not only the healthiest person using it today. Wider routes, reachable storage and clear appliance approaches can make the room easier for children, older adults and people with mobility limitations.
Protect a Continuous Route Through the Kitchen
An accessible path should not disappear when stools are occupied or doors are open. Avoid using the active work aisle as the only route to another room when the plan allows an alternative. Keep floor transitions smooth and do not let decorative island legs project unexpectedly into the route.
If the home is being remodeled for a specific user, test the layout with that person and their mobility device. Generic dimensions cannot replace individual reach and turning needs.
Provide Clear Floor Space at Key Appliances
A user needs space to approach, operate and move away from each appliance. Refrigerator shelves, dishwasher racks and oven doors should be usable from a stable position. Controls should not require reaching across a hot surface, and the island should not block transfer space.
These choices are easiest to make before appliance models and utilities are finalized. Moving an island after flooring, plumbing and electrical work is complete is far more disruptive.
Balance Turning Space With Efficient Reach
A larger turning area can improve access, but excessive distance between sink, refrigerator and prep zones creates unnecessary travel. Use the required clear floor area as part of an efficient plan rather than simply pushing all cabinetry to the walls.
For aging-in-place projects, consider future seating, varied counter heights and pull-out storage at the same time as island clearance. The room works best when movement and reach are designed together.
Common Kitchen Island Spacing Mistakes
Even after researching how much space around kitchen island layouts need, homeowners can lose usable room by measuring the wrong surfaces or treating symmetry as more important than function.
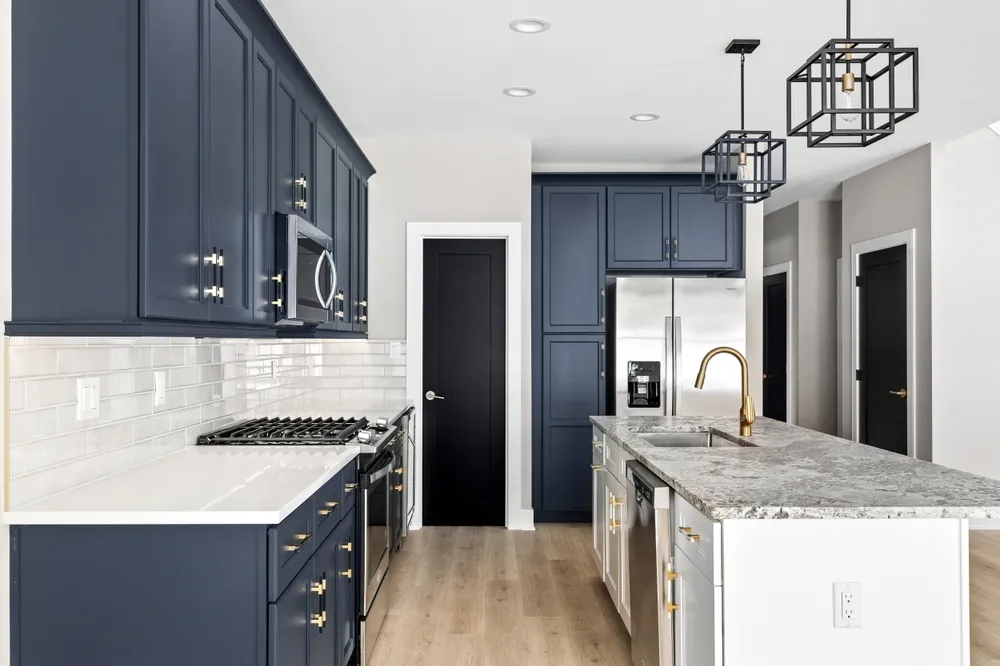
These mistakes are easier to correct on paper than after countertop installation.
Centering the Island in the Room Instead of the Work Zone
Geometric centering can produce uneven working conditions when one wall has deep appliances or a doorway. Center the island relative to the functional cabinet and appliance faces, then check how it appears from adjacent rooms. A small visual offset is often invisible once the kitchen is furnished.
Using Cabinet Dimensions Without Countertop Overhangs
Base cabinets are usually smaller than the finished island footprint. A standard overhang, waterfall panel or decorative leg can take several inches from a route. Use the approved countertop drawing for final clearance checks.
Forgetting the Open Position of Appliances and Drawers
Closed appliances make every aisle look generous. Add door arcs, rack extensions and the person standing in front of them. Check whether opposing doors can open at the same time, especially between a dishwasher and island storage.
Adding Seating After the Island Size Is Final
Stools change both overhang depth and circulation. Decide the number of seats, counter height and route behind them during layout planning. Squeezing stools into leftover space creates a bar that looks functional but is uncomfortable in use.
Frequently Asked Questions
These concise answers clarify the most common decisions that follow the question of how much space around kitchen island layouts need.

UKB
Unique Kitchen & baths is a family-owned business that is committed to providing high-quality kitchen and bathroom remodeling, as well as flooring installations at affordable prices.