How to Install Laminate Countertops That Fit Right and Stay Protected
Laminate can deliver a clean, durable kitchen surface without the cost or weight of many slab materials, but the quality of the finished countertop depends heavily on the installation. A small measuring error can leave an exposed gap. A rough sink cutout can invite moisture into the core. A screw that is too long can damage the finished face from below.
This guide explains how to install laminate countertops using a careful, homeowner-friendly sequence. It focuses on preformed countertop sections, the type commonly used in residential kitchens, while also explaining when custom sheet laminate or a complex layout is better left to a fabricator. The goal is not simply to get the top onto the cabinets. It is to create a level, secure, sealed surface that fits the room and remains serviceable.
Contents
- 1 Choose the Right Laminate Countertop System Before Measuring
- 2 Gather the Correct Tools, Materials, and Safety Protection
- 3 Dry-Fit and Level the Cabinet Base
- 4 Cut and Fit the Laminate Countertop Carefully
- 5 Join, Secure, and Seal the Countertop
- 6 Protect the Core From Water and Heat
- 7 Check the Installation Before Calling It Finished
- 8 Common Laminate Countertop Installation Mistakes
- 9 When to Hire a Professional Countertop Installer
- 10 Frequently Asked Questions
- 10.1 Can a Homeowner Install Laminate Countertops?
- 10.2 What Blade Should I Use to Cut a Laminate Countertop?
- 10.3 How Are Laminate Countertops Attached to Cabinets?
- 10.4 Do I Need to Seal the Sink Cutout?
- 10.5 Can Laminate Countertops Go Over Existing Countertops?
- 10.6 How Long Before I Can Use a Newly Installed Countertop?
- 11 Get a Better-Fitted Kitchen With Unique Kitchen and Baths
- 12
Choose the Right Laminate Countertop System Before Measuring
The first decision in how to install laminate countertops is whether the project uses preformed sections or laminate bonded to a custom substrate.
The two systems can look similar after installation, but they require different tools, edge treatments, adhesives, and fabrication skills.
Understand Preformed and Custom Laminate Countertops
A preformed countertop usually arrives with the laminate bonded to a particleboard core and the front edge and backsplash already shaped. Straight runs are relatively approachable, and suppliers can often provide factory mitered sections for L-shaped layouts. Exposed ends are finished with matching end-cap kits.
Custom laminate starts as separate sheet material that is bonded to plywood, particleboard, or another approved substrate. This approach offers more control over thickness, shape, edge profile, and unusual dimensions, but it requires accurate adhesive work, rolling, routing, and edge finishing. Because contact adhesive bonds immediately when the two prepared surfaces meet, mistakes can be difficult to correct.
Match the Countertop to the Kitchen Layout
Measure the cabinet run at the front and back because walls are rarely perfectly square. Record appliance openings, sink centerlines, finished end panels, corners, and desired overhangs. Check whether a backsplash, window stool, tile edge, or tall cabinet limits the finished height.
If the project is part of a broader renovation, review UKB’s order of operations for a kitchen remodel before scheduling the countertop. Cabinets must be installed, secured, and level before final fitting, while plumbing and appliance selections should be confirmed early enough to determine cutouts.
Evaluate Whether Laminate Is the Best Material for the Household
Laminate offers broad design choice and a budget-conscious price, but it is less tolerant of standing water at unsealed joints, direct heat, and knife cuts than some alternative surfaces. Think about cooking habits, sink use, children, rental use, and long-term maintenance before choosing the finish.
UKB’s guide to kitchen countertop ideas on a budget can help homeowners compare laminate with other cost-conscious choices. A lower material price creates value only when the surface suits the way the kitchen is actually used.
Gather the Correct Tools, Materials, and Safety Protection
Successful how to install laminate countertops work depends on preparing the full tool and material set before making the first cut. Stopping midway to find a missing fastener or sealant can leave an exposed core, unsupported section, or adhesive surface vulnerable to damage.
Prepare Measuring, Cutting, and Fitting Tools
A typical preformed installation may require a tape measure, long level, square, scribing compass, drill, fine-tooth cutting blade, jigsaw, clamps, file, sanding block, caulk gun, screwdrivers, adjustable wrench, wood shims, and manufacturer-approved fasteners. Mitered layouts may also require draw bolts, sealant, and access to the routed bolt pockets beneath the joint.
Use sharp blades intended for laminate or fine finish work. Dull tools increase chipping and encourage the user to push harder. Place the countertop on stable padded supports and ensure offcuts cannot fall unexpectedly.
Select Compatible Sealants, Adhesives, and Fasteners
Follow the countertop and adhesive manufacturers’ requirements. Use the specified adhesive for end caps or custom sheet laminate, a suitable sealant at wet-area cutouts and joints, and screws that enter the countertop substrate without approaching the finished surface.
Formica’s preformed countertop installation guide provides a useful manufacturer sequence for fitting, cutting, buildup, end caps, sink openings, miters, scribing, fastening, and care. Wilsonart’s fabrication resources also provide product-specific technical information. Manufacturer instructions should take priority when their product requirements differ from a general guide.
Protect Yourself and Ventilate the Work Area
Wear safety glasses when drilling, cutting, filing, or routing. Use hearing protection with power tools, control dust, and follow the safety data and ventilation requirements for adhesives and sealants. Keep ignition sources away from flammable products and never substitute an adhesive simply because it is on hand.
Set up cutting operations away from occupied living areas when possible. Protect finished floors and cabinet fronts, and keep children and pets outside the work zone.
Dry-Fit and Level the Cabinet Base
A durable answer to how to install laminate countertops starts below the visible surface. The countertop should rest on level, secure cabinets with continuous support where the product requires it.
Confirm Cabinet Alignment and Support
Check the cabinet run front to back, side to side, and across adjacent boxes with a long level or straightedge. Tighten loose cabinet connections and correct misalignment before placing the countertop. Shimming beneath cabinets is preferable to trying to force a rigid countertop into level after it is installed.
Inspect corners, dishwasher openings, unsupported spans, and finished ends. Add only the buildup strips or supports specified for the countertop system. Extra blocking should not interfere with sink clips, miter bolts, drawers, appliances, or plumbing.
Dry-Fit Every Section Before Cutting
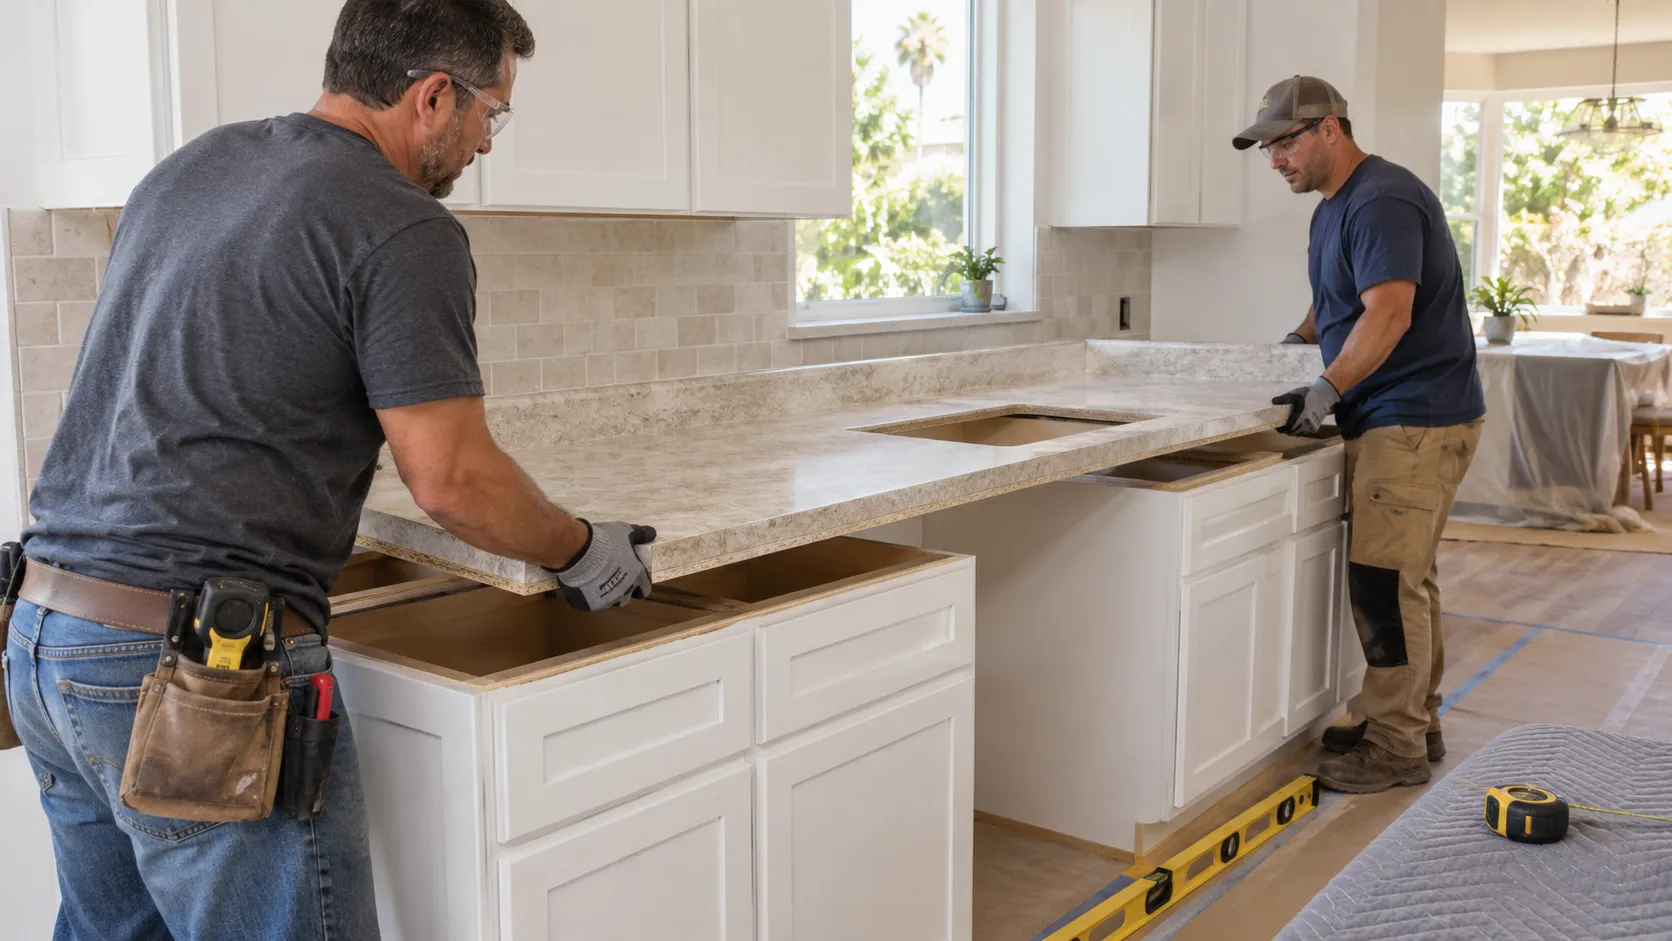
Place the countertop sections on the cabinets without sealant or final fasteners. Confirm overhangs, wall gaps, appliance clearances, seam alignment, and access to the underside. Mark each section’s orientation so it cannot be reversed after cutting.
A dry fit often reveals that a wall bows or a corner is out of square. These conditions are normal, but they need to be scribed or otherwise accommodated deliberately. Do not use caulk to hide a large fit error.
Cut and Fit the Laminate Countertop Carefully
The cutting stage is where how to install laminate countertops becomes least forgiving. Work from verified dimensions, support the entire section, and preserve the finished face according to the product manufacturer’s cutting instructions.
Mark the Final Length and Exposed Ends
Transfer the measured length to masking tape or another non-damaging marking surface. Include the specified overhang and any material needed for scribing. Confirm which end will receive a finished cap and whether the cut line accounts for that kit.
Use a fine-tooth blade and the cutting direction recommended for the tool and product. Support both sides of the cut so the waste piece does not break away and chip the laminate near the end.
Scribe the Backsplash to an Uneven Wall
Set the top in its final position and use a scribing compass to transfer the wall profile to the countertop’s scribe edge. Remove small amounts from the back with a belt sander, plane, or other method approved for the product, then repeat the dry fit.
A close scribe improves appearance and keeps the countertop from being pushed forward by a wall bow. It also reduces dependence on an oversized caulk joint.
Create Sink and Cooktop Cutouts Without Weak Corners
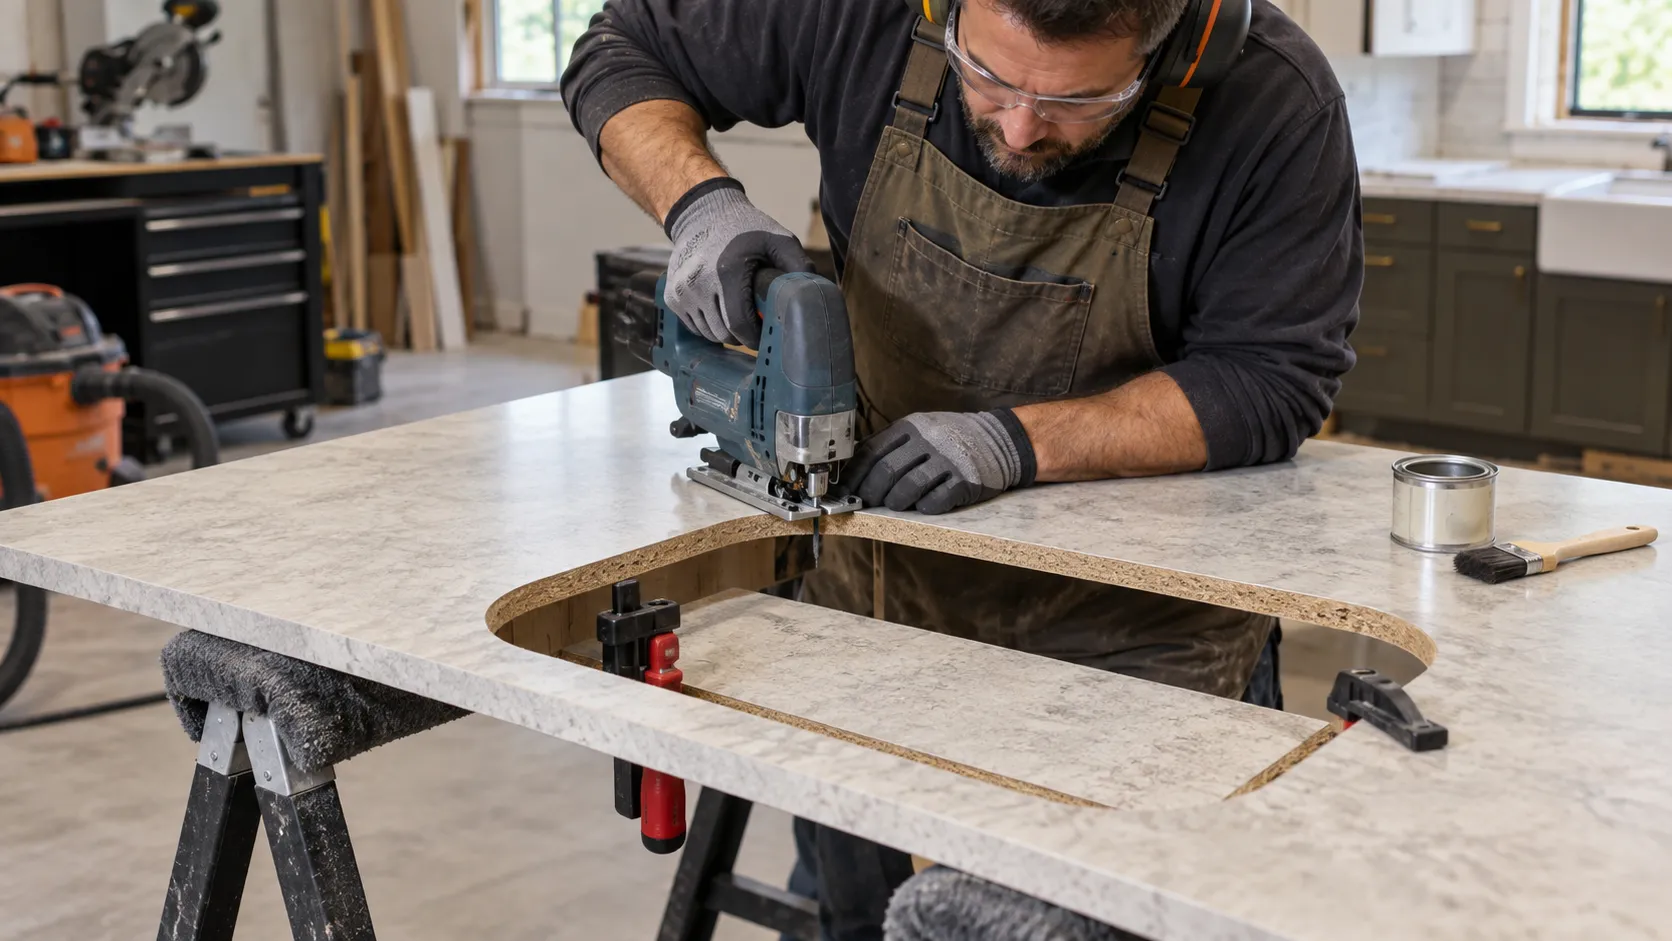
Use the sink or appliance manufacturer’s template, not a measurement copied from a similar model. Confirm the bowl, clips, faucet, disposal, and plumbing will clear the cabinet walls and rails. Drill smooth starter holes at the cutout corners and avoid sharp inside corners that can concentrate stress.
Support the cutout waste before completing the final side. If it drops, it can tear the laminate or break the narrow countertop bridge in front of the sink. Seal every exposed core edge as required, even if the sink rim will cover it.
Join, Secure, and Seal the Countertop
This phase of how to install laminate countertops turns separate fitted parts into one working surface.
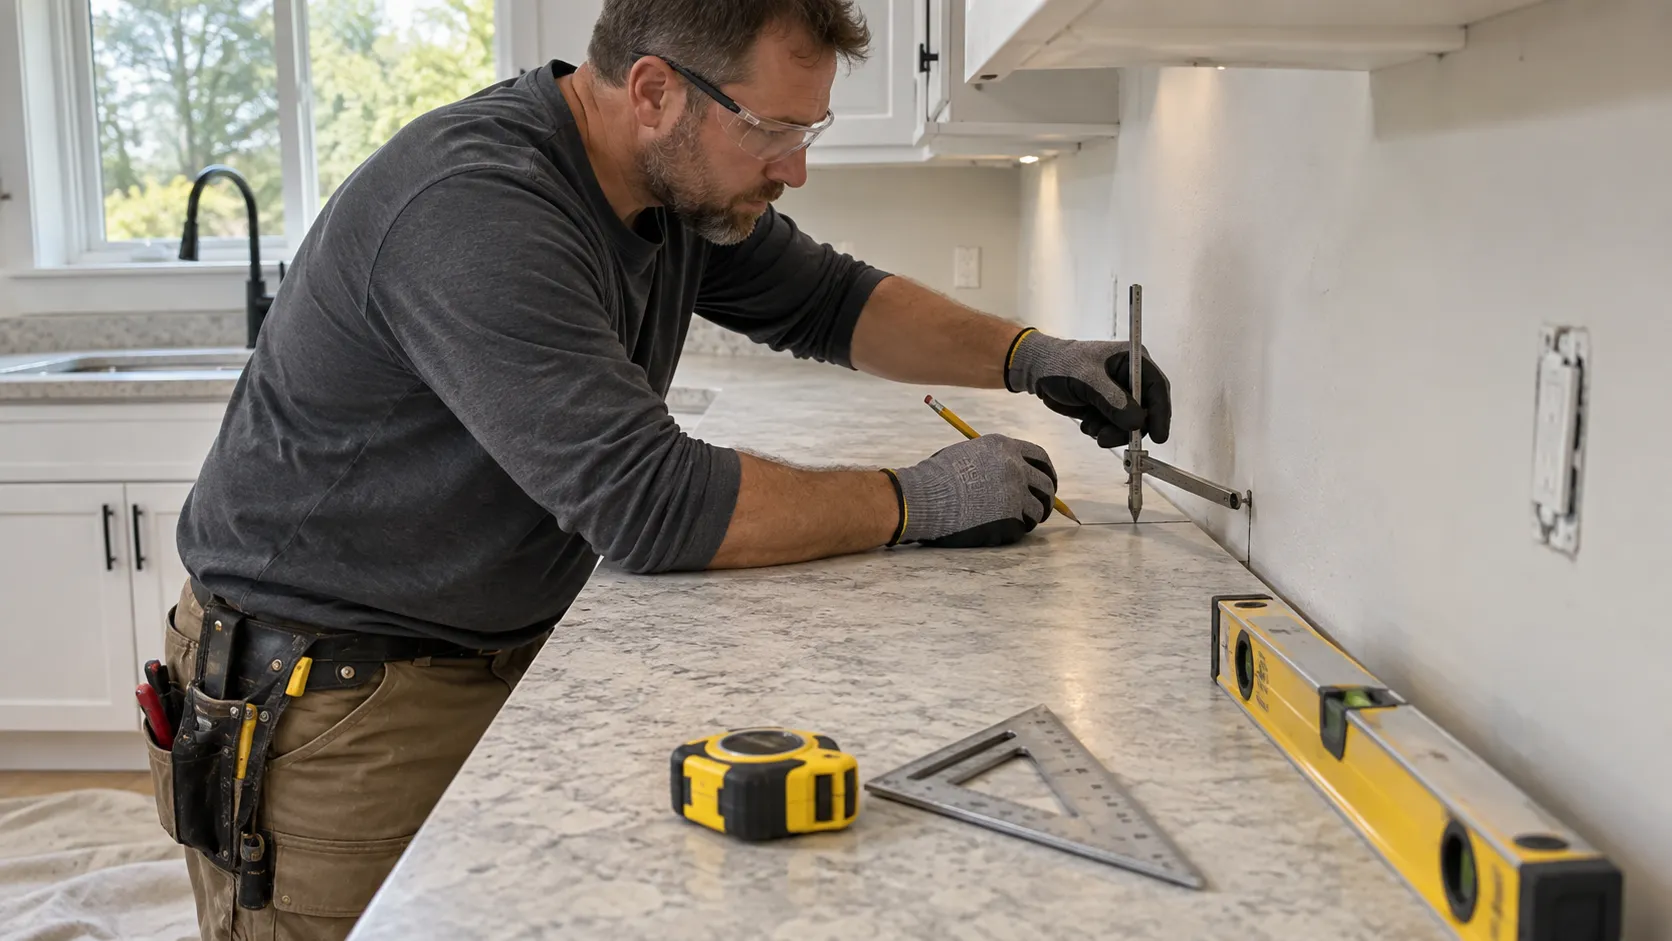
Alignment should be corrected before fasteners are fully tightened because excessive force will not repair a poorly fitted joint.
Assemble Mitered Sections on a Stable Base
Dry-assemble the joint and confirm that the front edges and top surfaces align. Apply the specified seam sealer, engage the draw bolts, and tighten gradually while checking alignment. Use protective wood blocks and gentle tapping when permitted rather than striking the laminate directly.
Do not overtighten the bolts. Excess pressure can distort the substrate, squeeze out too much sealant, or create a ridge that catches light and crumbs.
Fasten the Countertop From Below
Secure the countertop through cabinet corner blocks, rails, or approved buildup strips using the specified screws. Check screw length at every location because cabinet construction and countertop thickness can vary. The fastener should hold the substrate without penetrating or swelling the visible surface.
Allow for the movement requirements of the countertop system. Do not add unapproved adhesive across the entire cabinet run if the manufacturer calls for mechanical fastening.
Install End Caps, Sink, and Backsplash Seals
Finish exposed ends with the matching end-cap system and file the edge in the direction recommended by the manufacturer. Install the sink, faucet, and related fittings according to their instructions. Apply a continuous water-resistant seal around the sink opening and at other wet-area penetrations.
Seal the countertop-to-wall or countertop-to-backsplash joint with a compatible kitchen and bath sealant. Tool the bead neatly, then remove residue before it cures.
Protect the Core From Water and Heat
A complete guide to how to install laminate countertops must address the two conditions that shorten service life most often: moisture entering the substrate and concentrated heat reaching the laminate. This additional section focuses on details that remain mostly invisible after installation.
Seal Every Cut Edge and Penetration
The laminate face resists routine spills, but the particleboard or wood-based core can swell if water reaches an unsealed sink cutout, seam, fastener hole, or end. Follow the countertop and sink manufacturers’ sealing requirements and inspect the joint before plumbing is connected.
After reconnection, fill the sink, release the water, and inspect the supply, drain, disposal, and rim from inside the cabinet. A dry paper towel passed around each joint can reveal a slow leak that is difficult to see.
Build Heat Protection Into Daily Use
Use trivets or heat pads for hot cookware and follow the surface manufacturer’s temperature guidance. Do not place a hot pan, countertop oven exhaust, or heat-producing appliance directly against a vulnerable seam or backsplash joint.
The countertop should also be protected during the remaining remodel. Do not use the finished surface as a workbench for tile cutting, paint storage, or tool piles.
Check the Installation Before Calling It Finished
Knowing how to install laminate countertops includes verifying the work under real kitchen conditions. This additional inspection section helps catch fit, support, and moisture problems while corrections are still accessible.
Check Level, Seams, Overhangs, and Appliance Clearances
Use a long level and straightedge to check the completed run. Verify that seams are flush, end caps are secure, overhangs are consistent, and the top does not rock. Open every drawer and appliance door to confirm the countertop, clips, and fasteners do not interfere.
Inspect the front edge in reflected light. A raised miter or swollen area may indicate misalignment, excess fastener length, or moisture exposure and should be investigated rather than concealed.
Test Plumbing and Reinspect After Use
Run both faucet supplies, fill each sink bowl, operate the disposal if present, and drain a full basin while watching the connections below. Wipe every area dry and check again after the kitchen has been used.
Reinspect caulk after it cures. Gaps around the sink, backsplash, or wall should be corrected before routine cleaning allows water to reach the core.
Common Laminate Countertop Installation Mistakes
Most problems with how to install laminate countertops come from rushing measurements or treating sealant as a substitute for fit. Understanding common mistakes makes the installation easier to evaluate before irreversible cuts are made.
Cutting Before the Cabinets and Appliances Are Final
A countertop cut from an early plan may not match the installed cabinet run, wall condition, sink model, or appliance opening. Measure the actual finished base, then compare those dimensions with the drawings. Templates should match the exact product being installed.
Ignoring Out-of-Square Walls and Uneven Cabinets
Walls can bow and corners can be wider or narrower than 90 degrees. Cabinets can also settle or be installed out of level. If these conditions are not corrected or scribed, seams may open, the front overhang may wander, or the top may rock.
Using the Wrong Adhesive, Sealant, or Screw Length
A product that bonds one material successfully may damage another or fail in a wet area. Long screws can telegraph through the face, and a weak seal can allow the core to swell. Verify compatibility and dimensions before use.
Bonding Custom Laminate Before the Pieces Are Ready
Contact adhesive offers little opportunity to reposition a sheet after the surfaces touch. Use spacing strips and a deliberate rolling sequence when the manufacturer’s system calls for them. Large or intricate custom-laminate work is usually better handled by an experienced fabricator.
When to Hire a Professional Countertop Installer
Understanding how to install laminate countertops can help a homeowner decide where DIY work remains reasonable and where professional installation provides better value.
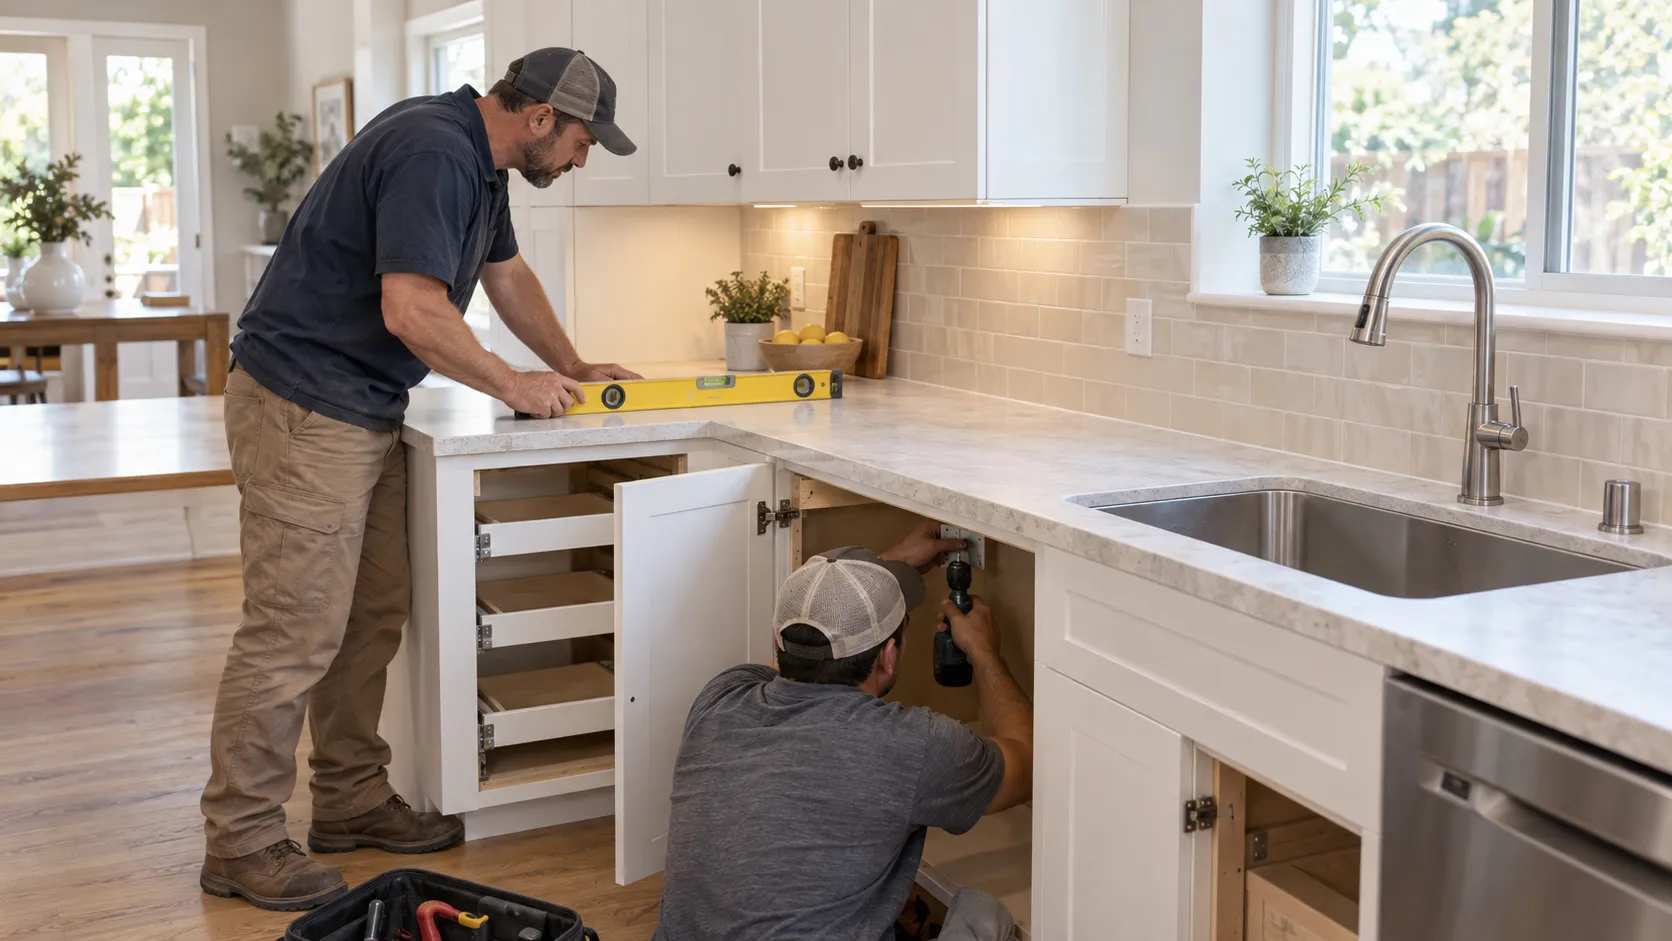
Complex miters, unusual walls, custom sheet fabrication, tight sink clearances, and cabinet corrections increase the consequences of a small error.
Projects That Benefit Most From Professional Installation
Consider professional help for L-shaped and U-shaped kitchens, large islands, undermount or specialty sinks, custom edge profiles, integrated backsplashes, and layouts that require field-built substrates. A professional can also coordinate countertop work with plumbing, electrical, appliance, cabinet, and backsplash schedules.
If the cabinets are not level or structurally sound, solve that problem before fabricating the top. A new surface cannot permanently correct a moving base.
Compare the Whole Project, Not Only the Surface Price
Laminate can be a smart value, but the budget should include removal, disposal, cabinet preparation, sink and faucet work, end treatments, seams, backsplash repairs, and installation labor. UKB’s guide to the best material for kitchen countertops can help you compare laminate with quartz, granite, butcher block, and other options based on maintenance and daily use, not appearance alone.
Frequently Asked Questions
These concise answers cover the questions homeowners most often ask about how to install laminate countertops.

UKB
Unique Kitchen & baths is a family-owned business that is committed to providing high-quality kitchen and bathroom remodeling, as well as flooring installations at affordable prices.