How to Remove a Kitchen Countertop Safely Without Damaging Cabinets
Removing a countertop looks simple once the surface is bare, but the difficult part is hidden below it. Screws may be buried behind corner blocks, adhesive may run across cabinet rails, plumbing can still be under pressure, and a heavy slab can crack without warning.
A safe removal plan protects the people doing the work as well as the cabinets, backsplash, walls, and fixtures that may remain.
This guide explains how to remove a kitchen countertop in a practical sequence. It is written for homeowners who want to understand the work before deciding whether to do it themselves or include removal in a larger renovation. If the cabinets are being retained, patience matters more than speed. One aggressive pry point can turn an otherwise reusable cabinet box into a repair project.
Contents
- 1 Before You Start, Identify What Holds the Countertop in Place
- 2 Shut Down Utilities and Protect the Work Area
- 3 How to Remove a Kitchen Countertop Step by Step
- 4 Adjust the Removal Method for the Countertop Material
- 5 Avoid the Damage That Turns Removal Into a Cabinet Repair
- 6 Prepare the Cabinets Before the New Countertop Is Measured
- 7 When Professional Countertop Removal Is the Safer Choice
- 8 Frequently Asked Questions
- 9 Plan a Cleaner Countertop Replacement With Unique Kitchen and Baths
Before You Start, Identify What Holds the Countertop in Place
Learning how to remove a kitchen countertop begins with identifying the countertop material, its weight, and the way it is attached. Do not assume every top is held by a few visible screws.
Laminate tops are often fastened from inside the cabinets, while stone, solid-surface, and tile assemblies may rely on adhesive, plywood underlayment, mechanical clips, or a combination of methods.
Identify the Countertop Material and Construction
Look at the exposed edge near the sink, range, or dishwasher. A postformed laminate top usually has a particleboard core and an integrated curved backsplash. A stone top may sit directly on the cabinet frames or on plywood. Tile often covers a mortar bed or cement board, which makes the assembly heavier and more destructive to remove. Solid-surface material can resemble stone but may have bonded seams that make long runs behave like one large piece.
Material identification changes the lifting plan. A manageable laminate section may be carried by two adults, but stone should be treated as a specialized lifting job. Natural stone and engineered slabs can be extremely heavy and may break along sink or cooktop cutouts. A broken slab can create sharp edges and an uncontrolled load.
Inspect Fasteners, Seams, Adhesive, and Backsplash Connections
Open every base cabinet and use a flashlight to inspect the upper corners. Look for screws driven through triangular corner blocks, steel clips near the sink, miter bolts beneath inside corners, and beads of adhesive along the cabinet rails. Check where the countertop meets a separate backsplash, side wall, tall cabinet, or appliance panel.
The published UKB guide to the order of operations for a kitchen remodel is helpful here because countertop removal affects plumbing, electrical work, backsplash repair, appliance access, and cabinet preparation. Mark each attachment point with painter’s tape so nothing is missed once the room becomes dusty.
Decide What Must Be Saved
Before touching a fastener, decide whether the countertop, sink, faucet, backsplash, cabinets, or appliances will be reused. A countertop intended for disposal can be cut into smaller sections when the material and site conditions allow. A top intended for reuse needs support across weak cutouts, protected edges, a clear exit path, and enough helpers to keep it from flexing.
Take photos inside the sink cabinet before disconnecting anything. Label supply lines, disposal wiring, dishwasher connections, and mounting hardware. These small records make reassembly easier and give a plumber or electrician useful context if the project changes hands.
Shut Down Utilities and Protect the Work Area
Before you begin how to remove a kitchen countertop, isolate the water, electricity, and gas connected to sinks and appliances. Utility shutdown is not a formality. It is the point where a cosmetic demolition task becomes a controlled remodeling operation.
Disconnect the Sink and Plumbing Safely
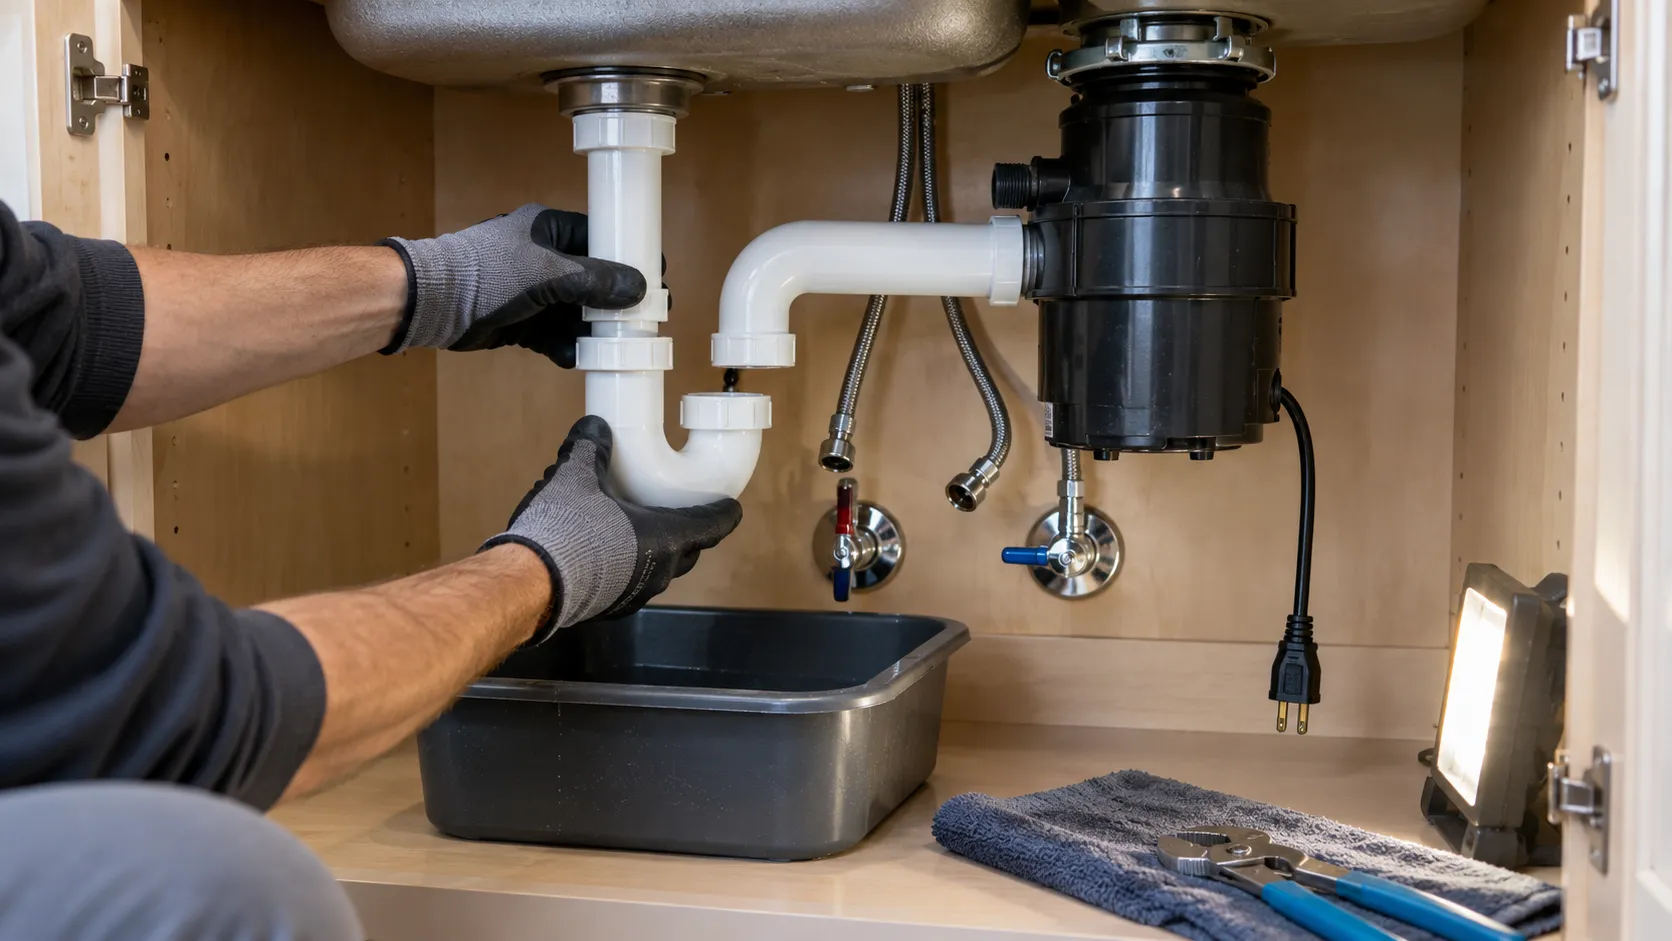
Close the hot and cold shutoff valves, open the faucet to relieve pressure, and place a shallow pan beneath the drain. Disconnect the supply lines, trap, dishwasher drain hose, and disposal connections as applicable. A valve that will not close fully should be repaired or isolated at the main supply before work continues.
If a garbage disposal is present, switch off the circuit at the electrical panel and confirm that the unit cannot start. Hardwired equipment should be disconnected by someone qualified to work on the circuit. Cap or protect open drain and supply connections so debris cannot enter them.
Isolate Cooktop and Appliance Connections
An electric cooktop may be hardwired, and a gas cooktop requires more than turning a control knob off. If the countertop contains a cooktop or if appliance wiring is concealed behind the cabinets, use a licensed professional for the disconnection. Do not pull an appliance forward until its anti-tip device, cord, gas line, water line, and surrounding clearances have been checked.
Protect Cabinets, Floors, and Occupied Areas
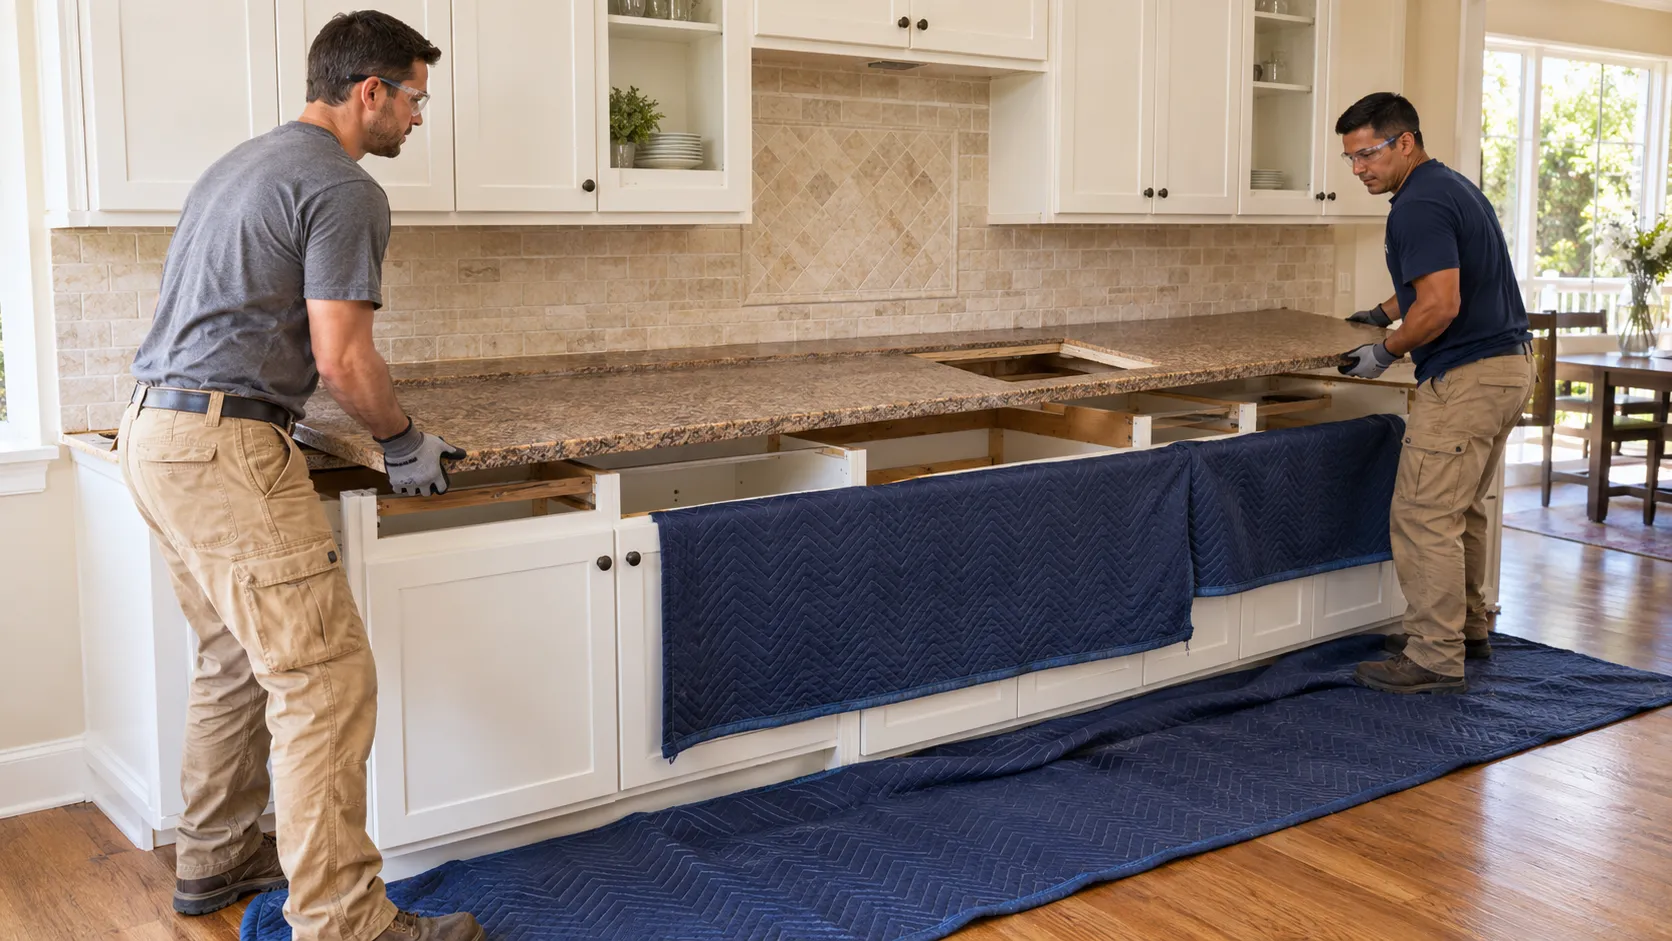
Empty the base cabinets and remove drawers and doors that obstruct access. Cover cabinet faces with clean moving blankets or rigid protective board, and protect the floor along the lifting and exit route. Tape off adjacent rooms where practical, but do not block required ventilation.
Wear eye protection, gloves appropriate for sharp edges, hearing protection when using power tools, and respiratory protection suited to the dust being generated. OSHA’s eye and face protection guidance explains why flying particles and fragments require proper protection. In a pre-1978 home, disturbing painted walls or backsplash surfaces can create lead dust. Review the EPA Lead Renovation, Repair and Painting Program guidance before proceeding, especially when contractors are being paid to perform the work.
How to Remove a Kitchen Countertop Step by Step
The safest approach to how to remove a kitchen countertop is to release connections in a controlled order, then test for movement before increasing force. If the top will not lift with moderate, even pressure, assume an attachment remains and inspect again.
Remove Loose Items and Create a Clear Exit Path
Clear everything from the work surface and remove nearby stools, rugs, and small appliances. Measure doorways and turns between the kitchen and the disposal or storage area. Long countertop sections can become difficult to rotate in a hallway, even when they lift easily from the cabinets.
Plan where each section will be placed before lifting it. Set padded supports at a convenient height rather than lowering a heavy top directly to the floor. Assign one person to lead the lift so everyone moves at the same time.
Cut Caulk and Release the Backsplash Joint
Score the caulk where the countertop meets walls, backsplash, window trim, and side panels. Use repeated shallow passes instead of forcing a knife deeply behind the surface. The goal is to separate the sealant without cutting drywall paper, gouging tile, or damaging cabinet finishes.
For a separate backsplash, determine whether it is mechanically fastened, glued, or simply sealed. Removing a bonded backsplash can tear wallboard. If the backsplash will be replaced anyway, controlled wall repair may be safer than trying to preserve every inch of drywall.
Remove the Sink, Cooktop, and Mounting Hardware
After utilities are disconnected, release sink clips and cut the sealant around the rim. Undermount sinks need temporary support before clips or adhesive are released because the bowl can drop suddenly. Remove the faucet first if it blocks access or adds awkward weight.
Remove all screws, clips, and miter bolts that attach the countertop to the cabinets. Use the correct driver bit and back stubborn screws out slowly. A stripped screw may need to be gripped or carefully drilled, but protect the cabinet rail beneath it.
Separate and Lift the Countertop Gradually
Begin at an accessible end and test the top with gentle upward pressure. Insert broad wood shims where a released section needs to stay separated. Avoid concentrating force with a pry bar against a narrow cabinet edge. Work along the run, checking for hidden adhesive or fasteners whenever resistance changes.
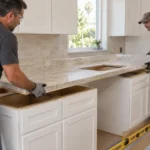
Lift with enough helpers to keep the section level. Carry a countertop on edge only when the material manufacturer or fabricator considers that position safe. Never stand beneath or downhill from an unstable slab, and never try to catch a heavy piece that begins to fall.
Adjust the Removal Method for the Countertop Material
Knowing how to remove a kitchen countertop also means recognizing when the material requires a different technique.
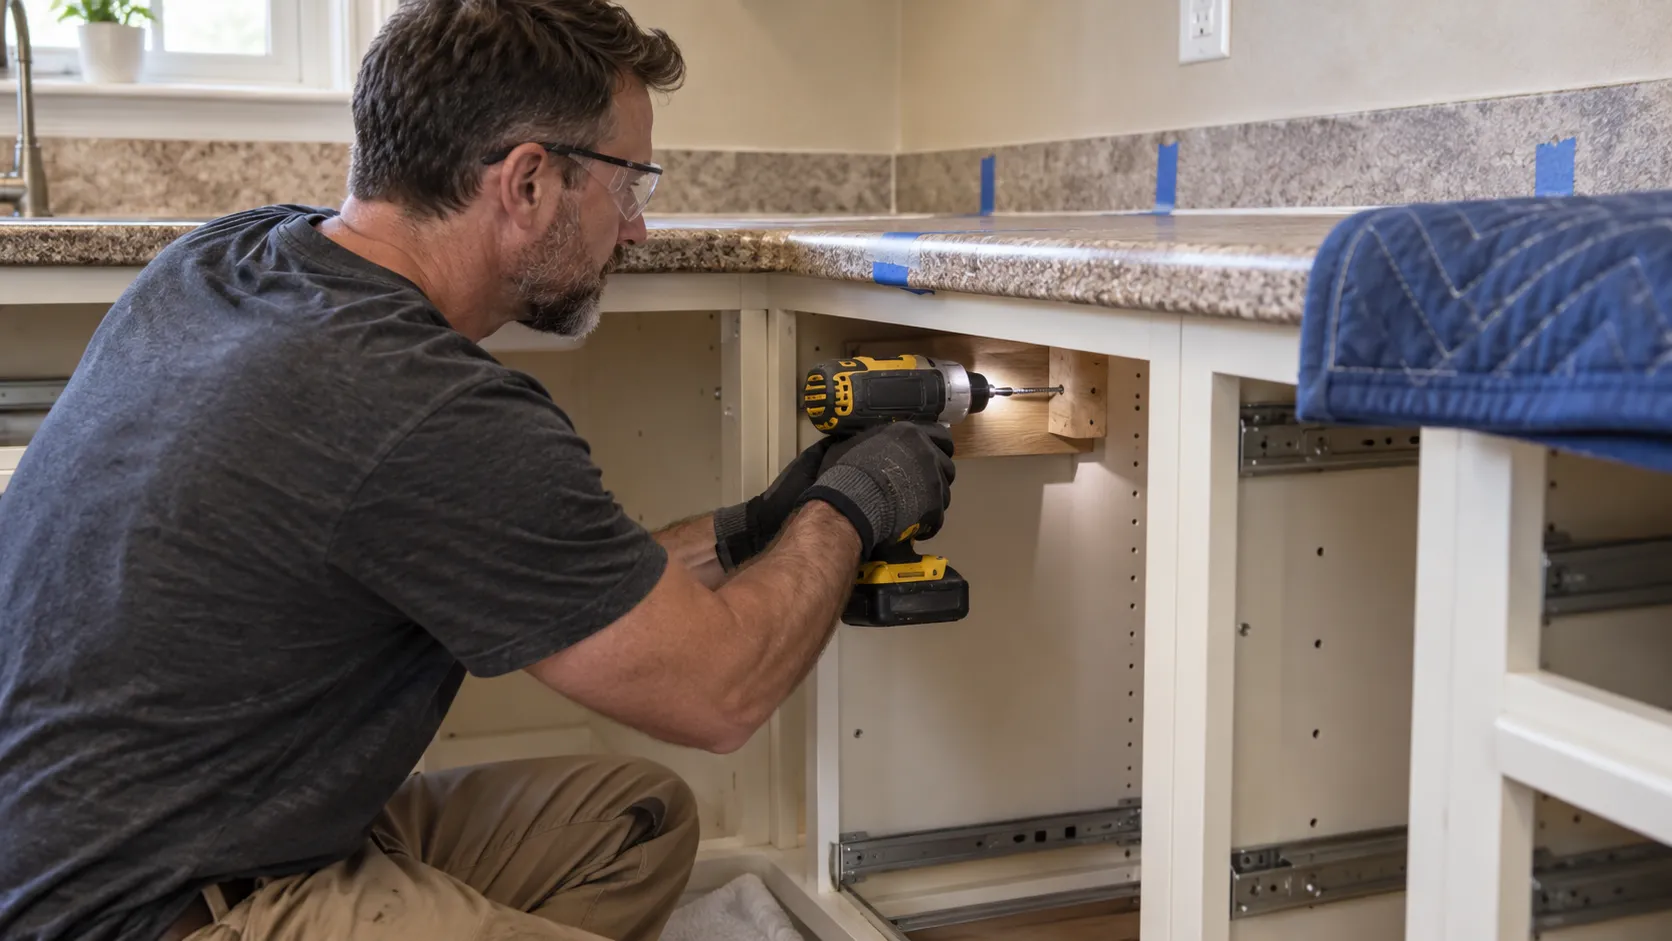
The same amount of force that releases a laminate top can crack stone, damage a solid-surface seam, or pull a tile mortar bed apart.
Laminate and Wood Countertops
Laminate and butcher block tops are commonly screwed from below and sealed at the wall. Once the fixtures, caulk, and fasteners are removed, the top may lift as one piece. If adhesive was used, separate it gradually with shims and a flexible scraper while protecting the cabinet rails.
Water damage around a sink can weaken particleboard until it crumbles during lifting. Support soft areas instead of pulling from them. If the existing top is laminate and the goal is a low-cost update, compare replacement with UKB’s guide about whether you can paint laminate countertops before committing to demolition.
Stone and Solid-Surface Countertops
Granite, quartz, and other slab materials should be evaluated for weight, seam placement, and crack risk before removal. Sink and cooktop openings create narrow bridges that can fail during lifting. Professional crews use multiple people, suction handling equipment, and planned support points because strength alone does not control a long slab.
Solid-surface tops may have nearly invisible bonded seams. Trying to force those seams apart can damage the material and cabinets. If reuse is important, consult the original fabricator or a countertop installer before disturbing the joint.
Tile Countertops and Mortar Beds
Tile removal creates sharp fragments and can expose cement board, wire reinforcement, mortar, plywood, and fasteners. Preserving the cabinets may require separating the entire substrate at the cabinet line rather than breaking tile directly over the boxes. Dust control and debris containment become more important than with a single-piece top.
Work in small controlled areas and do not overload one cabinet or floor location with demolition debris. Watch for plumbing and wiring that may pass close beneath the substrate.
Avoid the Damage That Turns Removal Into a Cabinet Repair
When homeowners research how to remove a kitchen countertop, the most useful advice is often about what not to force. This additional section focuses on the damage patterns remodeling contractors see after a rushed removal.
Do Not Pry Against Face Frames or Finished Panels
Cabinet face frames and decorative end panels are not demolition fulcrums. Concentrated leverage can split a stile, loosen a joint, or pull a finished skin away from the cabinet box. Use broad shims across structural rails and move along the countertop rather than trying to release the full run from one spot.
If the cabinet starts moving with the countertop, stop. The top may still be attached, or the cabinets may not be adequately secured to the wall or floor.
Recognize the Stop Points
Stop when a shutoff valve leaks, an electrical connection is unclear, a gas line is involved, the slab flexes or cracks, the wall begins tearing extensively, or the countertop cannot be supported safely. Stopping is not failure. It prevents a limited task from becoming water damage, electrical exposure, injury, or cabinet replacement.
A contractor should also evaluate unexpected mold-like growth, significant rot, pest damage, or structural movement before the area is closed with a new surface.
Prepare the Cabinets Before the New Countertop Is Measured
A complete explanation of how to remove a kitchen countertop should not end when the old top leaves the room.
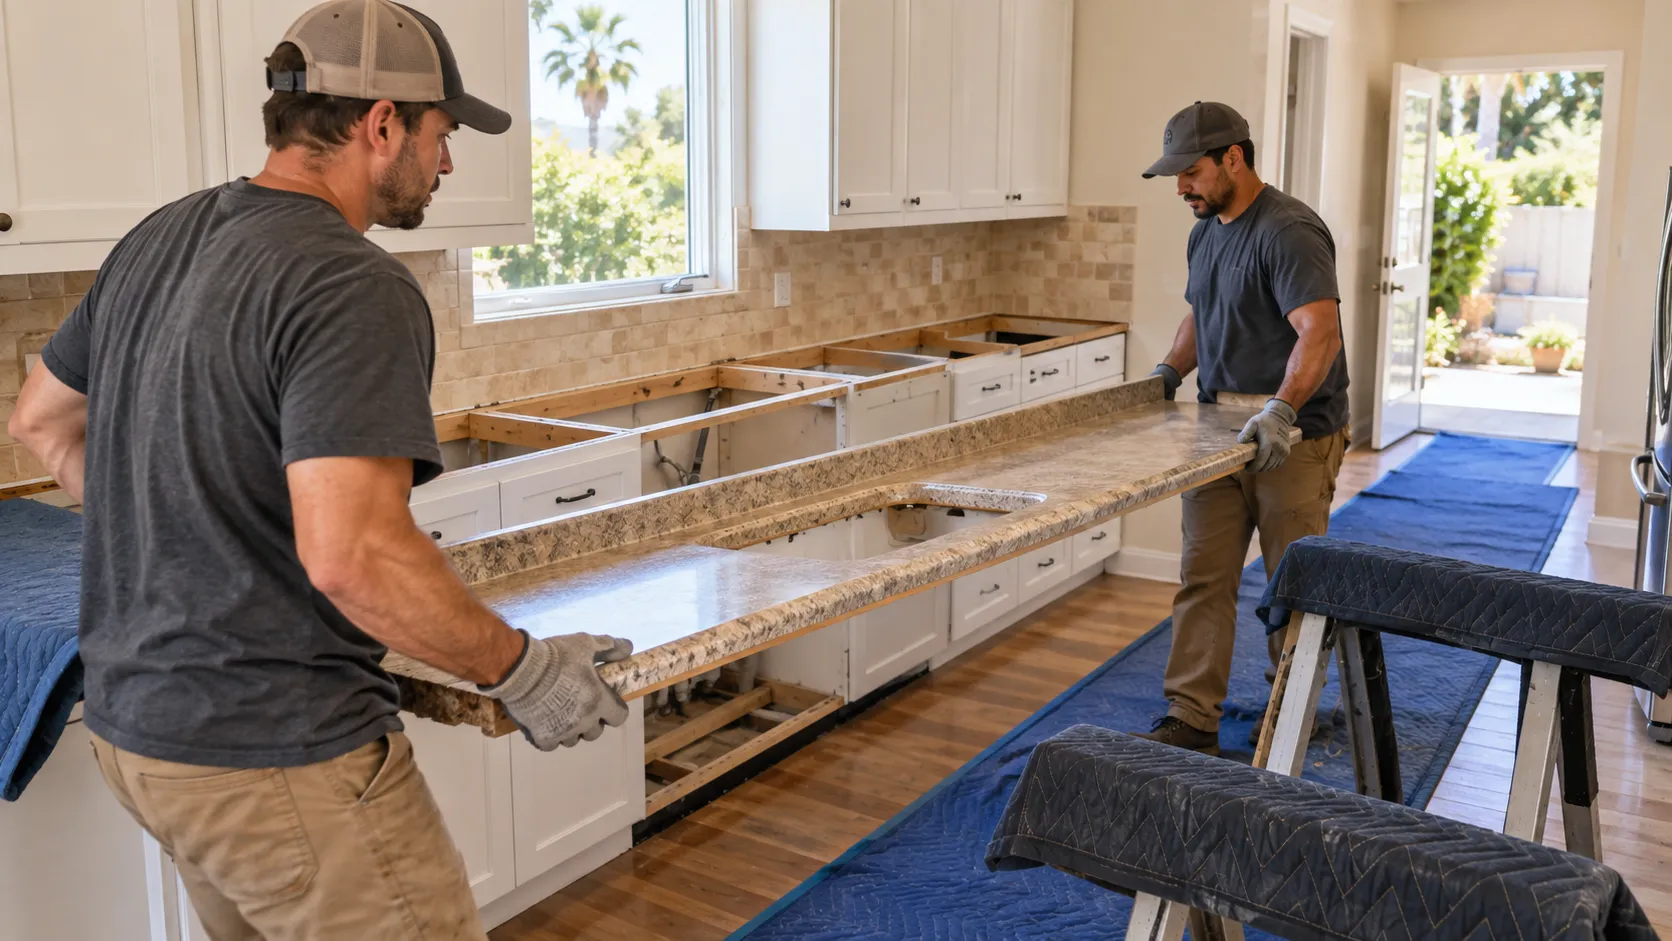
The exposed cabinet base determines whether the replacement can sit level, remain supported, and seal correctly around fixtures.
Inspect Cabinet Rails, Walls, and Moisture Damage
Remove residual adhesive without gouging the cabinet rails. Check for loose fasteners, split corners, swollen particleboard, and dark staining around the sink base. A moisture meter and visual inspection can help determine whether materials are dry enough to retain, but the source of any leak must be corrected first.
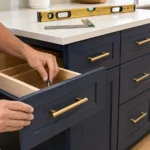
Place a long level or straightedge across the cabinet run. A new countertop should not be forced to compensate for loose or uneven cabinets. Correct cabinet alignment and support before final templating.
Confirm the Replacement Plan Before Altering the Base
Countertop thickness, overhang, sink type, appliance cutouts, and backsplash design affect the preparation beneath the surface. Do not add plywood, remove cabinet rails, or relocate supports until the requirements for the selected material are confirmed.
If you are still comparing options, UKB’s guide to the best material for kitchen countertops explains the practical differences among popular surfaces. Make the material decision before final plumbing locations and fabrication details are locked.
When Professional Countertop Removal Is the Safer Choice
Understanding how to remove a kitchen countertop helps you evaluate the scope honestly. A professional is the better choice when removal involves heavy slabs, gas or hardwired appliances, preservation of high-value cabinets, complex seams, occupied-home dust control, or coordination with a fabricated replacement.
Conditions That Justify Professional Help
Hire qualified help for stone slabs, large islands, tops that pass through tight access routes, undermount sinks that cannot be supported safely, and any work that disturbs uncertain electrical or gas connections. Older homes with potentially lead-containing painted surfaces also require careful planning and may trigger regulatory duties for paid contractors.
The cost of skilled removal can be smaller than the cost of a broken cabinet run, damaged flooring, plumbing leak, or unusable slab.
Why Removal and Installation Should Be Planned Together
The best removal sequence depends on what comes next. A fabricator may need the old top in place for preliminary measurements, while final templating often occurs after cabinets are level and secure. Sink, faucet, cooktop, and backsplash selections need to match the new material and cutout plan.
Treating removal as part of the full remodel reduces idle time and avoids repeating plumbing, electrical, or cabinet work.
Frequently Asked Questions
These concise answers address common questions homeowners ask after learning how to remove a kitchen countertop.

UKB
Unique Kitchen & baths is a family-owned business that is committed to providing high-quality kitchen and bathroom remodeling, as well as flooring installations at affordable prices.