How to Repair Water-Damaged Bathroom Vanity Without Hiding the Cause
A vanity can look fine from the doorway while the cabinet floor is soft, the toe kick is swollen, and the wall behind it is still damp. That is why a durable repair begins with investigation. Paint, caulk, or a new liner may hide staining for a while, but none of those finishes can stabilize a fiberboard that has lost its strength or stop a slow plumbing leak.
This guide explains how to trace the water, decide what can be saved, rebuild damaged cabinet parts, and test the repair under real use. It is written for homeowners who want an honest assessment before committing time and money. If the damage extends into the wall, floor, plumbing, or stone countertop, the safest answer may be a coordinated professional repair rather than a cosmetic patch.
Contents
- 1 Stop the Water Before Repairing the Vanity
- 2 Decide Whether the Cabinet Is Repairable
- 3 Remove Damaged Parts Without Destroying the Vanity
- 4 Dry and Stabilize the Remaining Cabinet
- 5 Rebuild the Damaged Vanity Components
- 6 Test the Plumbing and Prevent Another Loss
- 7 Match the Repair to the Vanity’s Construction
- 8 Know When Replacement Is the Better Decision
- 9 When to Call a Plumber, Remediation Specialist, or Remodeler
- 10 Frequently Asked Questions
- 10.1 Can swollen particleboard be repaired?
- 10.2 How long should a wet vanity dry before repair?
- 10.3 Can I paint over a water stain inside the cabinet?
- 10.4 Should I use bleach on a water-damaged vanity?
- 10.5 Does a repaired vanity need a waterproof liner?
- 10.6 When is a full vanity replacement more practical?
- 11 Conclusion: Build the Repair Around the Cause
- 12
Stop the Water Before Repairing the Vanity
Learning how to repair water-damaged bathroom vanity components starts with the source of the moisture. A repair cannot last while a supply valve, drain joint, faucet body, sink rim, or wall penetration continues to release water. Dry the cabinet only after the leak has been identified and controlled.
Trace the leak instead of assuming where it started
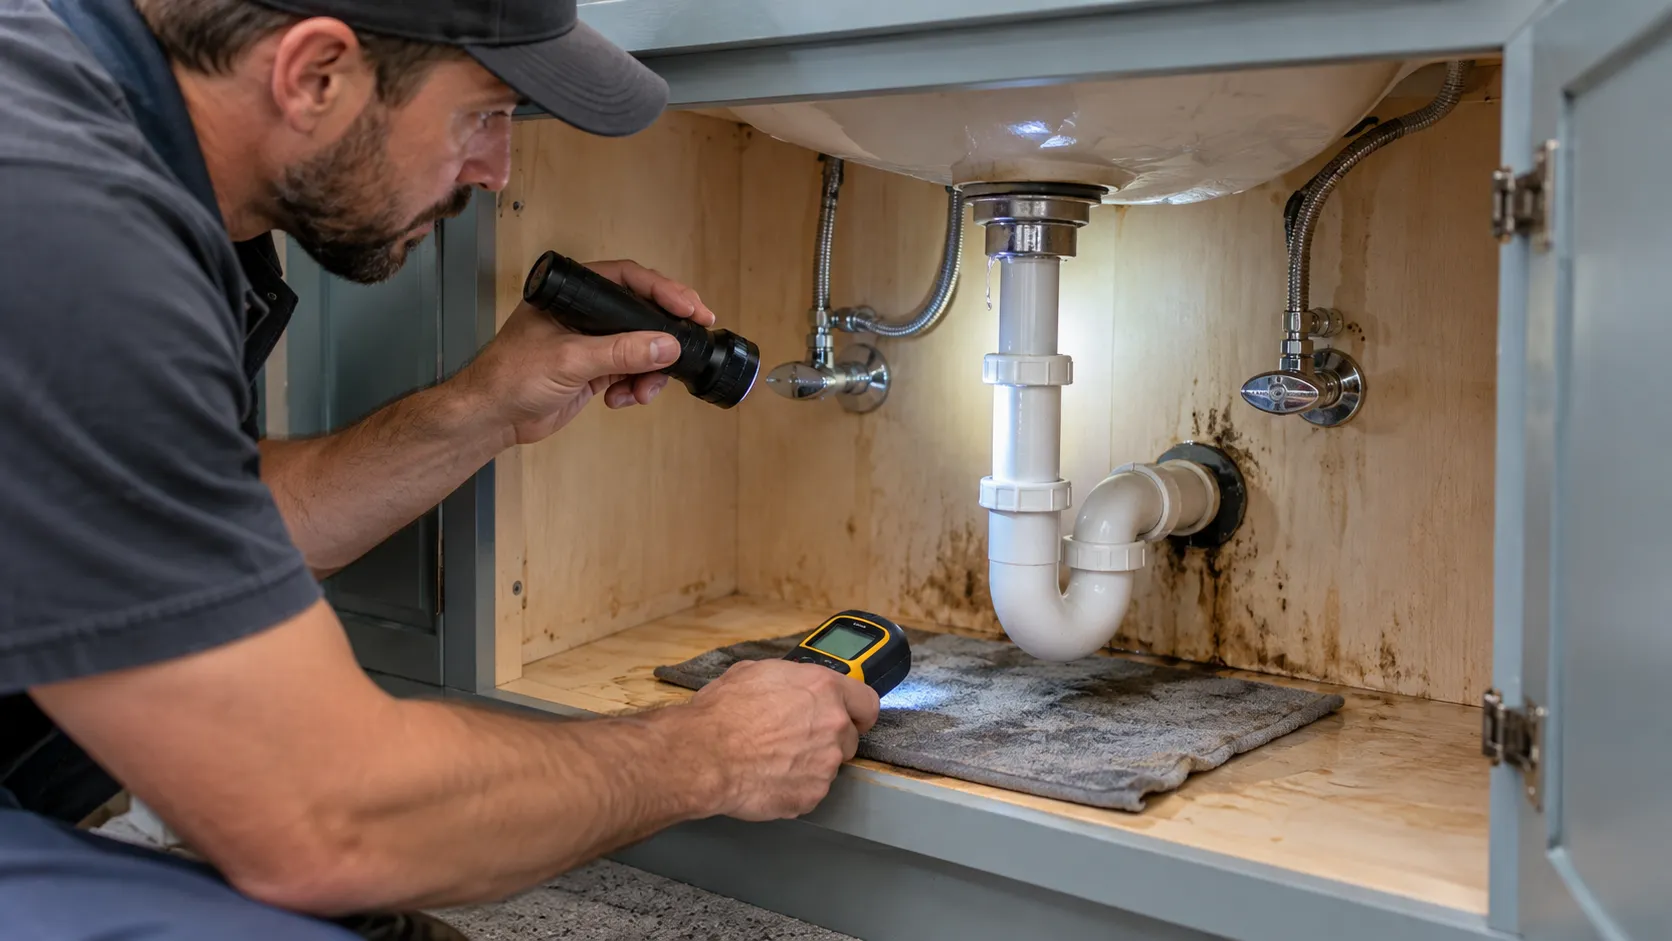
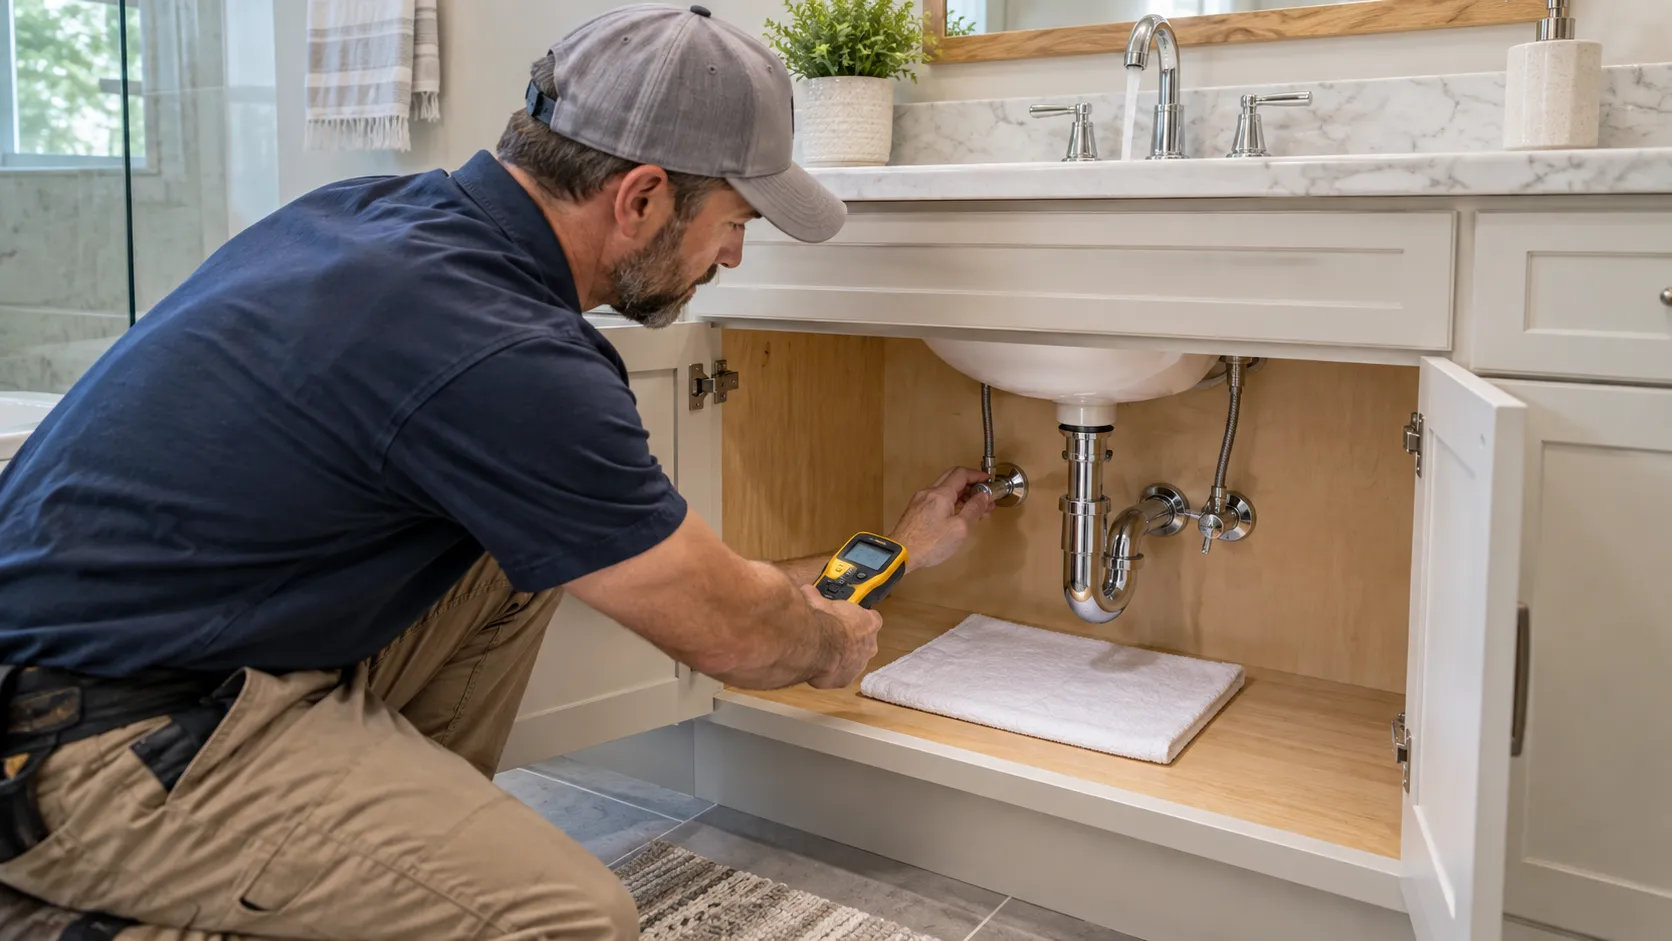
Empty the cabinet and dry every visible surface. Place separate dry paper towels beneath the hot supply, cold supply, shutoff valves, drain tailpiece, P-trap joints, and the underside of the sink. Run cold water, hot water, a full basin drain, and the faucet at several positions. Because each test loads different connections, the first wet towel often reveals the actual source.
Also inspect the faucet base and sink rim from above. Water that splashes onto the counter can travel through an unsealed faucet hole or failed caulk joint, then appear far from the opening. If the cabinet is wet after showers but the plumbing tests remain dry, check nearby wall joints, floor edges, and condensation on cold-water lines. A moisture path should be proven before damaged material is covered.
Shut down unsafe conditions before opening the cabinet
Close the fixture shutoff valves when the leak is on a supply connection. If a valve will not close or continues to seep, shut off the home’s water and call a plumber. Turn off power at the breaker if water has reached a receptacle, light connection, heated floor control, or other electrical component. Do not work in a cabinet that may contain energized wiring.
Clean water from a small supply leak is different from water that backed up through a drain or contacted sewage. Contaminated water calls for professional cleanup and removal of porous materials. Take photos before demolition, especially if the loss may involve insurance, a condominium association, or work performed under a recent warranty.
Decide Whether the Cabinet Is Repairable
Before cutting anything, determine whether the vanity still has a sound structure. The best repair preserves dry, rigid material and replaces parts that are swollen, delaminated, mold-damaged, or unable to hold fasteners. Construction type matters more than the color of the stain.
Identify plywood, solid wood, MDF, and particleboard
Plywood often survives brief wetting if its plies remain bonded and the panel dries flat. Solid wood may cup or split, but it can sometimes be dried, flattened, and refinished. Medium-density fiberboard and particleboard behave differently. Once their fibers swell and become crumbly, sanding the surface does not restore the original density or screw-holding strength.
Probe hidden areas with a screwdriver using light pressure. Compare the damaged panel with an unaffected side. A base that compresses easily, sheds fibers, or allows a fastener to pull out should be replaced. Do not rely on a hard painted skin when the core underneath has turned soft.
Separate cosmetic staining from structural damage
A dark ring on a sealed plywood panel may be cosmetic if the panel is dry, flat, odor-free, and firmly attached. Structural damage is more likely when the cabinet is racked, doors no longer align, the bottom sags, the toe kick separates, or side panels have swollen around fasteners. Check the wall cleat, corner blocks, and countertop supports because those parts keep a heavy top stable.
Inspect the subfloor and drywall through plumbing openings with a flashlight. A small vanity repair is no longer isolated if flooring feels soft, baseboard is swollen, or the wall cavity remains damp. The UKB guide to best flooring options for high-moisture bathrooms is useful when the leak has exposed a vulnerable floor assembly and the room may need a broader material update.
Set a sensible mold boundary
The EPA advises that many homeowners can address a moldy area smaller than about 10 square feet, while larger areas, extensive water damage, HVAC involvement, sewage, and health concerns warrant professional help. Its mold cleanup guidance also notes that moldy porous materials may need to be discarded because growth can penetrate spaces that are difficult to clean.
Wear appropriate protection and avoid dry brushing or aggressively sanding suspect material, which can spread dust. The CDC mold cleanup safety guidance recommends at least an N95 respirator, protective gloves, and goggles for mold cleanup. People with asthma, chronic lung disease, immune suppression, or significant allergies should not participate in the work.
Remove Damaged Parts Without Destroying the Vanity
Careful disassembly gives you access to wet material and creates accurate patterns for replacement pieces. The goal is to remove only what has failed while protecting the countertop, plumbing, finish, and square cabinet frame.
Label parts and establish reference measurements
Photograph the door gaps, plumbing layout, fastener locations, and countertop supports before removal. Measure the cabinet opening diagonally in both directions and record the difference. Mark doors, hinges, shelves, and trim so each part returns to its original position. These reference points help you detect movement after the damaged base is removed.
Remove the doors and drawers to improve access and prevent scratches. If the vanity itself must come out, follow a controlled bathroom vanity removal sequence: isolate the plumbing, release sink and wall seals, locate cabinet fasteners, and lift the top only when its weight and material can be handled safely.
Cut back to firm, dry material
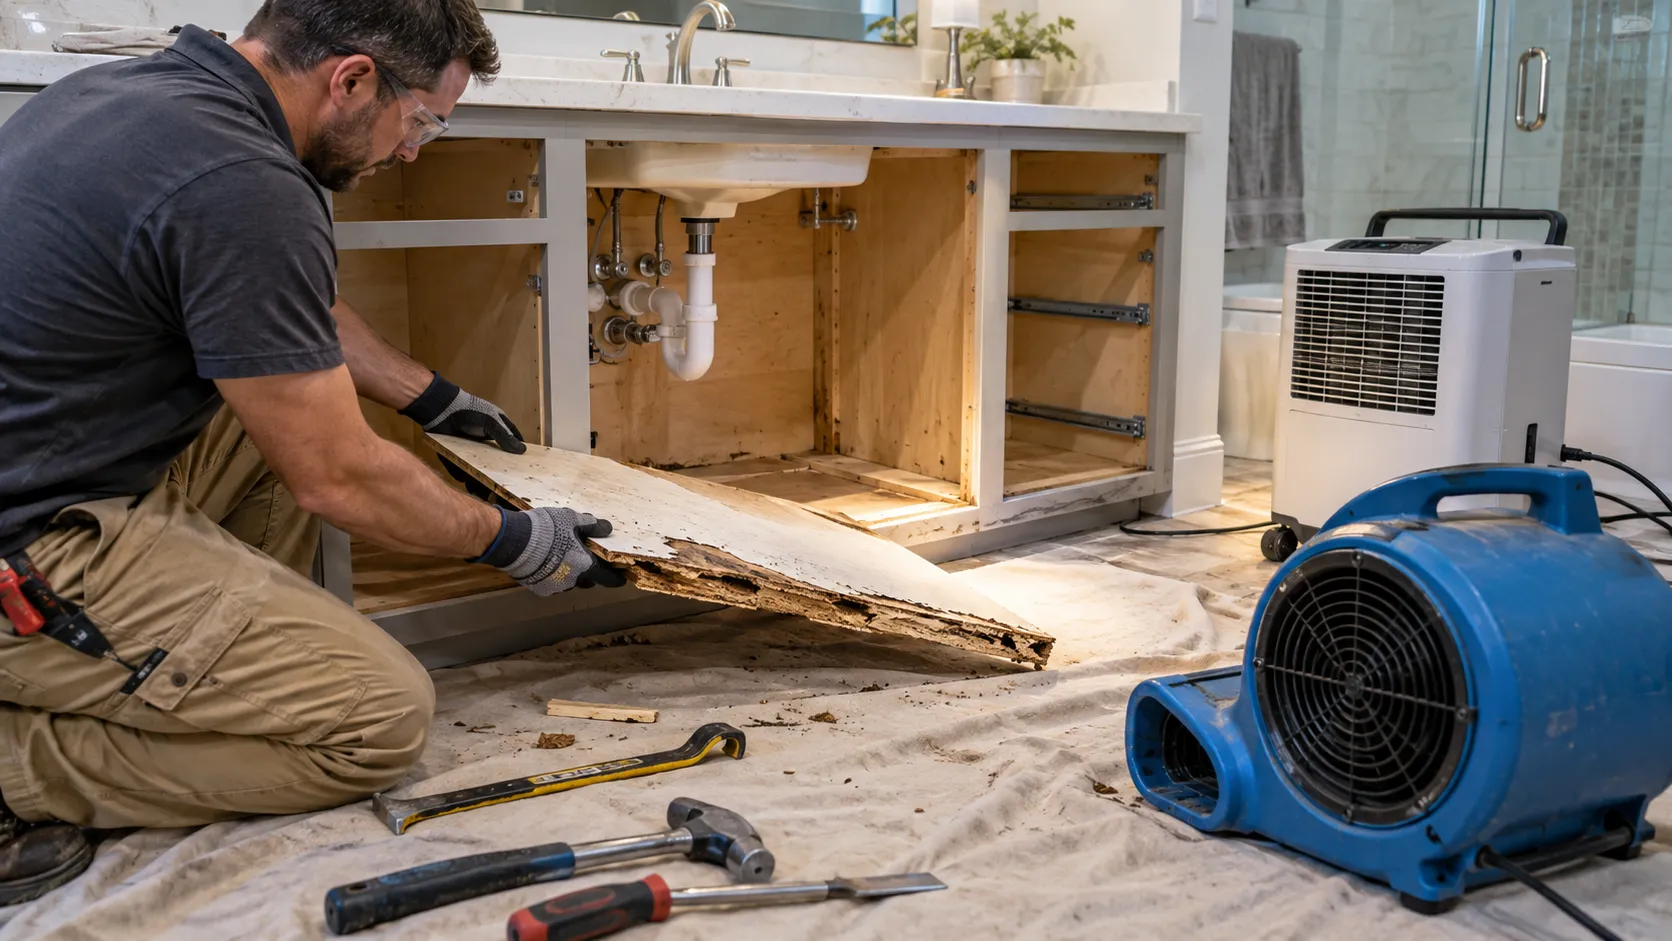
Remove a damaged toe kick, back strip, or cabinet bottom along straight, accessible lines whenever possible. Use a shallow cutting depth so the blade does not reach supply lines, drains, wiring, or the finished floor. Leave enough sound material for blocking and fasteners, but do not preserve a soft edge just to make the patch smaller.
Stone, quartz, and large cultured-marble tops can crack if the cabinet loses support or is twisted during repair. Add temporary bracing before removing a structural rail or side panel. If the failed section supports the sink or top, a remodeler should evaluate the load path before demolition begins.
Dry and Stabilize the Remaining Cabinet
A surface can feel dry while its core or the wall behind it still holds moisture. Give the assembly enough airflow and time, then verify that the reading is stable before sealing, painting, or installing replacement panels.
Use airflow and dehumidification without forcing the finish
Remove standing water, open the cabinet, and direct room air through the space. A dehumidifier can reduce ambient humidity and improve drying, but high heat may warp doors, loosen veneer, or damage finishes. Do not trap moisture under plastic liners or fresh paint.
A pin-type moisture meter can compare damaged wood with known-dry material elsewhere in the cabinet. The exact number varies with species and meter settings, so comparison and trend are often more useful than a single reading. Continue drying until readings stop falling and the cabinet is close to the unaffected baseline.
Clean sound surfaces before refinishing
Once the leak is fixed, clean hard, nonporous surfaces with detergent and water and dry them completely, consistent with EPA guidance. Do not paint or caulk over visible mold. Staining that remains after proper cleaning may be cosmetic, but persistent odor or renewed spotting suggests hidden moisture or contaminated porous material.
Lightly sand only clean, dry, structurally sound wood in a controlled area with suitable dust collection. Use a stain-blocking primer compatible with the existing coating, then apply a durable cabinet finish. Primer is a finishing step, not a substitute for removing weak material.
Rebuild the Damaged Vanity Components
The strongest repair recreates the cabinet’s original support path and protects vulnerable edges from future splashes. Replacement parts should fit without forcing the cabinet out of square or transferring countertop weight onto plumbing.
Replace the cabinet floor with sealed plywood
For a failed cabinet bottom, use exterior-grade or moisture-resistant plywood of equal or greater thickness, provided it fits the cabinet design. Create a cardboard template around supply and drain penetrations, then transfer it to the new panel. Split the replacement into sections only when plumbing prevents installation of a single piece, and support every seam with cleats.
Seal cut edges and plumbing openings before installation. Fasten the panel to sound cleats or blocking, not to swollen particleboard. Leave serviceable clearance around valves and trap connections. The new bottom should lie flat, carry stored items, and preserve access for future plumbing repairs.
Reinforce sides, rails, and the toe kick
A localized side-panel repair may use a full-height plywood sister panel bonded and fastened to sound material. A damaged back rail or countertop support should be replaced in kind and securely tied into both cabinet sides. Confirm that the vanity remains level and square before the adhesive cures or fasteners are fully tightened.
Rebuild the toe kick only after the cabinet base and floor beneath it are dry. Use a removable finished skin where practical so a future inspection does not require destructive work. Caulk the room-side floor joint only when the design calls for it, while leaving the cabinet interior visible enough to reveal a new leak early.
Restore doors and finishes after alignment is proven
Swollen MDF doors rarely return to a crisp profile after their edges expand. Replace them when the hinge area is weak or the face has permanently distorted. Solid wood or plywood doors may be salvageable if they dry flat and the finish can be matched.
Rehang doors after the cabinet is anchored, level, and carrying the countertop normally. Adjust hinges for even reveals, then confirm drawers clear the plumbing. A visually perfect finish is not complete if a door rubs because the repaired box is out of square.
Test the Plumbing and Prevent Another Loss
Water testing should recreate daily conditions, not just confirm that a dry fitting looks tight. A staged test makes a small drip easier to locate and protects the new cabinet work from a repeat failure.
Reconnect and test one system at a time
Replace brittle supply lines, corroded escutcheons, and damaged seals rather than reusing questionable parts. When a faucet or its connections caused the loss, UKB’s bathroom sink faucet replacement guide can help homeowners understand the access and compatibility checks involved.
Open the shutoff valves slowly and inspect supply joints with dry tissue. Run hot and cold water separately, fill the basin, operate the overflow if the sink has one, and release a full basin through the drain. Wipe each connection between tests so old moisture does not create a false result. Repeat the inspection after several hours and again the next day.
Add simple ways to catch a future leak early
A shallow waterproof tray can protect the cabinet bottom while keeping valves and joints visible. A battery-powered leak alarm placed near the low point provides earlier warning than a liner alone. Do not wrap drain connections or valves in absorbent material because it can conceal a slow drip.
Maintain the sink rim, faucet base, backsplash joint, and wall penetrations with sealants approved for those surfaces. Check the cabinet after cleaning, plumbing work, or a long absence. Early detection is more valuable than any coating because even moisture-resistant materials can fail when water remains trapped.
Match the Repair to the Vanity’s Construction
This additional planning step prevents a technically sound patch from conflicting with the way the vanity, top, and room were built. Freestanding furniture-style vanities, wall-hung units, and built-in cabinets carry loads differently and offer different access.
Treat freestanding and wall-hung vanities differently
A freestanding vanity may allow side or back access after plumbing is disconnected, but moving it can crack old seals or strain rigid connections. A wall-hung vanity depends on a sound mounting rail and wall framing. Water damage around its anchors deserves immediate professional attention because the cabinet has no floor support.
Confirm that wall fasteners still engage solid framing and that the cabinet cannot rock. Do not compensate for a weakened mounting area with longer screws unless the wall assembly and concealed utilities have been identified.
Protect stone and one-piece tops during cabinet repairs
Natural stone, quartz, and integrated cultured-marble tops can be heavy, brittle, and difficult to separate from adhesive. A repair that requires removing a sink base rail may need temporary support or full top removal. Seams, wall mirrors, and backsplash pieces can further restrict movement.
If the top must be lifted, disconnect plumbing fully and plan safe handling before breaking the seal. Damage caused by flexing an expensive top can quickly exceed the cost of professional cabinet repair.
Know When Replacement Is the Better Decision
Repair is worthwhile when damage is localized and the remaining cabinet is strong. Replacement is usually the better value when moisture has compromised several load-bearing panels, the top must already be removed, or the repair would preserve a layout that no longer works.
Replace widespread weak material instead of layering over it
Do not install new plywood on top of a soft cabinet floor and call the structure repaired. Trapped damaged material can retain odor, hide mold, and provide poor fastening. If both side panels, the back rail, and the base are swollen, little of the original box remains to support a reliable repair.
Replacement is also safer when contaminated water was involved, mold extends into concealed cavities, or the vanity cannot be detached without disturbing damaged wall and floor finishes. Those conditions require a defined remediation and reconstruction plan.
Use the repair as a chance to correct recurring design problems
Repeated water exposure may come from a sink that is too shallow, inadequate counter space, inaccessible shutoff valves, or a faucet that throws water beyond the basin. A new vanity can improve storage, plumbing access, countertop protection, and cleaning clearance instead of reproducing the same weak points.
Coordinate cabinet size with the existing drain, supply lines, mirror, lighting, door swing, and finished floor. A professional bathroom remodel can also address hidden wall or floor damage while keeping the new vanity level, supported, and properly sealed.
When to Call a Plumber, Remediation Specialist, or Remodeler
The right professional depends on the source and extent of damage. A plumber handles active supply, drain, valve, and faucet problems. A qualified mold or water-damage professional evaluates larger, contaminated, or concealed losses. A remodeling contractor coordinates cabinet, countertop, wall, floor, finish, and fixture work after the moisture source is resolved.
Call before the repair becomes a larger liability
Get help when a shutoff valve fails, water reaches electrical components, the drain backs up, sewage is involved, mold covers more than a small isolated area, or household members have relevant health risks. Also call when the vanity supports a heavy stone top, hangs from the wall, or has lost structural attachment.
Ask the contractor to explain what will be removed, how dry conditions will be verified, which materials will be replaced, and how plumbing will be retested. Clear scope and documentation are signs of a repair designed to last, not simply look dry on the day of completion.
Frequently Asked Questions
These concise answers address the decisions homeowners most often face after discovering a wet vanity cabinet.

UKB
Unique Kitchen & baths is a family-owned business that is committed to providing high-quality kitchen and bathroom remodeling, as well as flooring installations at affordable prices.