How to Install a Bathroom Exhaust Fan That Vents Outdoors
A bathroom exhaust fan succeeds only when it moves humid air all the way outdoors. A quiet grille can hide a crushed duct, an undersized fan, or a termination that dumps moisture into the attic. Learning how to install a bathroom exhaust fan involves more than cutting a ceiling opening and connecting power. The fan, duct route, exterior cap, makeup air, controls, and electrical protection must work as one ventilation system.
This guide focuses on the field decisions that determine actual performance: sizing airflow for the room, locating the housing where steam collects, keeping the duct short and smooth, and testing the finished installation under real conditions. Electrical rules, wet-location requirements, roof penetrations, and permits vary by home and jurisdiction, so homeowners should bring in a licensed professional whenever those parts fall outside their experience.
Contents
- 1 Choose the Fan Before Cutting the Ceiling
- 2 Check Electrical, Duct, and Permit Requirements
- 3 Locate and Prepare the Opening Carefully
- 4 Mount the Housing and Connect the Duct
- 5 Complete the Wiring and Controls Safely
- 6 Prevent Condensation and Backdrafts in the Duct
- 7 Test Real Performance, Not Just Motor Operation
- 8 Troubleshoot Problems Before Closing the Project
- 9 Know When Professional Installation Is the Right Call
- 10 Frequently Asked Questions About Bathroom Exhaust Fans
- 11 Improve Bathroom Ventilation With Unique Kitchen and Baths
Choose the Fan Before Cutting the Ceiling
Start by selecting a fan that can handle the room’s moisture load and the resistance created by the planned duct. An oversized fan connected to a restrictive duct may be louder without moving the promised air, while an undersized model can run for an hour and still leave mirrors and walls wet.
Size Airflow for the Room and Fixtures
Measure the bathroom floor area. The Home Ventilating Institute recommends approximately 1 cubic foot per minute, or CFM, for each square foot in bathrooms up to 100 square feet. For larger bathrooms, it recommends adding capacity by fixture, such as 50 CFM for a shower, tub, or toilet and 100 CFM for a jetted tub.
Those values are selection guidance, not a guarantee of installed airflow. Long duct runs, tight elbows, small duct diameter, clogged exterior screens, and poor makeup air can reduce performance. If the proposed route is difficult, compare the fan’s airflow at realistic static pressure rather than relying only on the number printed on the front of the box.
Compare Noise, Efficiency, and Controls
Fan sound is commonly rated in sones. A lower rating is generally quieter, but the installed system matters: rigid mounting, smooth transitions, and a correctly sized duct often reduce vibration and turbulence. ENERGY STAR notes that certified ventilation fans must meet limits for sound and minimum efficiency, and that adequate ventilation helps control moisture and odors.
Choose controls that match how the household actually uses the room. A countdown timer keeps the fan running after a shower without depending on memory. A humidity-sensing control can help in a frequently used family bathroom, but it still needs thoughtful setup so it responds to bathing moisture rather than nuisance humidity.
Select a Housing That Fits the Available Space
Compare the housing dimensions with the space between joists, the ceiling thickness, and the access available from above or below. A retrofit model with expandable brackets may be easier when there is no attic access. New-construction housings often assume open framing and may be awkward to secure through a finished ceiling.
Also verify the duct outlet direction and diameter. Reducing a larger fan outlet to an old narrow duct usually sacrifices airflow and raises noise. If the fan includes a light or heater, the wiring and circuit requirements may be different from those of a fan-only replacement.
Check Electrical, Duct, and Permit Requirements
Before enlarging the opening, resolve the power supply, outdoor termination, and local approval requirements. This prevents late discoveries such as an inaccessible junction box, prohibited attic discharge, or an exterior route that crosses structural framing.
Confirm the Circuit and Wet-Location Rules
Identify what currently shares the circuit and turn power off at the breaker before opening any electrical box. A fan with a light, heater, humidity sensor, or separate switching may need additional conductors or a dedicated circuit. Requirements for ground-fault protection and equipment located over a tub or shower depend on the product listing and applicable code.
Electrical work should follow the fan’s wiring diagram and local requirements. If the wiring is aluminum, damaged, ungrounded, crowded, or not clearly identified, stop and have a licensed electrician evaluate it. Guessing at conductors in a damp room is not a reasonable shortcut.
Plan a Complete Route to the Outdoors
Bathroom air should terminate outdoors through a roof cap or wall cap with a functioning backdraft damper. It should not end in an attic, soffit cavity, crawlspace, or between joists. Moving warm, wet air into a concealed space can transfer the moisture problem rather than solve it.
Sketch the route before cutting. Favor the shortest practical path with the fewest turns, maintain the manufacturer’s duct diameter, and confirm that the exterior termination will not be blocked by insulation or landscaping. A soffit termination can also allow moist air to be drawn back into attic vents, so its suitability must be assessed carefully.
Verify Permit and Inspection Needs
Replacing a fan on an existing circuit may be treated differently from adding a new circuit, changing structural framing, or cutting a roof opening. UKB’s bathroom remodeling permit guidance is a useful starting point, but the local building department is the authority for the project address.
Ask specifically about electrical work, mechanical ventilation, and exterior penetrations. Permit questions are easier to resolve before finishes are opened, and an inspection can help verify concealed work that will be difficult to examine later.
Locate and Prepare the Opening Carefully
A clean, accurately placed opening lets the visible grille cover the cut while the concealed housing clears framing, wiring, plumbing, and insulation. The correct location balances moisture capture with safe access and a workable duct route.
Choose a Location Near the Moisture Source
Place the exhaust point near the shower or tub when the product listing and electrical rules permit. The Home Ventilating Institute recommends locating exhaust points over or near bathing fixtures and away from supply registers so replacement air is drawn through the room.
Do not place the fan where an open door blocks the grille or where a ceiling beam creates a dead zone. In a separate toilet room, consider whether that enclosed area needs its own exhaust point. The main fan cannot move air effectively through a closed door without a transfer path.
Scan for Joists, Pipes, and Cables
Use a stud finder as an initial guide, then verify cautiously with a small inspection opening or access from above. Stud finders can misread foil-faced insulation, metal lath, and clustered utilities. Determine the joist direction and locate pipes or cables before committing to the full cut.
If there is an existing fan, compare the old and new housing sizes rather than assuming the grille dimensions represent the opening. The replacement grille may be larger while the housing is smaller, or the duct outlet may point in a different direction.
Mark the Housing, Not the Decorative Grille
Trace the manufacturer’s cutout template or the actual housing dimensions specified in the instructions. Level and square the mark with nearby walls because an angled grille is obvious in a tiled or highly ordered bathroom. Score painted surfaces before sawing to reduce paper tear and paint chipping.
Wear eye and respiratory protection, cover fixtures, and support the cutout as it comes free. Older ceilings may contain materials that require testing before disturbance. If the age or composition is uncertain, do not proceed until that risk is evaluated.
Mount the Housing and Connect the Duct
Quiet, effective ventilation depends on a rigid housing connected to a low-resistance duct. A fan that shifts, rattles, or leaks air into the ceiling cavity will not deliver the performance suggested by its product rating.
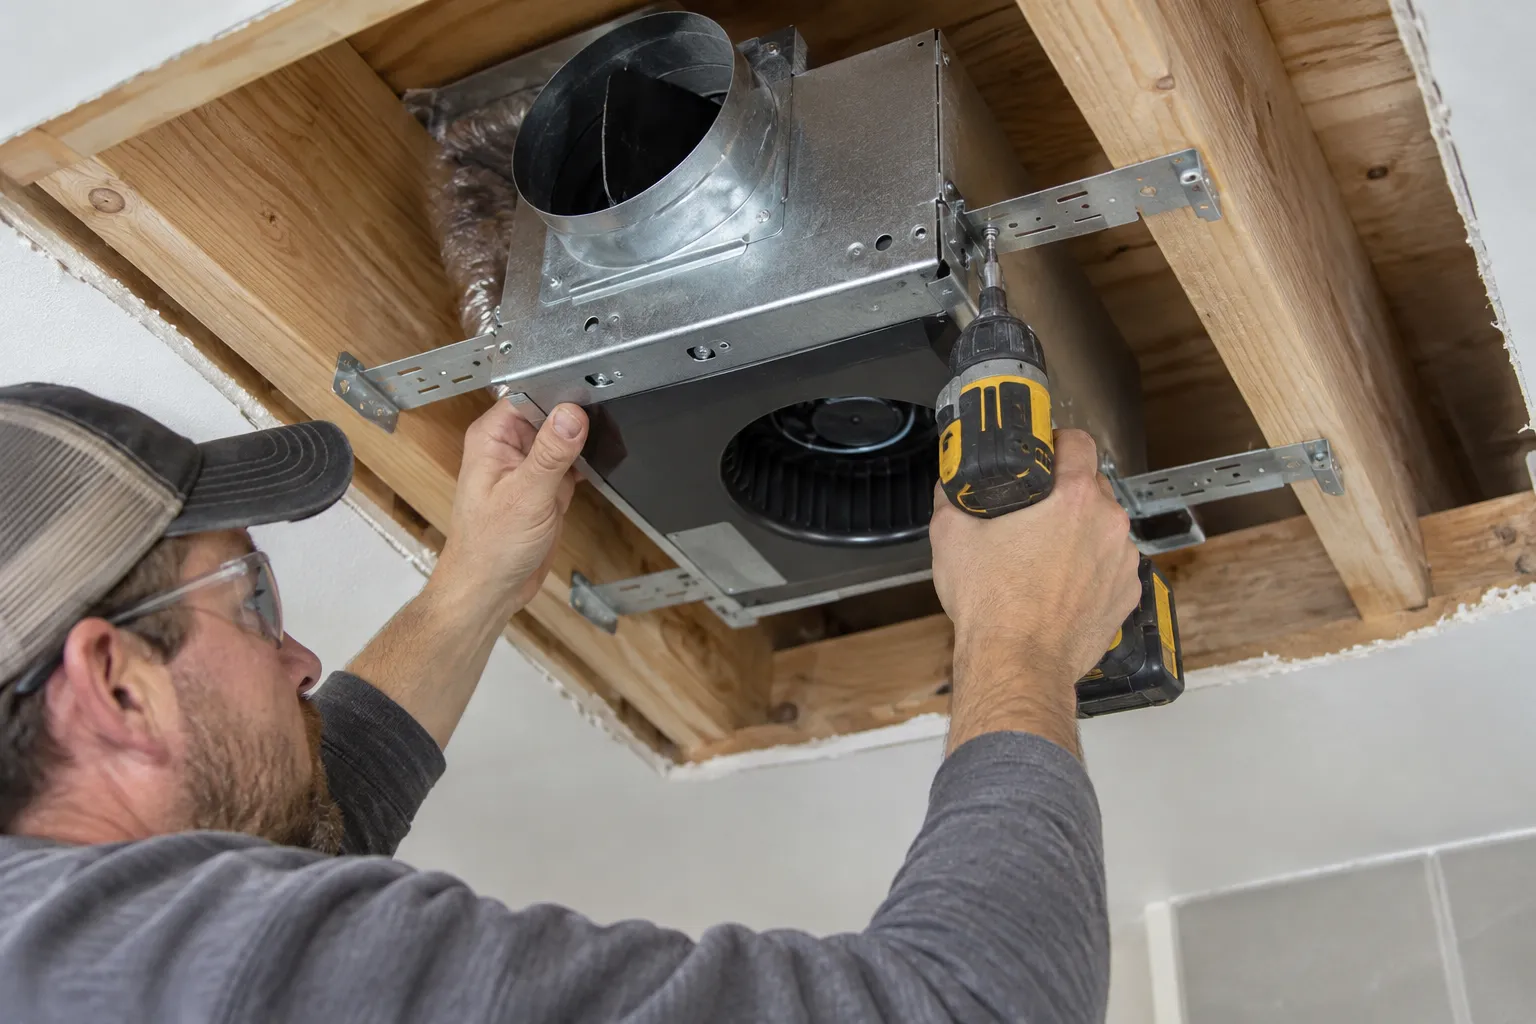
Secure the Housing to Framing
Install brackets, rails, or side fasteners exactly as the manufacturer directs. The housing should sit at the correct depth for the finished ceiling so the grille seals neatly without bending. Add solid blocking when the existing framing does not provide a reliable attachment point, but do not notch or drill structural members without confirming what is allowed.
Check the housing for square before tightening everything. A twisted metal box can rub the blower wheel or prevent the grille from seating. If access is from below, use a retrofit method designed for that situation rather than relying on drywall alone to carry the fan.
Use the Full Duct Diameter and Gentle Turns
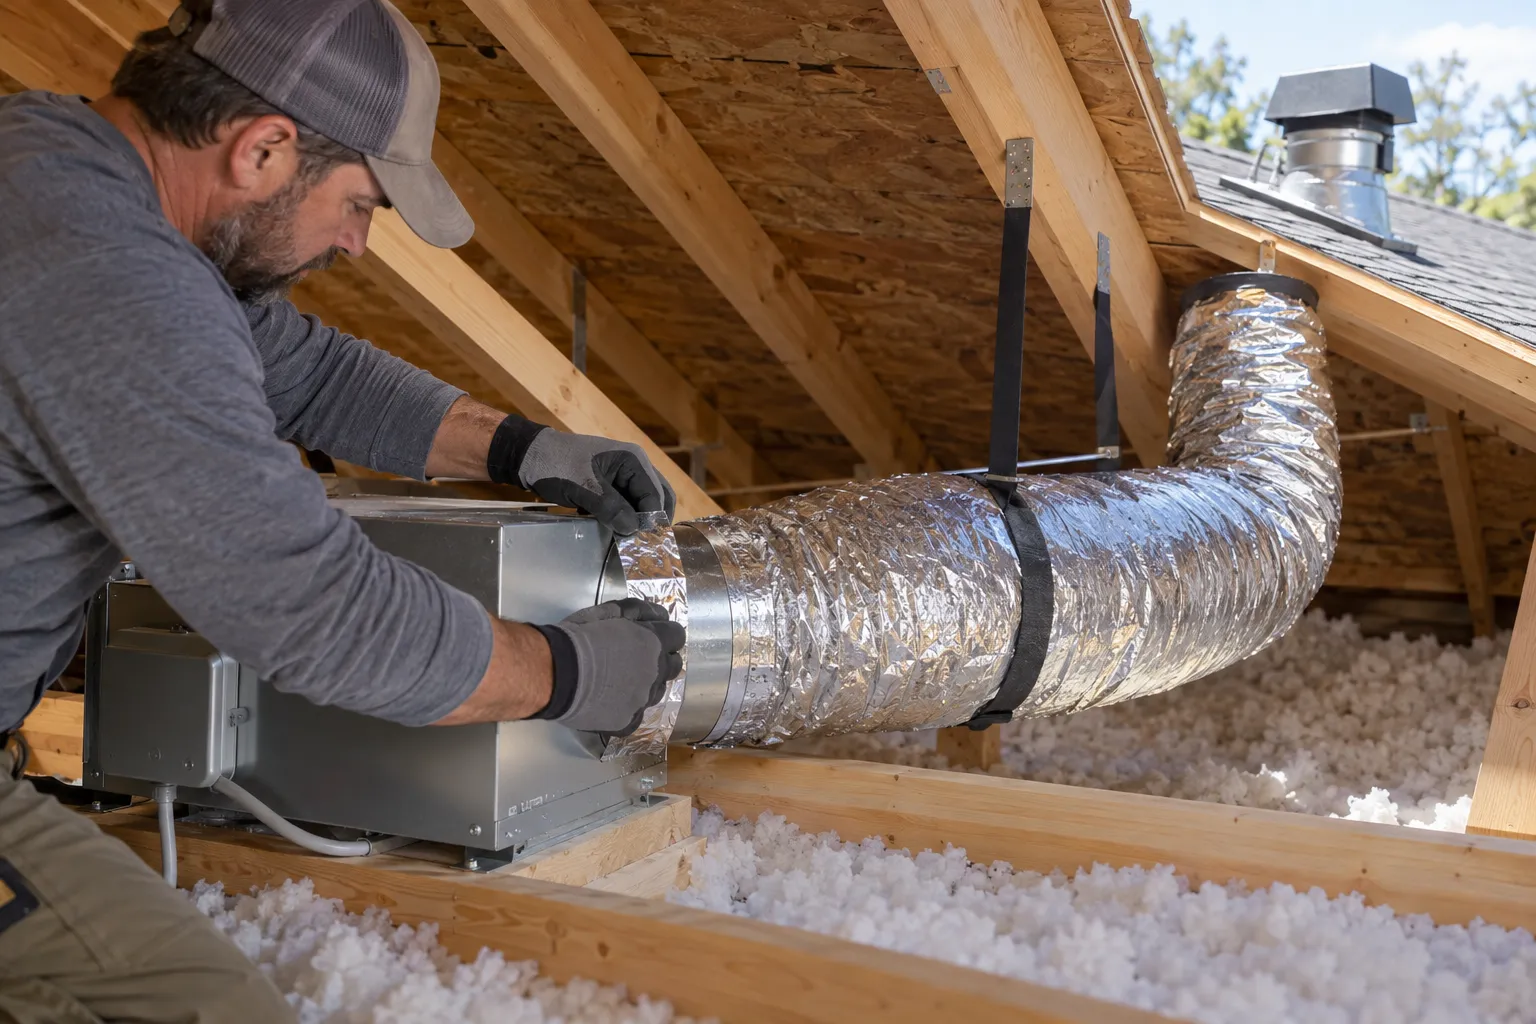
Connect the fan to the duct with the specified collar and maintain the full outlet size whenever possible. Smooth rigid metal duct usually creates less resistance than long runs of flexible duct. When flex duct is allowed, pull it taut and support it so it does not sag or kink.
Use wide-radius elbows where space permits and avoid placing a sharp turn immediately at the fan outlet. Seal duct joints with approved foil tape or duct mastic, not cloth-backed household duct tape. The goal is to deliver air outdoors rather than leak it into the joist bay.
Install a Weather-Resistant Exterior Termination
The wall or roof cap should include a damper that opens freely during operation and closes when the fan stops. Flash roof and wall penetrations with methods appropriate to the exterior material and local weather. Caulk alone is not a substitute for layered flashing.
Avoid caps with restrictive mesh that quickly clogs with lint unless the product and local requirements call for it. After installation, observe the damper outdoors while the fan runs. A cap that barely opens may indicate a blocked duct, undersized fan, or excessive resistance.
Complete the Wiring and Controls Safely
Electrical work is the highest-risk part of the installation. The breaker must remain off, conductors must be verified, and all splices must stay inside an approved, accessible enclosure with the cover installed.
De-Energize and Test Before Touching Conductors
Switch off the correct breaker, prevent accidental re-energizing, and verify the circuit with an appropriate tester. Do not rely on the wall switch alone. If multiple cables enter the box, document the original arrangement before disconnecting anything.
Follow the wiring diagram supplied with the fan. Neutral, grounding, switched-hot, and constant-hot connections serve different functions, particularly on humidity-sensing or multi-function models. Wire colors can be clues, but they are not proof of function.
Match the Control to the Fan’s Features
A basic fan may use a single switch, while a fan-light combination may use separate controls. A humidity sensor may require constant power plus a switched override. A heater can impose a substantially larger electrical load and may require its own branch circuit.
Choose a control rated for the connected equipment. After wiring, arrange conductors so the cover closes without pinching them and so the blower can be removed for service. If the instructions conflict with the existing wiring arrangement, bring in a licensed electrician.
Install the Blower and Grille After Dusty Work
Construction dust can coat a motor and blower wheel before the bathroom is even used. Keep the blower protected or remove it if the manufacturer permits while drywall finishing, sanding, and painting are underway. Install the grille only after the ceiling surface is complete and dry.
Confirm that insulation does not block cooling or air passages. If the housing is rated for insulation contact, follow the clearance details in the instructions. If it is not, maintain the specified separation.
Prevent Condensation and Backdrafts in the Duct
Condensation control begins once warm bathroom air enters a cold attic or wall cavity. Reverse airflow and dripping grilles can appear even when the motor and switch work perfectly, so the duct and exterior damper deserve the same attention as the fan.
Insulate Ducts in Unconditioned Space
Insulate exhaust duct that passes through an attic, garage, or other cold area when required or recommended for the climate. Continuous insulation helps keep the duct interior warmer, reducing the chance that vapor condenses before it reaches outdoors. Seal the vapor jacket and avoid compressed gaps at supports.
Route horizontal duct to manage any incidental condensation in accordance with the fan and duct guidance. A low spot can become a reservoir that gurgles, restricts airflow, and eventually leaks. Do not create a slope that sends outdoor rainwater toward the fan.
Provide Makeup Air and a Working Damper
The fan cannot exhaust its rated airflow from a tightly closed room without replacement air. A door undercut or approved transfer path lets air enter from adjacent spaces. HVI notes that makeup air should be able to enter and recommends locating exhaust away from supply air so the replacement air travels through the room.
Test the backdraft damper for free movement before closing the ceiling. Paint, fasteners, insulation, or a bent collar can hold it partly shut. Also check for cold drafts when the fan is off, which may reveal a missing or poorly sealing exterior damper.
Test Real Performance, Not Just Motor Operation
The installation is complete only after you verify that moisture leaves the room and reaches outdoors. A spinning motor establishes that the fan has power, but it does not confirm airflow through the duct.
Check Airflow at Both Ends
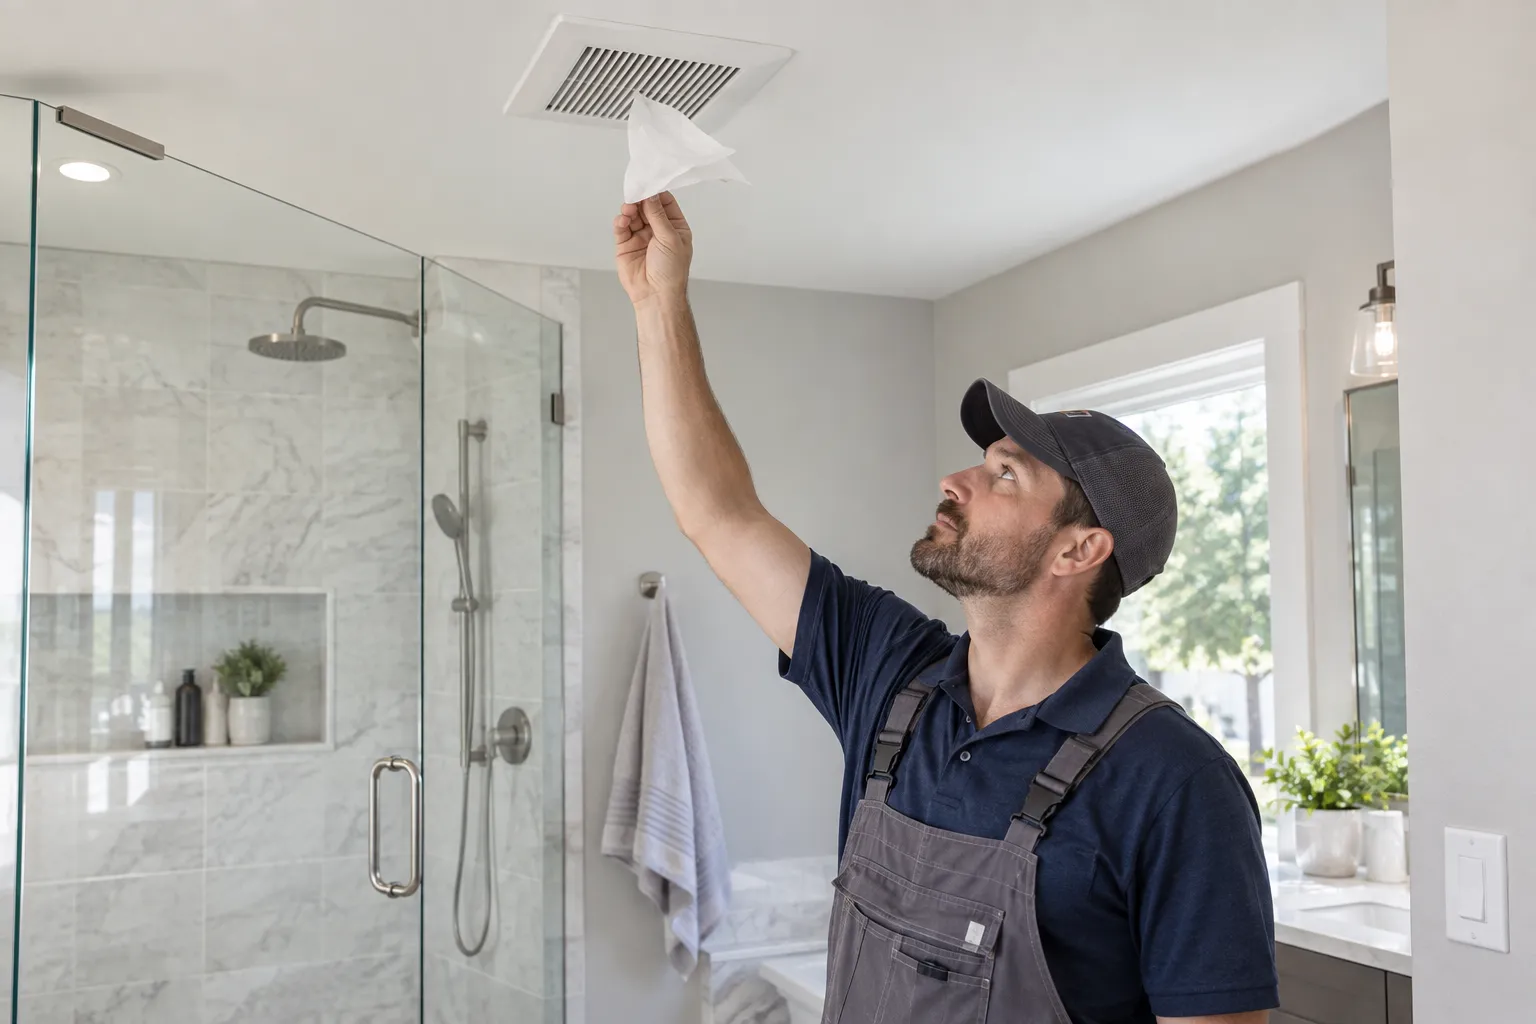
Run the fan with the bathroom door in its normal position. A tissue held near the grille can show whether air is being drawn inward, but it does not measure CFM. At the exterior cap, confirm that the damper opens and a clear stream of air exits.
For a performance-critical installation, an HVAC or ventilation professional can measure airflow with suitable instruments. That is especially helpful when a long duct route is unavoidable or when condensation persists after the fan is installed.
Run a Moisture-Clearance Test
Take a normal hot shower, then observe how quickly the mirror, walls, and ceiling dry with the fan running. HVI recommends leaving the fan on for about 20 minutes after bathroom use, and a timer makes that behavior consistent. Conditions vary, but lingering wet surfaces point to insufficient airflow, inadequate run time, or poor air distribution.
Listen for rattles, fluttering dampers, and changing motor pitch. These sounds can identify a loose housing, restrictive cap, or duct contacting framing. Correcting the cause now is easier than after the ceiling is patched and painted.
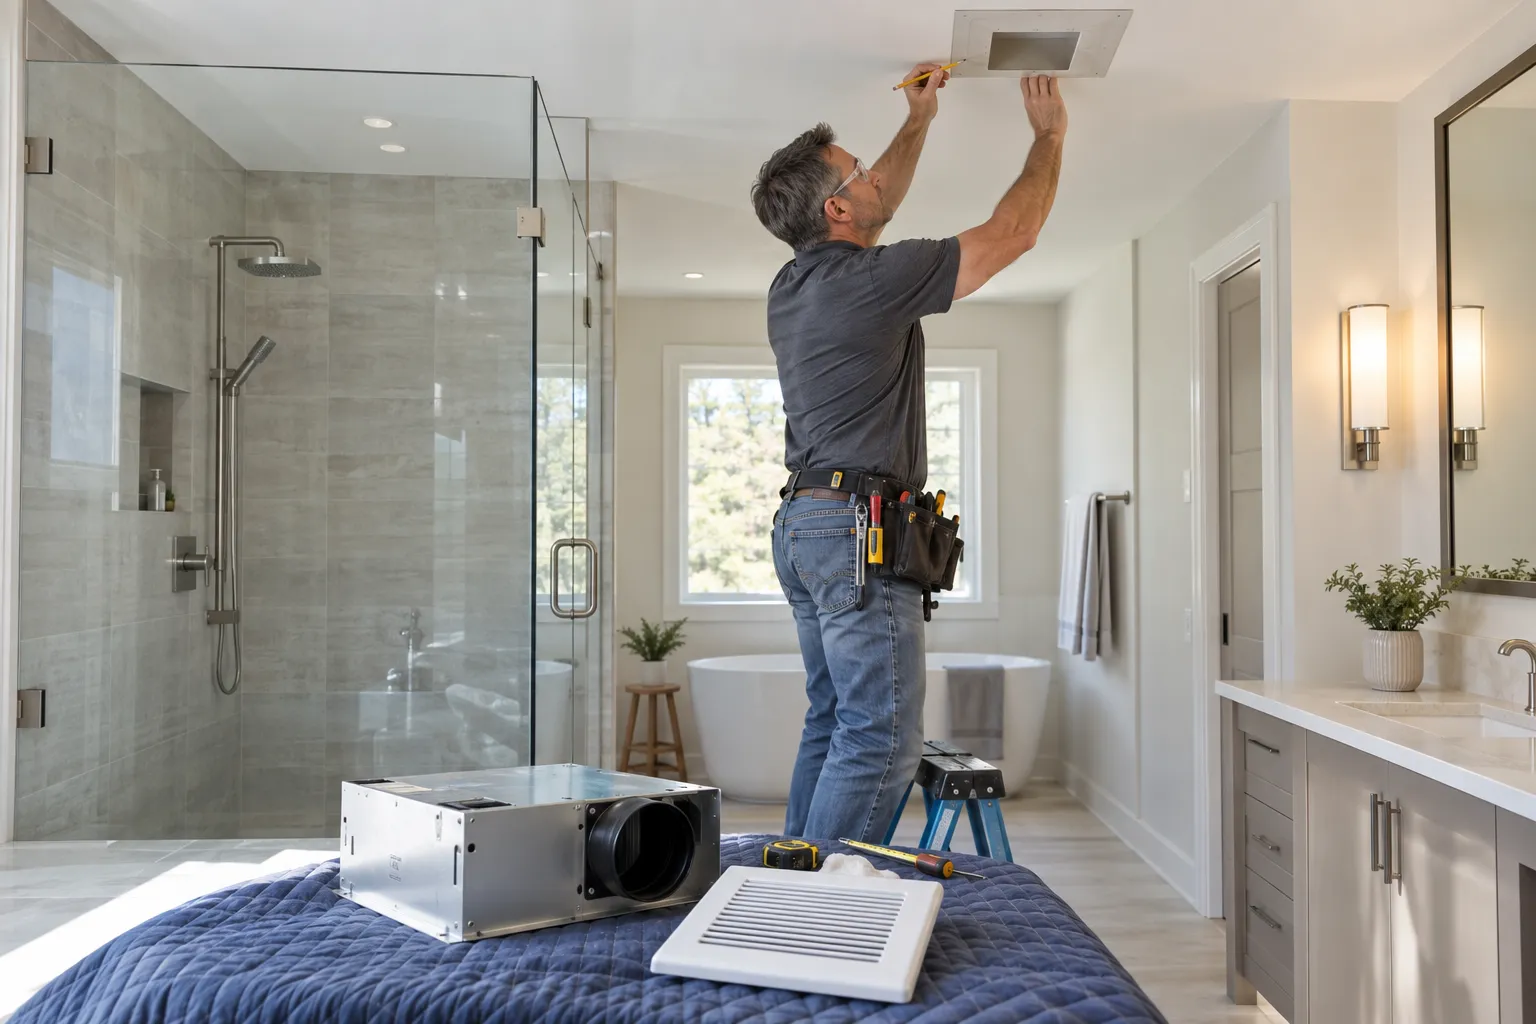
Troubleshoot Problems Before Closing the Project
Useful troubleshooting starts with the symptoms homeowners actually notice after installation. Most problems trace back to airflow resistance, insufficient makeup air, loose mounting, or a mismatch between the control and wiring.
If the Fan Runs but the Room Stays Damp
Check that the exterior damper opens, the duct is connected, and no packaging or construction debris remains in the housing. Open the bathroom door slightly during a test; a strong improvement suggests inadequate makeup air. Confirm that the fan is being run long enough after showers.
If airflow remains weak, inspect the route for crushed flex duct, excessive elbows, an unintended reducer, or a clogged cap. Replacing the motor with a larger one will not solve a severely restricted duct and can increase noise.
If the Fan Rattles, Drips, or Leaks Cold Air
A rattle often comes from a housing that is not square, a loose grille spring, a blower wheel touching its cover, or duct vibration against framing. Water at the grille can indicate condensation in an uninsulated or sagging duct. Cold air usually points to a damper problem or an exterior cap exposed to strong wind.
Turn the system off before removing the grille or blower. Persistent electrical odors, overheating, arcing, or repeated breaker trips require immediate shutdown and professional evaluation.
Know When Professional Installation Is the Right Call
Some bathroom exhaust fan projects do not belong on a DIY list. New wiring, roof work, inaccessible framing, possible hazardous ceiling materials, and repeated moisture damage increase both safety risks and diagnostic complexity.
Bring in the Appropriate Licensed Trade
An electrician should handle uncertain circuits, new branch wiring, multi-function controls, and code questions. A roofer or experienced remodeler should manage exterior penetrations that affect flashing and warranties. An HVAC or ventilation professional can assess airflow when the duct route is long or the home is unusually tight.
For an existing fan that is noisy or ineffective, UKB’s bathroom exhaust fan repair guide explains the likely motor, housing, duct, control, and termination faults. A professional diagnosis may prevent replacing a fan when the real blockage is elsewhere.
Coordinate the Fan With the Bathroom Remodel
Ventilation is easier to improve while ceilings and walls are open. During a larger renovation, the team can coordinate the fan location with shower glass, recessed lights, insulation, framing, tile, and electrical controls. It is also an opportunity to correct hidden ducting that previously ended in the attic.
A thoughtful bathroom remodel plan treats ventilation as moisture management, not a last-minute accessory. That protects paint, cabinetry, trim, and indoor air quality long after the visible finishes are complete.
Frequently Asked Questions About Bathroom Exhaust Fans
These concise answers cover the questions homeowners most often ask before installing or replacing a bathroom exhaust fan.

UKB
Unique Kitchen & baths is a family-owned business that is committed to providing high-quality kitchen and bathroom remodeling, as well as flooring installations at affordable prices.